Adding outdoor garage lights can make your home look better and work better. It’s a simple way to boost security, improve looks, or just light up the area. This guide will help you pick and install the best outdoor garage lights for your space.
Key Takeaways
- Understand the importance of proper outdoor garage lighting for safety, security, and curb appeal
- Learn how to choose the right type of garage lights based on your needs and preferences
- Discover the step-by-step process for installing outdoor garage lights, from locating the electrical box to wiring and mounting the fixtures
- Familiarize yourself with lumens and brightness considerations for effective garage illumination
- Ensure proper electrical connections and test the lights for optimal performance
Understanding the Importance of Outdoor Garage Lighting
Outdoor garage lighting is key for safety, security, and curb appeal. It keeps intruders away and makes it easier to enter and exit. It also makes your home look better, welcoming everyone who sees it.
Safety and Security Benefits
Good lighting is vital for a safe home. It scares off burglars and makes it hard for them to sneak up. It also helps avoid accidents when you’re going in or out.
Enhancing Curb Appeal
Your garage’s look can really affect your home’s curb appeal. Nice lights make your garage look inviting. This makes your home seem more valuable and leaves a good impression.
Whether you care about safety or want to make your home look better, good lights are a smart choice. They make your garage safe and your home look great.
| Benefit | Description |
|---|---|
| Safety and Security | Outdoor garage lighting deters intruders and improves visibility, reducing the risk of accidents and injuries. |
| Curb Appeal | Well-designed garage lighting can enhance the overall appearance of your home, creating a welcoming and visually appealing entryway. |
“Proper outdoor lighting is essential for creating a safe and visually appealing home environment.”
Choosing the Right Outdoor Garage Lights
Choosing the right outdoor garage lights is crucial. You have many options, from LED to motion-sensor to solar-powered. Think about brightness and style to find the perfect fit. This will improve both safety and curb appeal of your home.
Types of Garage Lights
First, decide on the type of garage light you need. Here are some popular choices:
- LED Garage Lights: These are energy-efficient and last long. They come in various brightness levels and color temperatures to match your style.
- Motion-Sensor Garage Lights: They turn on automatically when you move. This adds security and convenience, especially in dark areas.
- Solar-Powered Garage Lights: These use the sun’s power. They’re great for detached garages or places without easy electrical access.
Lumens and Brightness Considerations
The brightness of your garage lights is key. Look at lumens, which measure light output. For a two-car garage, aim for garage lights with at least 3,000 lumens. But, the right lumen count depends on your garage’s size and layout.
Choosing the right outdoor garage lights makes your space inviting. It boosts safety and curb appeal while looking good.
Preparing for the Installation
Before you start installing your outdoor garage lights, it’s important to prepare well. You need to get the area ready and gather all the tools and materials. This step is key for a successful and safe installation.
First, check if your garage’s electrical wiring meets the code. You might need to talk to a licensed electrician. Do garage lights need to be GFCI protected? Yes, having GFCI protection is a good idea for safety.
Then, collect the right tools and safety gear. You’ll need:
- Screwdrivers (flathead and Phillips head)
- Wire strippers
- Electrical tape
- Wire nuts
- Ladder or step stool
- Safety glasses and gloves
With everything ready, you can start the installation. This way, you’ll have a smooth and safe experience. By preparing well, you’ll be ready to how to wire garage lights and enjoy your new lighting.
| Tool | Purpose |
|---|---|
| Screwdrivers (flathead and Phillips head) | For securing and removing mounting hardware |
| Wire strippers | To strip the ends of the electrical wires for proper connections |
| Electrical tape | To insulate and protect wire connections |
| Wire nuts | To securely join and connect the wires |
| Ladder or step stool | To access the mounting locations for the lights |
| Safety glasses and gloves | To protect yourself during the installation process |
“Proper preparation is the key to a successful and safe installation. Take the time to ensure your electrical wiring is up to code and gather the necessary tools and equipment.”
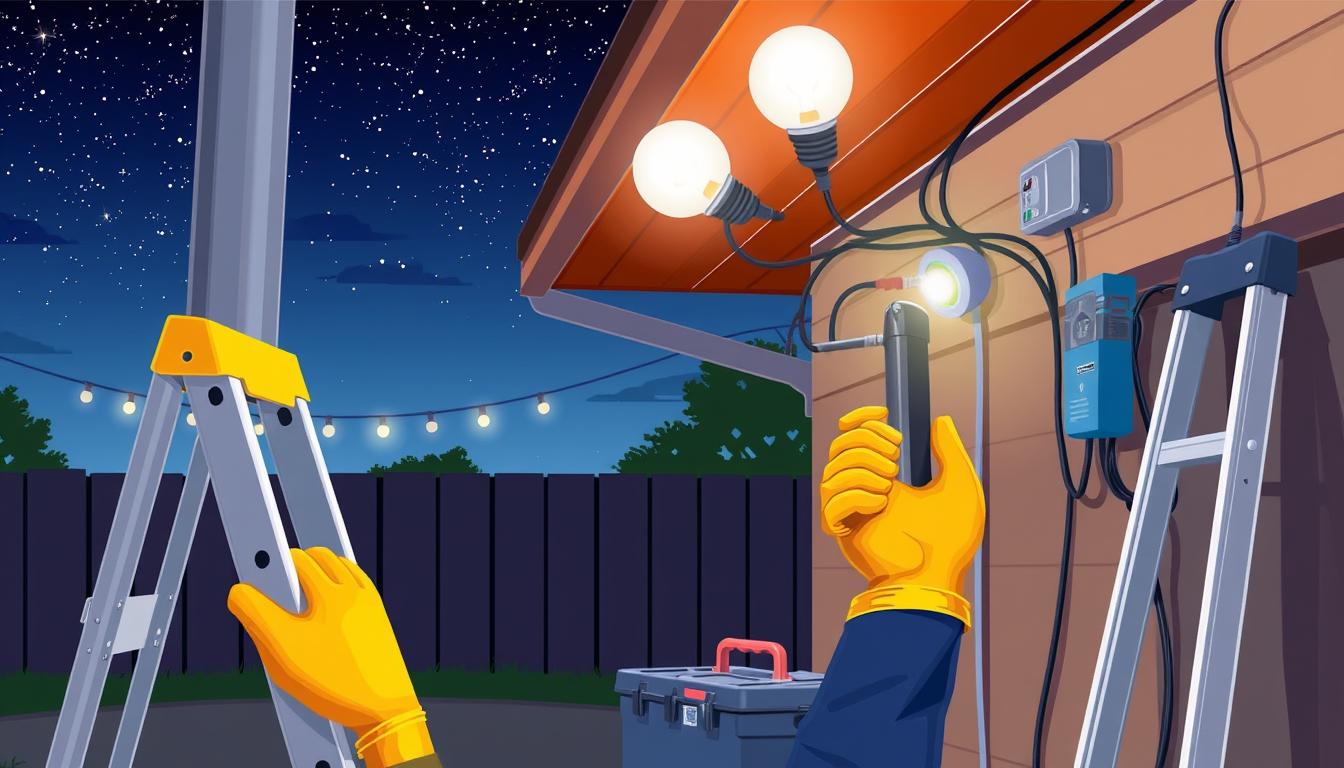
Step-by-Step Guide to Installing Outdoor Garage Lights
Adding outdoor garage lights can make your garage look better and keep it safe. We’ll show you how to install them, starting with finding the electrical box and setting up the wiring.
Locating the Electrical Box
The first thing to do is find the electrical box. It’s where your lights will get power. You can usually find it on the garage’s outside, near the door or on a side wall. Mark where it is for the next step.
Running the Wiring
After finding the electrical box, you need to run the wiring to where you want your lights. You might have to drill holes or use existing ones. Make sure the wiring is not exposed and is safe, like through conduit or wire staples.
When wiring garage lights, think about if they need GFCI protection. GFCI outlets prevent electrical shocks and are often needed outside. Check local building codes to make sure your wiring is safe.
Working with electricity is risky. If you’re not sure, get a licensed electrician to help. Safety is key when wiring garage lights.
garage lights
Placing your outdoor garage lights right is key for good lighting and a nice home look. You need to balance function and beauty. Let’s look at what to think about when picking the best spots for your garage lights.
Where to Install Garage Lights
Putting lights along the roof or garage door sides works well. It lights up the area and looks good on your home. Also, lights near the garage entrance or walkway boost safety and security.
The size and shape of your garage matter too. Big garages might need more lights for even light. Small garages might just need one light in the middle. A pro electrician can help find the best spot for your garage.
How Long Do Garage Lights Stay On?
How long garage lights stay on depends on the lighting system. Motion-activated lights turn off after a set time, like 30 seconds to 5 minutes. Manual lights stay on as long as you want, offering steady light.
Thinking about where and how long your garage lights stay on helps. You get the right mix of function, safety, and style. This makes your home more welcoming and attractive.
“Proper outdoor lighting can make a significant difference in the overall appearance and safety of your home.”
Wiring and Connecting the Lights
Wiring and connecting your outdoor garage lights is key for their safe use. Whether you’re setting up new lights or updating old ones, knowing how to wire is essential. It makes a big difference in how well they work.
Properly Connecting the Wires
To wire garage lights right, always follow the maker’s guide. You’ll connect the hot (black), neutral (white), and ground (green or bare copper) wires. Use wire nuts or other approved connectors to keep them tight. Make sure the wires have enough slack for the fixture’s position.
Ensuring Safe Electrical Connections
Garage lights need GFCI protection to meet building codes and keep your home safe. GFCI outlets or breakers stop electrical shocks by cutting power fast. When wiring your garage lights, connect them to a GFCI-protected circuit for safety.
By following these wiring tips, you can install your garage lights with confidence. They’ll work safely and reliably for many years.

Mounting and Securing the Lights
After setting up the wiring, it’s time to install your outdoor garage lights. This step is key to attaching the lights firmly to your garage. It helps them last long and withstand weather.
Choosing the right spots for where are garage lights to be located is important. It makes your garage look better and lights it up right. Here’s how to mount and secure your lights:
- Identify the Mounting Locations: Look at your garage’s outside and pick the best spots for lights. Think about easy access, how visible they’ll be, and how well they’ll light up the area.
- Prepare the Mounting Surfaces: Make sure the places for mounting are clean, flat, and strong enough for the lights. You might need to sand, clean, or strengthen these areas.
- Secure the Lights Firmly: Use the right tools and hardware to attach the lights to your garage, as the maker suggests. Check that everything is tight and stable.
- Consider Weather-Resistant Mounting: Choose materials that won’t rust and use weatherproof sealants. This keeps your lights safe from the weather and makes them last longer.
- Adjust the Positioning: After mounting, adjust the lights’ angle and position. This ensures they light up the area just right and look good.
By following these steps, you’ll make sure your garage lights are well-attached, weather-resistant, and light up your home perfectly.
Testing and Adjusting the Lights
After installing your outdoor garage lights, it’s important to test them. This ensures your garage is well-lit, making it safer and more secure. Let’s explore how to test and adjust your garage lights.
Checking for Proper Illumination
The main goal is to check if the lights are bright enough. How long does garage light stay on? and Do garage lights turn off automatically? are key questions. Turn on the lights and see how bright they are. Make sure the whole garage, including corners, is well-lit.
If the light is too dim or not even, you might need to tweak the lights’ position. Why garage door light blinking? could mean the wiring needs a look. You might need to make small changes to get the light right.
- Turn on the garage lights and check the coverage.
- Find any dark spots or uneven light.
- Adjust the lights’ angle or position if needed.
- Make sure the lights aren’t blinking or broken.
“Proper lighting is essential for the safety and security of your garage. Take the time to ensure your new outdoor lights are functioning as intended.”
By following these steps, you can make sure your garage lights are working well. This will help keep your home safe and secure.

Conclusion
This guide has shown you how to install outdoor garage lights. By following these steps, you can make your home safer, more secure, and look better. You’ll also make sure your installation meets all the necessary codes.
Always put safety first when working with electrical stuff. If you’re not sure about anything, get help from a pro. This guide helps you with how to wire garage lights, how many lumens for garage lights, and finding the best good garage lights for your home.
Now, enjoy your new outdoor garage lights from Home Depot. Your garage is now bright, safe, and looks great. With the right garage lights battery or GFCI protection, your investment will last for many years. Happy installing!