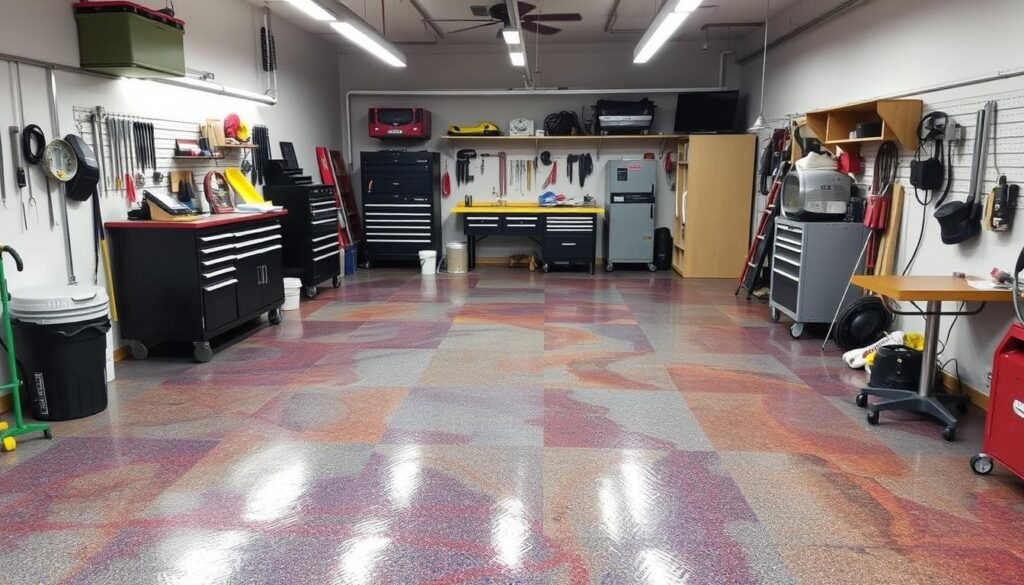
Garage floor epoxy is a great way to make your concrete floors look and feel better. But, you need to know how long it takes to dry and cure. We’ll look at the drying and curing times for garage floor epoxy. Plus, we’ll share important tips for a successful application.
Key Takeaways
- Garage floor epoxy typically takes 24-48 hours to fully dry and cure.
- Factors like temperature and humidity can impact the drying and curing time.
- Proper preparation of the concrete surface is essential for a successful epoxy application.
- Understanding the different stages of the curing process can help you plan your project timeline.
- Consulting with professionals or following manufacturer instructions is recommended for the best results.
Understanding Garage Floor Epoxy
Garage floor coating epoxy is a great choice for making your garage floor look better and last longer. It’s a two-part resin that hardens on concrete, creating a shiny, protective finish. This flooring is popular for its many benefits in homes and businesses.
What is Epoxy Coating?
Epoxy coating is a special flooring made from a resin and a hardener. When mixed and applied, they react to form a tough, smooth, and attractive surface. The cured epoxy layer guards against wear, spills, and chemicals, perfect for busy garages.
Benefits of Epoxy Flooring
Using garage floor epoxy installers to coat your garage floor has many perks:
- It’s very durable and resistant to damage.
- It’s easy to clean and has a glossy, stain-resistant finish.
- You can choose from many colors to make your garage look better.
- It’s slip-resistant, making your garage safer and reducing accidents.
- It protects against chemical spills, oil, and other contaminants for a long time.
Choosing a top-notch garage floor coating epoxy can turn your garage into a beautiful and useful space. It will meet your needs for many years.
Factors Affecting Drying Time
Garage floor epoxy’s drying and curing time can change based on several factors. Knowing these can help you get the best results.
Temperature and Humidity
Temperature is a big factor in how fast epoxy dries. It works best when it’s warm, between 70°F to 85°F (21°C to 29°C). In these conditions, it usually dries without sticking in 6-12 hours and fully cures in 24-48 hours.
Cooler temperatures, especially below 50°F (10°C), slow it down a lot. It might take days or even a week to dry completely. High humidity also slows it down because moisture in the air can mess with the epoxy’s reaction.
| Temperature | Humidity | Drying Time |
|---|---|---|
| 70°F to 85°F (21°C to 29°C) | Low | 6-12 hours (tack-free), 24-48 hours (full cure) |
| Below 50°F (10°C) | High | Longer than 24-48 hours (full cure) |
To get the best results, apply epoxy in the right temperature and humidity. Watch these conditions and adjust your schedule to help the drying and curing process.
Garage Floor Preparation
Preparing your garage floor is key before applying the best garage floor coating. This step makes sure the epoxy sticks well and lasts long. Let’s look at the main steps to get your garage floor ready for the garage floor coating best.
Cleaning and Etching
The first thing is to clean the garage floor well. You need to remove old coatings, sealers, or dirt that might stop the epoxy from sticking. Use a degreaser and concrete cleaner to clean it up. Then, etch the concrete.
Etching makes the surface rough, helping the epoxy stick better. You can use acid or a mechanical tool for etching. This step makes the concrete ready for the garage floor coating best.
Repairs and Patching
After cleaning and etching, check the floor for cracks, chips, or other damage. These need to be fixed before you apply the epoxy. If you don’t fix these, the epoxy might peel or crack later.
- Use a concrete repair compound to fill in cracks and chips.
- For bigger areas, use a self-leveling concrete product for a smooth surface.
- Let the repairs dry completely before applying the garage floor coating best.
By carefully preparing your garage floor, you’ll get a beautiful, lasting garage floor coating best. It will make your space look better and last longer.
Applying the Epoxy Coating
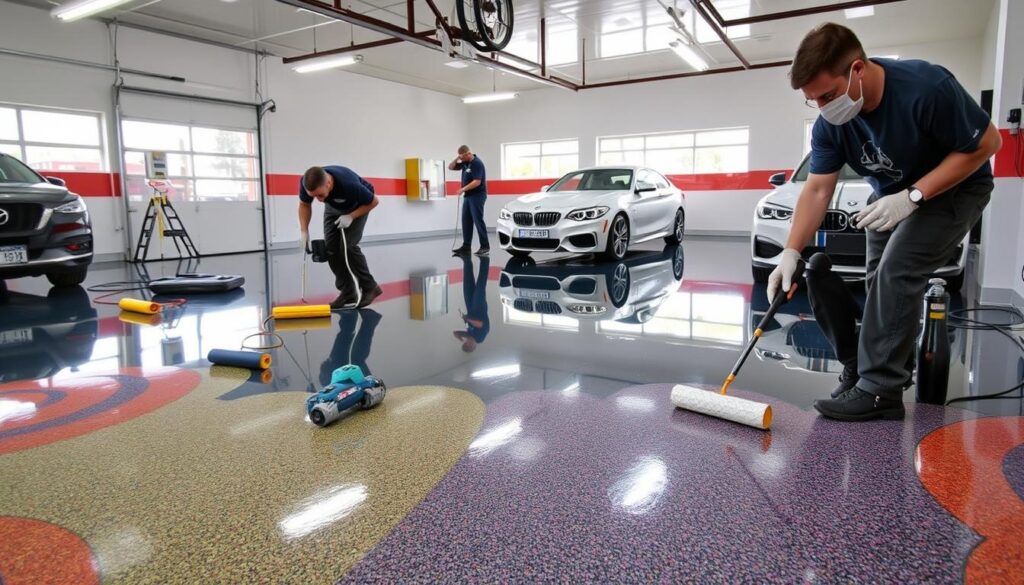
After preparing the garage floor, it’s time to apply the epoxy coating. This step needs careful attention for a professional and lasting finish. Garage floor coating contractors know how to do this right and can help you get the best results.
Mixing the epoxy is the first step. You need to follow the instructions to mix the resin and hardener correctly. It’s important to mix fast because the epoxy’s time is limited once you start.
Then, pour the mixed epoxy onto the floor and spread it out with rollers or squeegees. It’s key to work in small areas to get an even coat and avoid mistakes. Aim for a thin, even layer for the best look.
- Mix the two-part epoxy formula according to the manufacturer’s instructions.
- Pour the epoxy onto the floor and spread it evenly using specialized tools.
- Work in small, manageable sections to ensure a consistent and professional-looking finish.
| Step | Description |
|---|---|
| Mixing | Combine the resin and hardener components in the correct proportions and blend thoroughly. |
| Application | Pour the epoxy onto the floor and spread it evenly using rollers or squeegees. |
| Coverage | Work in small, manageable sections to ensure a consistent and professional-looking finish. |
“Proper application of the epoxy coating is crucial for achieving a durable and visually appealing garage floor.”
By following these steps and working with skilled garage floor coating contractors, you can get a beautiful and durable garage floor. This will make your home look better and increase its value.
Initial Cure Time
The initial cure time is key when using garage floor epoxy coating kits. After applying the epoxy, it goes through a curing process. This process turns the liquid into a semi-solid that’s not sticky.
Tack-Free Stage
The tack-free stage shows the epoxy’s progress. At this point, the coating feels dry and not sticky. This usually happens between 6 to 12 hours after application. However, the exact time can vary based on temperature and humidity.
Even when the epoxy feels dry, it’s not fully cured yet. It’s still hardening and getting stronger. It’s important to be careful and avoid damaging the surface until it’s fully cured.
“The tack-free stage is a crucial milestone in the epoxy curing process, as it signifies that the coating has begun to harden and can be safely walked on with caution.”
To get a durable and attractive garage floor, follow the manufacturer’s advice on cure time and tack-free stage. This ensures a long-lasting and beautiful finish for your garage floor.
Full Cure Time
The full cure time for garage floor coatings is very important. Epoxy coatings usually take 24 to 72 hours to fully harden. It’s crucial to keep the floor clear of heavy objects during this time to avoid damage.
The time it takes for the coating to fully cure can change based on several things. These include temperature, humidity, and the type of product used. Always follow the manufacturer’s instructions to ensure the epoxy cures properly.
- Initial Cure: The epoxy coating will be ready for light foot traffic in about 24 hours.
- Full Cure: But, it can take up to 72 hours for the floor to fully cure. Keep it clear of heavy objects during this time.
- Patience is Key: Hurrying the curing process can cause wear and tear on the floor.
“Allowing the epoxy garage floor coating to fully cure is essential for ensuring long-lasting durability and maximum protection for your investment.”
Knowing the full cure time for your garage floor coating helps plan your project well. This way, your new floor can become a durable and long-lasting surface for your garage.

garage floor coating
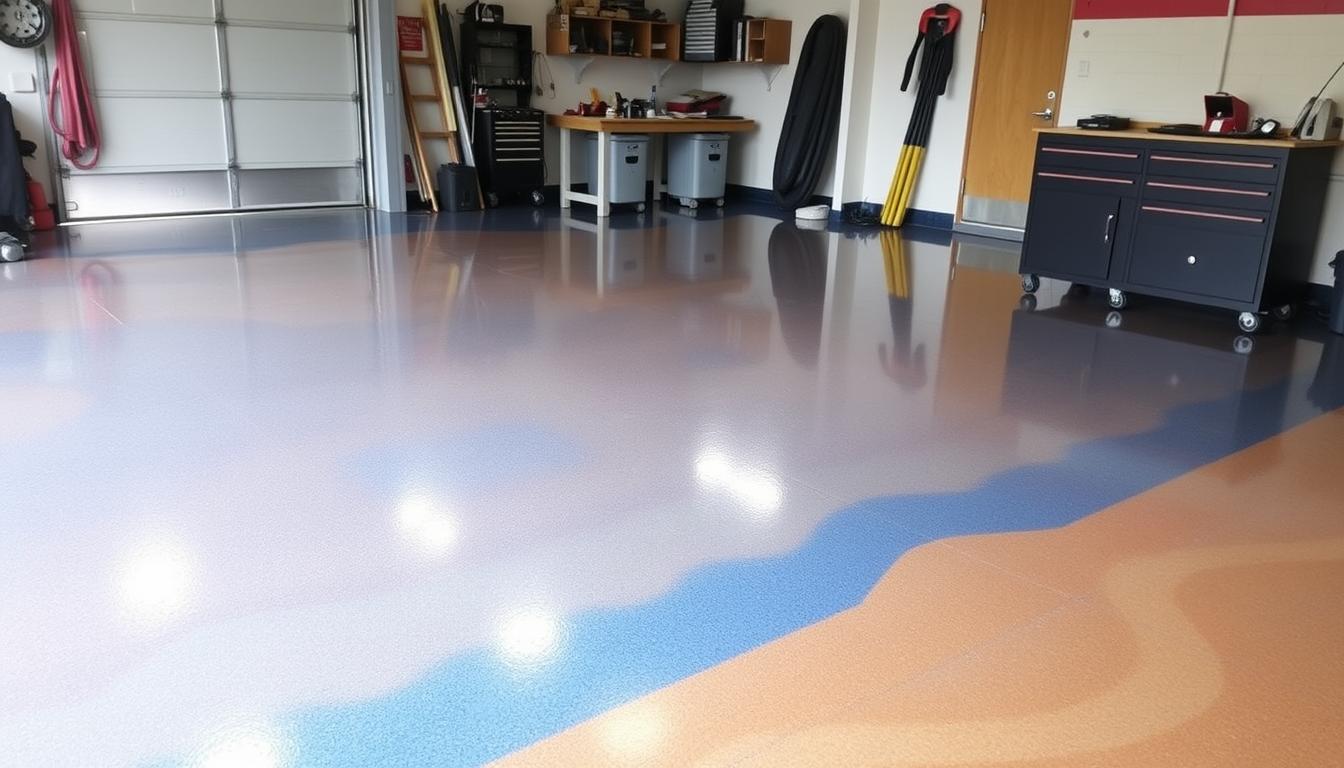
Garage floor coatings, like epoxy, can make your garage look new again. They last a long time and protect your concrete from damage. They also make your garage look better.
Epoxy coatings give your garage a shiny, smooth finish. You can choose from many colors and finishes to match your style. This way, your garage can truly reflect your taste.
These coatings also have practical benefits. They prevent cracks, chips, and stains on your concrete. Plus, they make cleaning easier. A good garage floor coating is a smart choice for any garage.
Learning how to garage floor paint is a bit more complex than painting walls. You need to clean and etch the concrete first. Also, the right weather conditions are important for drying and curing.
If you want to do it yourself, there are DIY kits available. But, for a professional look, hiring a contractor is a better option. They ensure the job is done right.
Whether you do it yourself or hire a pro, a good garage floor coating changes your garage. It becomes a clean, functional, and beautiful space. You’ll be happy to show it off.
Maintaining Your Epoxy Floor
Keeping your garage floor in top shape is key to its lasting beauty and strength. When it comes to your garage floor coating, focus on two main things: regular cleaning and avoiding heavy impacts.
Regular Cleaning
To keep your garage floor coating looking great, create a cleaning routine. Use a mild detergent and water to clean the surface. This removes dirt, grime, and spills. Stay away from harsh chemicals or abrasive cleaners, as they can harm the epoxy finish.
Avoiding Heavy Impacts
Epoxy floors are very durable but can still get damaged by heavy impacts or dragging objects. Be careful when moving heavy equipment or vehicles in and out. Also, avoid dropping or sliding objects that could crack or chip the epoxy coating.
By following these easy maintenance tips, your garage floor coating will stay in top condition for years. Protect your investment and enjoy a beautiful, functional garage floor for years to come.
“Proper maintenance is the key to ensuring your epoxy floor remains in pristine condition for years to come.”
Professional Installation
Hiring garage floor epoxy installers is key for a top-notch finish. While DIY is an option, pros bring many benefits. They ensure your garage floor looks great for years.
Garage floor epoxy installers know how to get the job done right. They prepare the surface, mix the epoxy, and apply it perfectly. This saves you time and stress, making it a smart choice.
Hiring Experienced Contractors
Choosing the right garage floor epoxy installer is crucial. Look for these qualities in a contractor:
- Years of experience in the industry
- Positive customer reviews and references
- Proper licensing, insurance, and certifications
- Transparent communication and project management skills
- Willingness to provide a detailed timeline and cost estimate
With a trusted garage floor epoxy installer, your garage will get a beautiful, durable epoxy floor. It will make your garage look and work better.

DIY vs. Professional Application
Homeowners can choose to apply garage floor coating contractors themselves or hire professionals. Each option has its own advantages and disadvantages.
Doing it yourself can save money. However, it requires careful preparation and a lot of time. Professional installation might cost more but guarantees a smooth result.
Advantages of DIY Garage Floor Coating
- Cost savings compared to professional installation
- Sense of accomplishment and personal investment in the project
- Flexibility to customize the project to your specific needs and preferences
Advantages of Professional Garage Floor Coating Contractors
- Expertise and experience in properly preparing and applying the epoxy coating
- Warranty and guarantee on the work, providing peace of mind
- Time-saving, as professionals can complete the job more efficiently
When deciding between DIY and hiring garage floor coating contractors, think about your skills, time, and budget. Weigh the pros and cons to choose the best option for you.
“Investing in a professional garage floor coating contractors can be a wise choice, as they have the expertise to ensure a long-lasting, durable, and visually appealing finish.”
Troubleshooting Common Issues
Garage floor coating epoxy is known for its durability. Yet, some common problems can happen during use. One big issue is bubbles or “fisheyes” on the epoxy surface.
Bubbles and Fisheyes
Bubbles and fisheyes can come from trapped air, moisture, or bad mixing. Knowing why they happen is key to a good garage floor coating epoxy job.
Trapped air often causes bubbles. This happens if the epoxy is too thick or the surface isn’t ready. Moisture in the concrete can also lead to bubbles, as the epoxy won’t stick well.
Fisheyes are like small craters on the epoxy. They usually come from dirt or oil on the concrete. This stops the epoxy from sticking right.
- Cleaning and etching the surface well is vital to avoid bubbles and fisheyes.
- Mixing the epoxy right and blending it well can also help.
- Using thin, even coats and good tools can also reduce these problems.
By knowing the reasons for these issues and taking steps to avoid them, you can get a smooth, lasting garage floor coating epoxy.
Conclusion
Transforming your garage floor with epoxy coating has been fully covered. Knowing how to dry and cure the floor is key for a lasting coat. You can do it yourself or hire garage floor coating experts. Either way, your garage will look and work better.
Learning how to garage floor paint and picking the right garage floor epoxy coating kit is crucial. Make sure to prepare well, apply correctly, and wait for the right cure time. This way, you get a durable, easy-to-care-for, and nice-looking floor.
If you need help, finding garage floor epoxy installers is a smart move. They know how to handle any issues, making your floor last long. Whether you do it yourself or get help from pros, the right garage floor coating best choice is out there.


