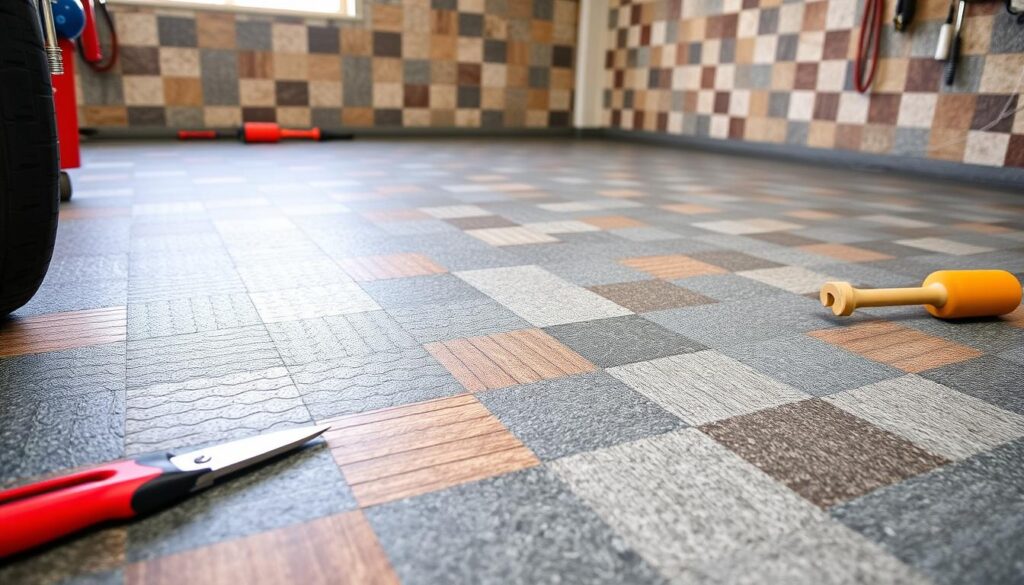
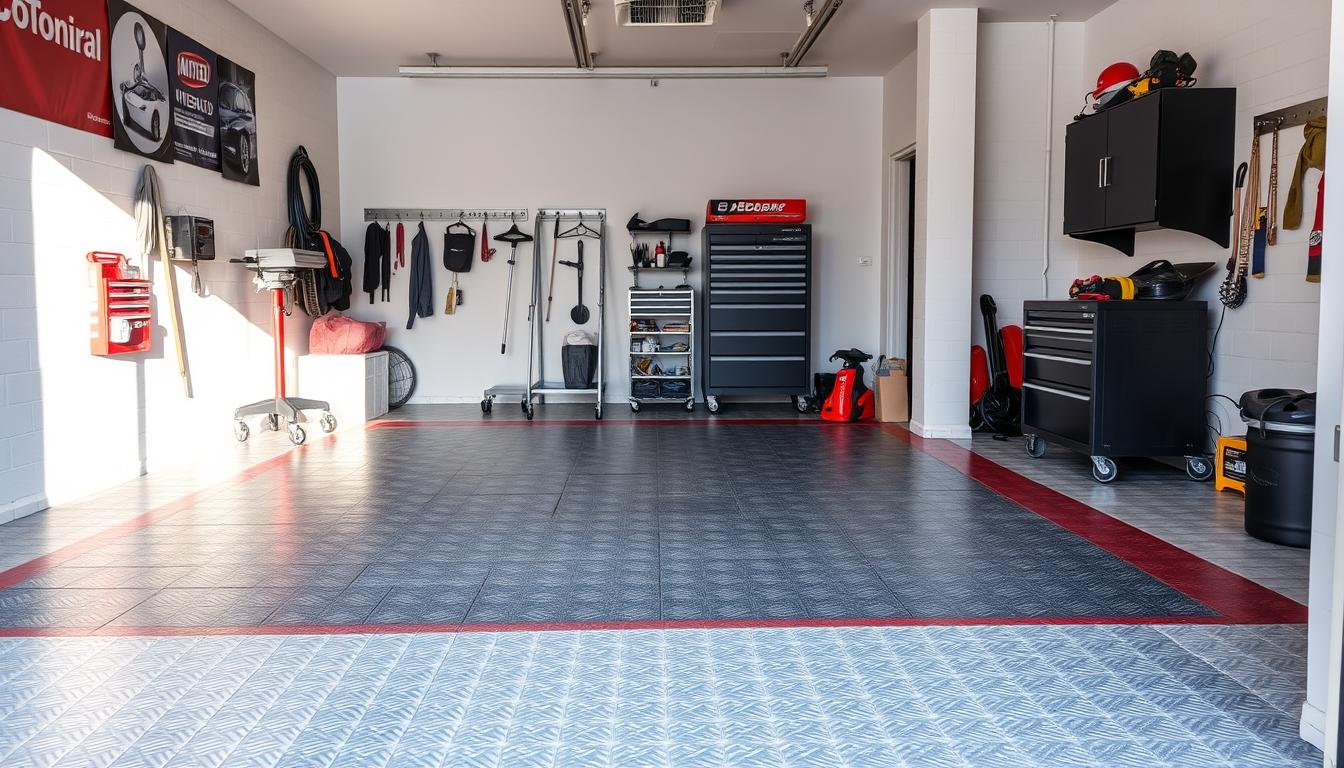
Turning your garage into a neat and safe area is a fun project. Installing durable garage floor tiles is a great way to do this. This guide will show you how to install garage floor tiles. You’ll learn about the benefits, types, and tips for a successful project.
Key Takeaways
- Garage floor tiles offer durability, protection, and easy maintenance for your garage space.
- Explore the different types of garage floor tiles, including interlocking and roll-out options, to find the best fit for your needs.
- Properly prepare the garage floor and gather the necessary tools and materials for a seamless installation process.
- Learn the step-by-step installation process, including laying out the pattern and cutting/trimming tiles as needed.
- Discover tips for finishing touches, such as edge trim and ramps, to create a polished and professional-looking garage floor.
Why Choose Garage Floor Tiles?
Garage floor tiles are a top pick for garage flooring. They are durable and versatile, offering many benefits. These tiles are a smart choice for your garage.
Durability and Protection
Garage floor tiles can handle heavy use and spills. They are made from high-quality materials. This makes them a strong and stain-resistant option for your garage.
Whether you store heavy equipment or work on your car, garage floor tiles will keep your garage looking good. They protect your floor from damage for years.
Easy Maintenance
Keeping your garage floor clean is easy with garage floor tiles. They don’t need much cleaning. A quick sweep or damp mop is enough to keep them looking great.
This saves you time and effort. You can focus on other important things in your garage. Garage floor tiles are a great choice for durability, stain resistance, and easy upkeep.
Types of Garage Floor Tiles
Choosing the right flooring tiles is key to a great garage makeover. Garage floor tiles come in many styles, each with its own benefits. Interlocking tiles and roll-out tiles are two top picks.
Interlocking Tiles
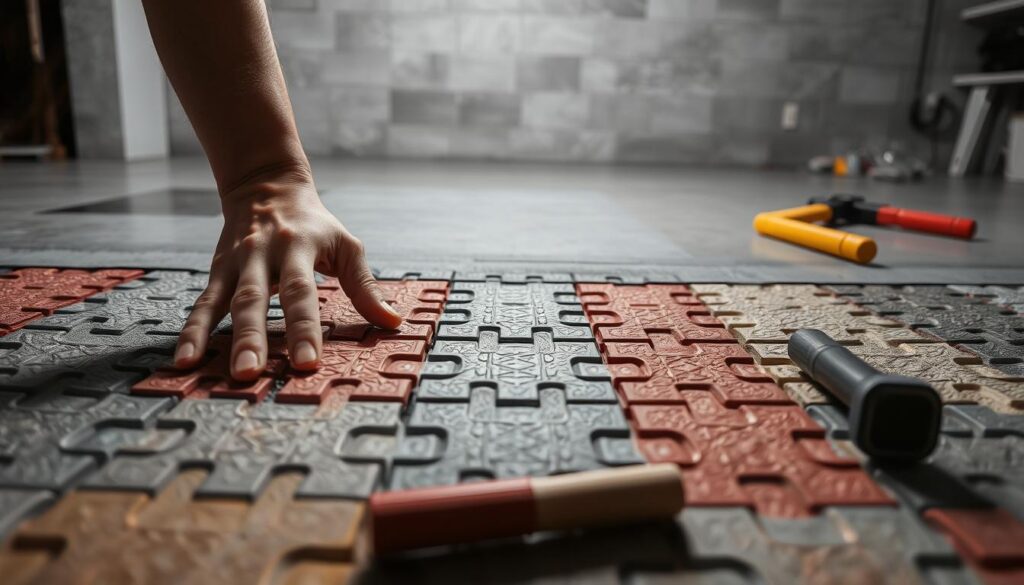
Interlocking garage floor tiles snap together for a smooth look. They’re simple to install and can be tailored to fit your garage. These tiles are tough, easy to care for, and come in many colors and patterns.
Roll-Out Tiles
Roll-out tiles offer flexibility. They can be unrolled and cut to fit your garage’s shape. Made from rubber or PVC, they’re soft, slip-resistant, and simple to clean.
| Feature | Interlocking Tiles | Roll-Out Tiles |
|---|---|---|
| Installation | Snap-together system | Unroll and trim to fit |
| Durability | Highly durable | Durable and flexible |
| Maintenance | Easy to clean and maintain | Easy to clean and maintain |
| Design Options | Wide range of colors and patterns | Limited color and pattern options |
Whether you pick interlocking or roll-out tiles, there’s a wide range to choose from. Each option can change your garage into a better space. Take time to look at the different garage floor tiles and find the perfect fit for your garage.
Preparing the Garage Floor
Before you start installing your new garage floor tiles, you need to prepare the floor. This step is key for a smooth and lasting tile installation. Let’s look at the important steps to get your garage floor ready.
Cleaning and Leveling the Surface
Begin by cleaning the garage floor well. Use a broom or shop vacuum to get rid of dirt and debris. If there are cracks or uneven spots, fill them with concrete patching compound. After cleaning and leveling, you’re ready for the next step.
Repairing Damage
Check the garage floor for big cracks, chips, or damage. These can affect the stability and look of your new garage floor covering. Use concrete repair to fix these issues, making sure your how to tile garage floor project has a solid base.
Ensuring a Clean Slate
Finally, clean the garage floor well with a degreaser or concrete cleaner. This removes oils, grease, and other stuff that might stop your garage floor covering ideas from sticking. When the floor is clean and dry, you can start installing.
“Proper preparation is the key to a successful garage floor tile installation. Take the time to get your surface ready, and you’ll be rewarded with a long-lasting, beautiful finish.”
By following these steps, you’ll get your garage floor ready for a smooth garage floor covering near me installation. With a clean, level, and damage-free floor, you’re on your way to a functional and nice-looking garage.
Essential Tools and Materials
Getting ready for a garage floor tiles installation means having the right tools and materials. Having these essentials ready will make the job easier and ensure a great look.
Tools Needed
- Utility knife: For cutting and trimming tiles to fit your garage’s layout.
- Tape measure: To measure your garage floor and plan the tile layout.
- Level: Makes sure the tiles are even and the surface is smooth.
- Seam roller: Flattens and secures the tile edges for a seamless finish.
- Hammer: For tapping tiles into place and securing edge pieces.
- Rubber mallet: Used to gently tap tiles for a tight fit.
Materials Required
Along with the tiles, you’ll need other materials for the how to install garage floor tiles project:
| Material | Purpose |
|---|---|
| Edge trim | Provides a finished, polished look along the garage floor’s edges |
| Adhesive or sealant | Bonds the tiles to the floor and seals the seams for durability |
| Cleaning supplies | Prepares the garage floor for tile installation |
With the right garage floor covering options and garage floor covering ideas tools and materials, you’re set for a successful garage floor tiles installation.
Garage Floor Tiles Installation Process
Installing garage floor tiles involves laying them out in a pattern and cutting them to fit. It’s important to follow the manufacturer’s instructions and pay attention to detail. This ensures a professional and durable garage floor.
Laying Out the Pattern
Start by planning the tile layout. Measure the space and choose a pattern that looks good. Think about the tile size, room dimensions, and any obstacles.
Cutting and Trimming Tiles
Often, you’ll need to cut tiles to fit. Use a sharp knife or tile cutter for clean cuts. This makes the tiles fit well and look professional. Measure carefully to avoid mistakes.
Proper installation is crucial for a long-lasting garage floor. By following these steps and being careful, you can get a beautiful, durable floor. It will make your garage look and function better.
| Task | Description |
|---|---|
| Laying Out the Pattern | Measure the space and plan the tile layout to ensure a seamless and visually appealing finish. |
| Cutting and Trimming Tiles | Use a sharp utility knife or tile cutter to make clean, precise cuts along the edges of the tiles to achieve a tight, uniform fit. |
“Attention to detail is crucial when installing garage floor tiles for a professional-looking and long-lasting result.”
Finishing Touches
Once the garage floor tiles installation is done, it’s time for the final steps. You’ll need to add edge trim around the edges for a clean look. Also, include ramps or transition pieces for smooth transitions between the tiles and other surfaces.
Edge Trim and Ramps
Edge trim is key to finishing your garage floor covering. It’s usually made of metal or plastic and gives a professional edge to your tiles. Ramps help connect the tiles to other areas, like doorways or the garage floor.
When picking edge trim and ramps, make sure they match your garage floor covering options. They should be durable, easy to put in, and fit your garage’s style.
| Edge Trim Options | Ramp Options |
|---|---|
| Aluminum edge trim | Rubber ramps |
| PVC edge trim | Vinyl ramps |
| Stainless steel edge trim | Aluminum ramps |
These finishing touches will make your garage floor covering ideas look great. They ensure a smooth transition between the tiles and other areas.

“Attention to detail is the key to a successful garage floor tiles installation. The finishing touches can make all the difference in creating a visually appealing and functional space.”
Maintenance and Care
Keeping your garage floor tiles in top shape is crucial. You’ll need to sweep or vacuum them often, deep clean them sometimes, and use sealants or protectants as needed. By following the manufacturer’s advice, your garage floor tiles will last longer and stay protected.
Here are some key tips for maintaining your garage floor tiles:
- Sweep or vacuum the tiles regularly to remove dirt, debris, and small particles that can accumulate over time.
- Occasionally, deep clean the tiles using a mild, tile-safe cleaner and a stiff-bristle brush or mop. This will help remove any stubborn stains or spills.
- Apply a sealant or protective coating as recommended by the tile manufacturer. This will help preserve the tiles’ color, texture, and resistance to wear and tear.
- Avoid using harsh chemicals, abrasive cleaners, or heavy machinery that could potentially damage the tiles’ surface.
By following these simple steps, you can keep your garage floor tiles looking great. They will stay smooth and provide the excellent garage floor tiles installation you paid for. With the right care, your garage floor tiles will keep offering top-notch durability and protection for many years.
“Regular maintenance is the key to keeping your garage floor tiles looking their best and maximizing their lifespan.”
Troubleshooting Common Issues
Installing garage floor tiles is usually easy, but problems can still happen. This section will give you tips to fix these issues. This way, your garage floor tiles will stay in great shape.
Uneven Tiles
If your garage floor tiles aren’t level, there are steps to fix it. First, check the subfloor for uneven spots. Level or grind these areas as needed. Then, make sure you’re installing the tiles correctly, using a rubber mallet to set them firmly.
Gaps Between Tiles
Gaps between garage floor tiles can occur if they weren’t aligned right. To fix this, use a tile spacer to open the gap. Then, apply a flexible grout or caulk to fill it in.
Damaged Tiles
Over time, garage floor tiles can get damaged. If you see cracks, chips, or other damage, you can replace the tiles. Remove the damaged tile, clean the area, and install a new one. Follow the same steps as before.
| Issue | Troubleshooting Tip |
|---|---|
| Uneven Tiles | Check the subfloor, use a rubber mallet to set tiles firmly |
| Gaps Between Tiles | Use tile spacers and apply flexible grout or caulk |
| Damaged Tiles | Carefully remove and replace the affected tiles |
Fixing these common problems quickly keeps your garage floor tiles in good condition. Always follow the manufacturer’s instructions. If you’re unsure, don’t hesitate to ask a professional for help.

Garage Floor Tile Design Ideas
Garage floor tiles can change your garage’s look in many ways. You can choose from solid colors to mosaic patterns. This lets you make a space that looks great and feels like your own.
Garage floor tiles in bold colors are very popular. Colors like deep blue, rich red, or sleek black can make your garage look modern. These tiles are also tough, perfect for areas that get a lot of use.
For a more interesting look, try garage floor tile patterns. You can use tiles in different colors to make patterns like checkerboards or herringbones. These patterns not only look good but also hide small floor flaws.
Want something unique? Garage floor covering ideas like mosaic tiles are great. These small tiles can be arranged in many ways, letting you be creative. You can make your garage look like a work of art with shapes or designs.
No matter what style you like, garage floor tiles near me are a good choice. They come in many colors, patterns, and textures. This means you can make your garage look like it belongs with your home’s style.
“The right garage floor tiles can transform a simple utilitarian space into a stylish and functional extension of your home.”
| Tile Type | Advantages | Considerations |
|---|---|---|
| Solid Color Tiles |
|
|
| Patterned Tiles |
|
|
| Mosaic Tiles |
|
|
Conclusion
Turning your garage into a stylish and useful space is easy with garage floor tiles. You can choose from durable interlocking tiles or roll-out options. This guide has given you the tools to make your dream garage a reality.
Start by getting your garage floor ready. Use the right tools and materials. Then, follow the steps to install your garage floor covering. This will make your garage look better and last longer.
With this article, you’re ready to install garage floor tiles yourself. Your garage will show off your style and meet your needs. It’s time to upgrade your garage and enjoy a floor that’s durable, easy to clean, and looks great.


