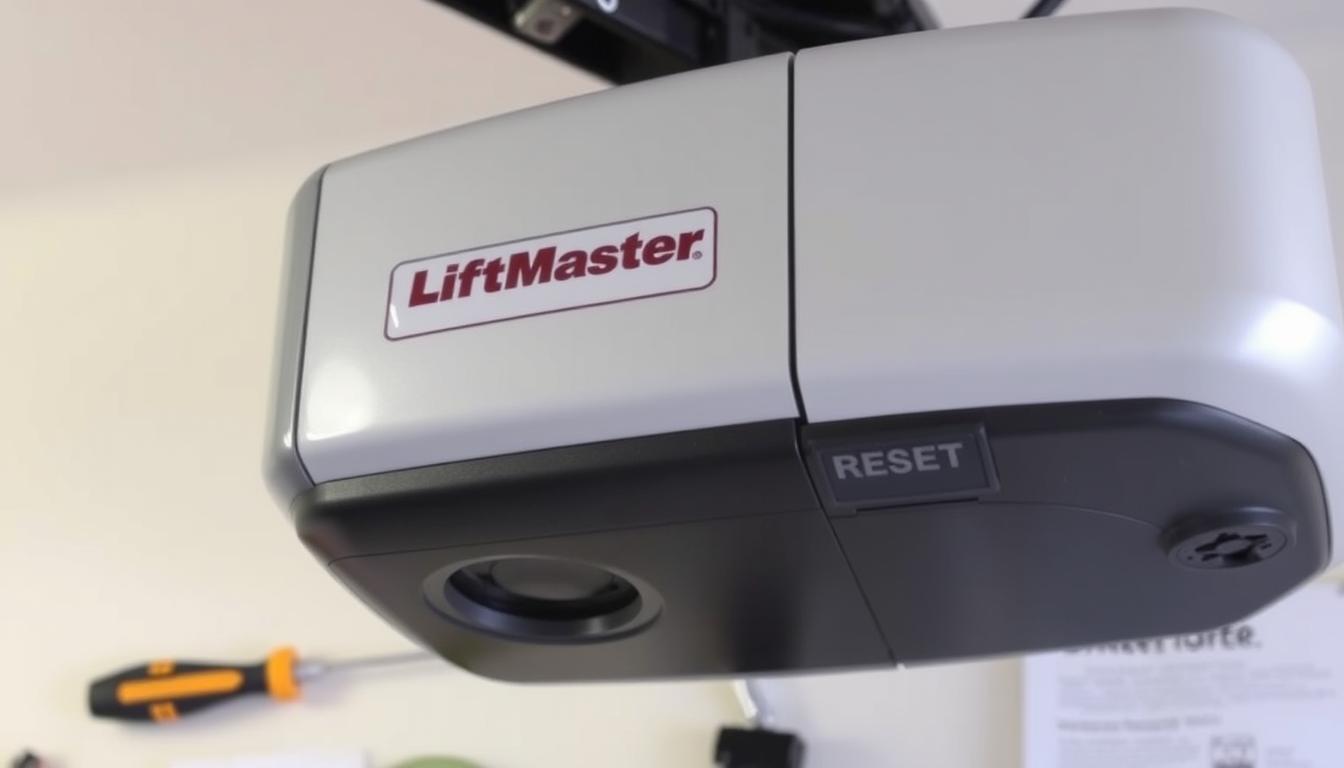
If your Liftmaster garage door opener isn’t working right, resetting it might fix the problem. This guide will show you how to reset your Liftmaster garage door opener. We’ll cover different models, common issues, and give you step-by-step instructions. This will help get your garage door working again.
Key Takeaways
- Understand the different Liftmaster garage door opener models and their specifications.
- Identify the common components of Liftmaster openers to better troubleshoot issues.
- Familiarize yourself with the common reasons for resetting a Liftmaster garage door opener.
- Follow essential safety precautions before starting the reset process.
- Learn the step-by-step instructions to reset your Liftmaster garage door opener.
Understanding Your Liftmaster Garage Door System
Knowing about your garage door is key. It’s important to understand the Liftmaster models and their features. This knowledge helps with upkeep and fixing issues.
Different Models and Their Specifications
Liftmaster offers many garage door opener models. They range from simple chain-drive to advanced belt-drive and screw-drive. Each model has its own lifting capacity, noise level, and extra features like Wi-Fi and smartphone apps.
Common Components of Liftmaster Openers
Most Liftmaster openers have the same main parts:
- Motor: This is the strong motor that lifts and lowers the door.
- Drive Mechanism: It’s the chain, belt, or screw that makes the door move.
- Sensors: These safety sensors stop the door from closing on people or objects.
- Remote Controls: You can use these to open the door from afar.
- Keypads: You can enter a code here to open the door without a remote.
Identifying Your Model Number
It’s vital to know your Liftmaster model number. This info is on a sticker or plate on the opener or control panel. It helps with troubleshooting, getting parts, and ensuring upgrades work.
By knowing about Liftmaster models, their parts, and how to find your model, you can keep your garage door system running well. This ensures it works smoothly for many years.
When to Reset Your Liftmaster Garage Door Opener
Resetting your Liftmaster garage door opener is needed in many situations. You might face power outages, remote malfunctions, or security worries. Knowing when to reset can save you a lot of trouble.
Power Outages and Resets
Power outages can cause your Liftmaster opener to lose its settings. When power returns, your door might not work right. A reset can help it work smoothly again.
Remote Control Issues
Remote control problems? A reset might fix it. If your remote isn’t working, it could make your door act strangely. Resetting both the remote and the opener can solve this issue.
Security Concerns and Resets
Worried about your opener’s security? Resetting it can help. It removes old codes and remotes, adding protection to your home.
Before you reset your opener, always follow the manufacturer’s guide. This ensures a safe and effective reset. Knowing when to reset helps keep your Liftmaster system running well.
Essential Safety Precautions Before Starting
Before you start to reset your Liftmaster garage door opener, it’s important to follow safety steps. Make sure your workspace is safe and your tools are ready. This helps avoid accidents and makes resetting easier.
Power Safety Measures
First, turn off the power to your Liftmaster garage door opener. Unplug it or switch off the circuit breaker. This step stops the opener from turning on by accident or causing electric shocks.
Mechanical Safety Checks
- Look for any damage or wear on the garage door and its parts. Check the springs, pulleys, and cables to see if they’re okay.
- Try opening the garage door by hand. It should move smoothly and not get stuck.
- Make sure the door’s safety feature works. Place an object in its path and try to close it. If it stops, it’s working right.
Workspace Preparation
Clear the area around the Liftmaster garage door opener. You need room to work without any obstacles. Remove tools and personal items that could get in the way. Also, make sure the area is well-lit and safe to walk around.
By following these safety steps, you can reduce risks when resetting your Liftmaster garage door opener. Always put safety first when working with mechanical or electrical systems.
How to Reset Liftmaster Garage Door Opener
Resetting your Liftmaster garage door opener is easy. Just make sure to follow the right steps for a successful reset. Our guide will help you reset your Liftmaster opener, whether it’s wall-mounted or has a remote.
Wall-Mounted Liftmaster Openers
To reset a wall-mounted Liftmaster opener, follow these steps:
- Find the “Learn” button near the motor unit.
- Press and hold the “Learn” button until the LED light blinks.
- Release the “Learn” button when the LED light blinks.
- Press the “Learn” button again and hold until the LED light turns off.
Liftmaster Remote Controls
Resetting a Liftmaster remote control is a bit different:
- Locate the “Learn” button on the remote, usually on the back or side.
- Press and hold the “Learn” button until the LED light on the remote turns on.
- Release the “Learn” button, and the LED light should blink.
- Press and hold the button you want to reset until the LED light turns off.
Remember, the steps might vary slightly based on your Liftmaster model. Always check your owner’s manual or the Liftmaster website for more detailed instructions.
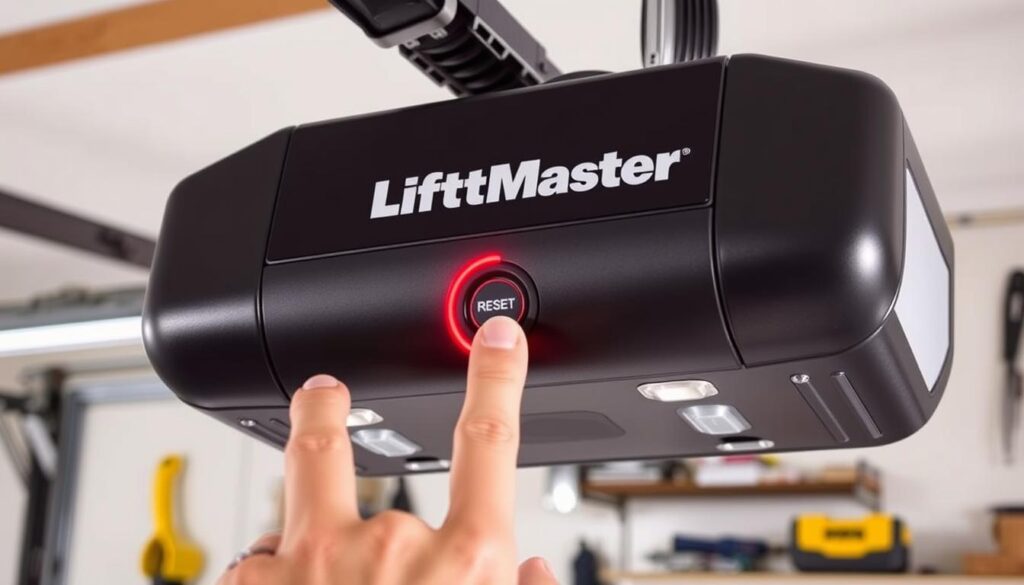
By following these steps, you can successfully reset your Liftmaster garage door opener and fix any issues. If you have trouble or more questions, contact the Liftmaster customer support team for help.
Syncing Your Opener with Vehicle Remote Systems
Are you tired of using multiple remotes for your Liftmaster garage door and car? We’ve got a solution for you. You can easily connect your Liftmaster garage door opener to your car’s remote system. This makes your life a lot easier.
Compatible Vehicle Models
Many cars can connect with your Liftmaster opener. Brands like Ford, Chevrolet, Toyota, and Honda are among them. Check your car’s manual or contact the maker to see if it’s compatible.
Step-by-Step Programming Process
- Find the “learn” or “program” button on your Liftmaster opener. It’s usually on the motor unit or near the wall control.
- Press and hold the “learn” or “program” button until the LED light blinks. This means it’s ready for programming.
- Look in your car’s manual for how to program the garage door opener. You’ll need to press a button on your car’s remote or dashboard.
- After programming, test it by pressing the car’s remote button. See if it opens your Liftmaster garage door opener.
By following these steps, you can sync your Liftmaster garage door opener to your car. This makes your daily routines more convenient and efficient.
The exact steps might vary based on your Liftmaster model and car. If you have trouble, check the manufacturer’s instructions or ask a professional for help.
Battery Replacement Guide for Remotes and Keypads
Keeping your Liftmaster garage door opener working well means regular care. This includes swapping out the batteries in your remote controls and keypads. We’ll show you how to spot when batteries are low and how to replace them for different Liftmaster models.
Symptoms of Low Batteries
It’s key to know when your remote or keypad batteries are getting weak. Look out for these signs:
- Remote control range or response gets weaker
- Keyboards struggle to open or close the garage door
- Opener takes longer to respond when using remote or keypad
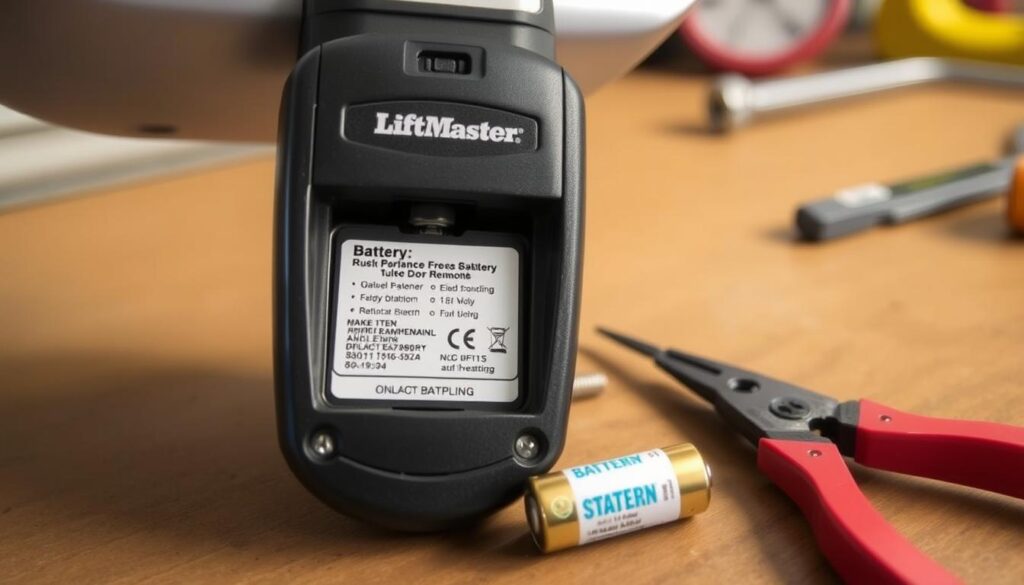
Replacing Batteries in Liftmaster Remotes
To swap out batteries in your Liftmaster remote, just follow these easy steps:
- Find the battery area, usually on the remote’s back
- Open the battery cover gently or slide it off
- Take out the old batteries and check the type needed (often CR2032 or similar)
- Put in the new batteries, making sure the positive and negative sides are right
- Close the battery area and test the remote to make sure it works
Replacing Batteries in Liftmaster Keypads
Changing batteries in a Liftmaster keypad is similar:
- Find the battery area, often on the keypad’s back or underside
- Remove the old batteries and check the type needed (usually AA or AAA)
- Insert the new batteries, making sure the positive and negative sides are right
- Close the battery area and test the keypad to see if it’s working
Always throw away old batteries safely. Keep a spare set ready to make sure your Liftmaster opener’s remote and keypad are always ready.
Troubleshooting Common Reset Issues
Resetting your Liftmaster garage door opener might seem easy, but sometimes, you hit a snag. This part talks about common error codes, what they mean, and how to fix them quickly. It’s all about solving reset problems.
Error Codes and Their Meanings
Liftmaster garage door openers show error codes to find the problem. Here are some common ones and what they mean:
- Error Code 2: This code means there’s a problem with the safety sensors. You might need to realign or replace them.
- Error Code 3: It points to a motor or gear issue. You might need a pro to check it out.
- Error Code 4: This code is about memory or programming problems. Resetting the opener’s memory or reprogramming the remote might fix it.
Quick Fixes for Common Problems
Resetting your Liftmaster garage door opener can sometimes go wrong. Here are some quick solutions:
- If the opener won’t respond, check the power. Make sure it’s getting electricity.
- If your remote won’t sync, try reprogramming it or change the batteries.
- If the door acts up after resetting, look for blockages or mechanical problems.
If these fixes don’t work, it’s time to call a Liftmaster garage door opener pro for help.
“Troubleshooting reset problems can be tough, but with patience and the right steps, you can fix your Liftmaster garage door opener easily.”
Conclusion
In this guide, we’ve walked you through resetting your Liftmaster garage door opener. We covered everything from understanding the different models to the reset process. This ensures your garage door system works perfectly.
Keeping your Liftmaster garage door opener in good shape is key. Regular maintenance and resets help it last longer and work better. By following our guide, you can fix any problems and keep your garage door running smoothly. Proper care of your opener means more convenience and peace of mind for you.
This guide is for everyone, whether you’re new to homeownership or have had a Liftmaster opener for years. It gives you the knowledge to reset your system easily. Stay informed and proactive to keep your Liftmaster opener working well for you for many years.
