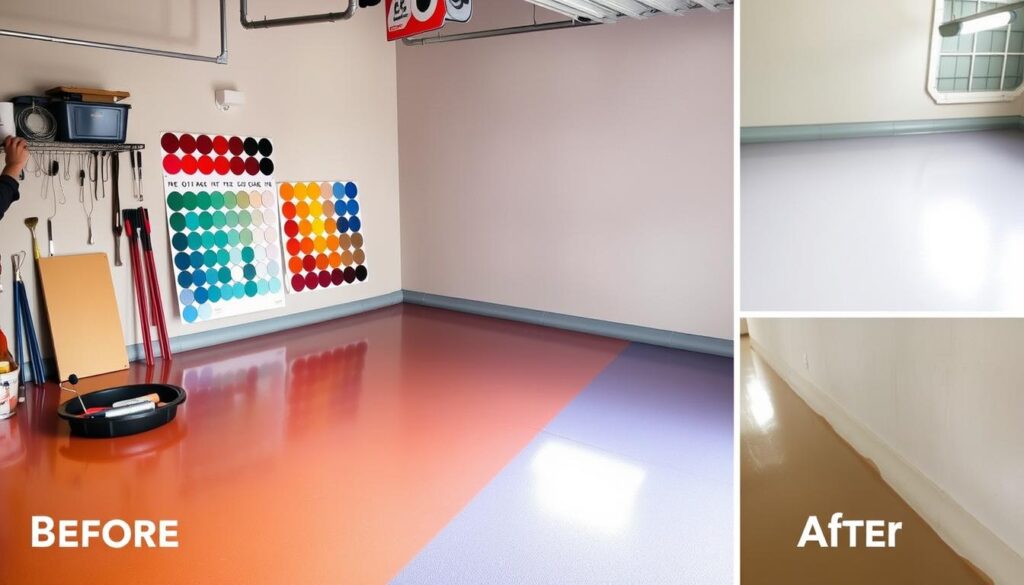
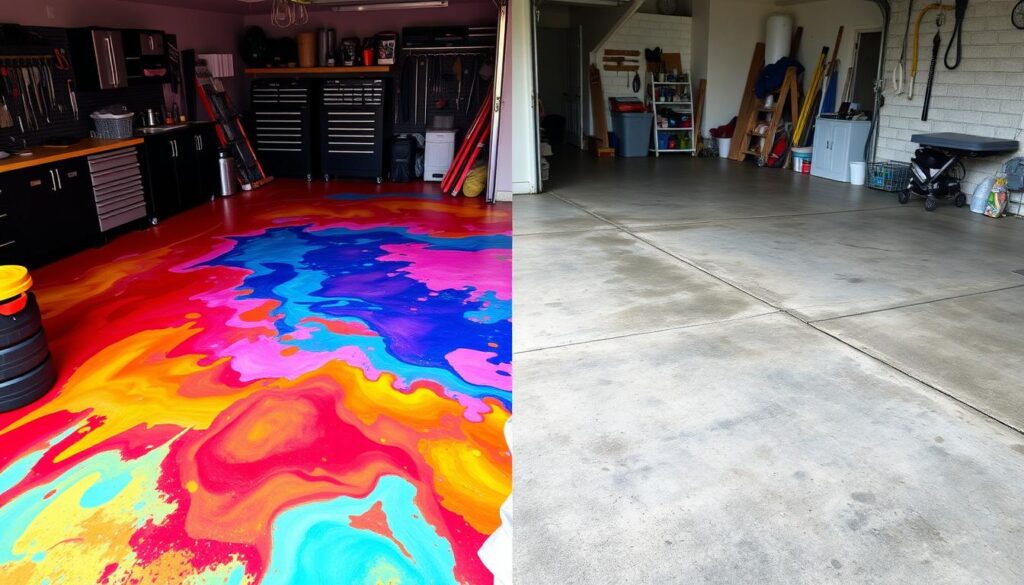
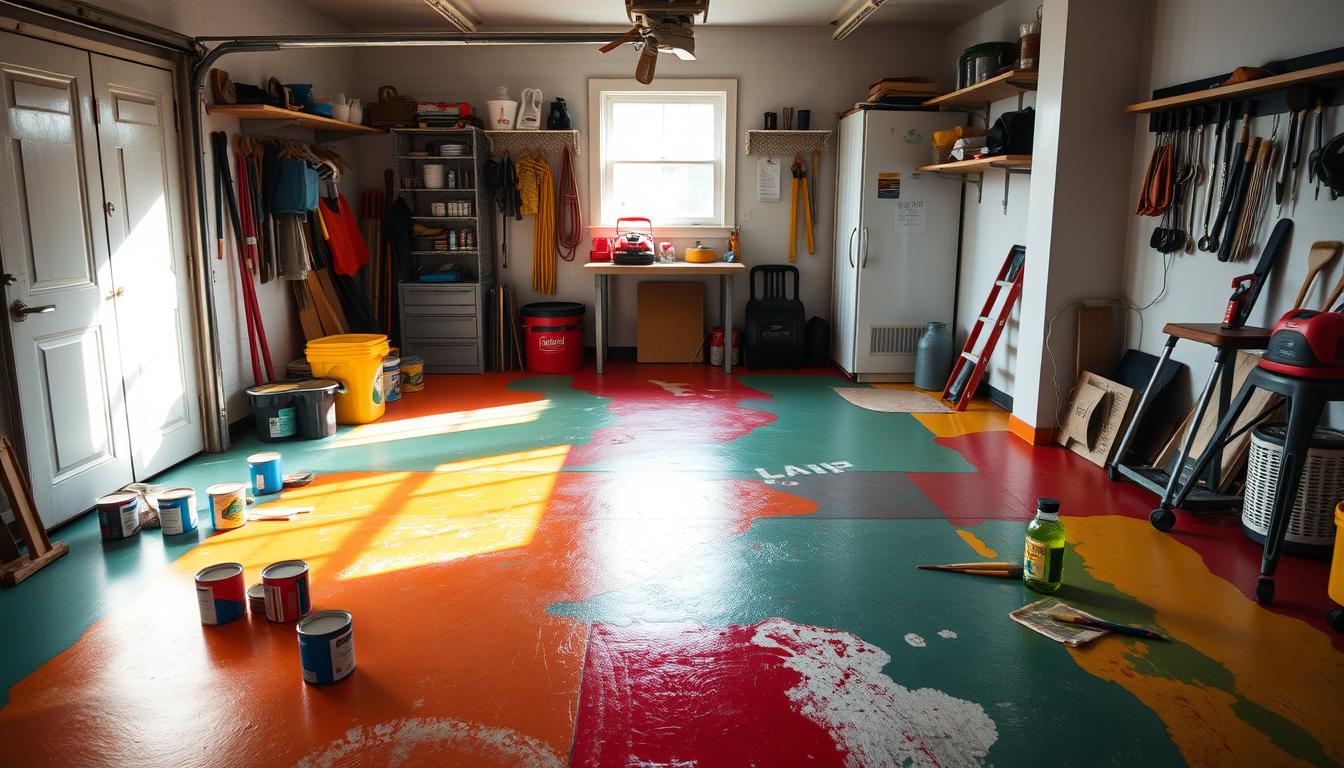
Thinking of changing your garage? DIY garage floor paint can make it amazing with little work. It not only looks better but also works better. HomeAdvisor says a new garage floor can raise your home’s value, making it a smart choice.
Looking for ways to paint your garage floor? Or maybe a fun weekend project? This guide will help you start your garage makeover.
Key Takeaways
- Transform your garage space with easy DIY projects.
- Painting your garage floor enhances both durability and appearance.
- Home improvement projects can lead to increased property value.
- Explore various paint garage floor ideas for your unique style.
- Proper preparation is essential for a successful garage floor transformation.
Introduction to DIY Garage Flooring
Starting a DIY garage flooring project can change how your garage looks and works. Many people choose garage floor painting to make more room, improve hobby areas, and boost safety. It’s a way to get what you want without spending a lot.
Experts at “This Old House” say garage floors take a lot of abuse. The right care is key to keeping them in good shape. Going for DIY garage flooring can make your garage look and work better, which is why many homeowners do it.
- Check your floor’s condition and figure out what repairs you need.
- Pick colors and finishes that match your style and are useful.
- Think about using slip-resistant coatings for safety.
Benefits of Painting Your Garage Floor
Painting your garage floor brings many benefits. It makes your garage more functional and looks better. Quality paint adds durability and beauty, making it a smart choice for homeowners.
Enhanced Durability and Longevity
Painting your garage floor makes it last longer. High-quality paints can handle heavy use and chemicals. This means your floor stays clean and looks new for up to ten years.
Improved Aesthetics and Cleanliness
A painted garage floor looks and feels better. You can choose colors and finishes that make your garage look organized and welcoming. A clean floor makes your garage seem more tidy and organized.
Choosing the Right Type of Garage Floor Paint
Choosing the right garage floor paint is key to getting the look and function you want. There are many types of paint, each with its own benefits and drawbacks. This makes a garage paint selection guide very important. Here, we compare some popular options to help you choose the best.
| Type of Paint | Durability | Drying Time | Cost | Application Method |
|---|---|---|---|---|
| Epoxy | High | 12-24 hours | $50-$150 per gallon | Roller or Brush |
| Polyurethane | Very High | 4-6 hours | $60-$160 per gallon | Roller or Sprayer |
| Latex | Moderate | 1-2 hours | $30-$80 per gallon | Brush or Roller |
| Oil-Based | Moderate to High | 4-8 hours | $25-$75 per gallon | Brush or Roller |
Epoxy coatings are great for garages that get a lot of use because they last long and resist chemicals. Latex paint is easy to use and clean up, and dries fast, which is good for DIY projects. Each paint type has its own strengths, so think about things like application method, drying times, and cost to make a smart choice.
Do It Yourself Garage Floor Paint: Supplies You Need
Starting a DIY garage floor painting project means getting the right stuff. Quality supplies make the job easier and the results better. You’ll need tools and materials, and the right paint to make your garage floor look great.
Essential Tools and Materials
For a garage floor painting job, you need the right tools. Here’s a list of what you’ll need:
- Paint rollers and brushes
- Painter’s tape
- Primer for concrete
- Drop cloths to protect areas
- Safety gear like gloves and goggles
- A scrub brush for cleaning
- Stir sticks for mixing paint
- Pans for applying paint
Recommended Paint Types
Choosing the right garage floor paint can be tough. Look for paints that last long and resist stains. Here’s a comparison of some top picks:
| Paint Brand | Type | Durability (Years) | Price (per gallon) |
|---|---|---|---|
| Rust-Oleum EpoxyShield | Epoxy | 5-10 | $65 |
| KILZ Concrete Stain | Stain | 3-5 | $35 |
| Behr Premium 1-Part Epoxy | 1-Part Epoxy | 3-7 | $45 |
| Valspar Concrete Floor Paint | Latex | 2-5 | $30 |
Choosing top-notch supplies and paints is key to a great garage floor. The right tools and materials make the job easier and improve your garage’s look and function.
How to Prepare Your Garage Floor for Painting
Getting your garage floor ready for painting is key to a good finish. You need to clean it well and fix any blemishes before painting. This guide will show you how to clean and prepare your floor.
Cleaning and Repairing the Surface
Cleaning is the first step in preparing your garage floor. Remove dirt, grease, and grime from the concrete. This helps the paint stick better. Use a pressure washer or a concrete floor cleaner to get the job done.
- Clear the garage of all items, including vehicles.
- Use a broom to sweep away loose debris.
- Apply a degreaser if there are oil stains. Let it sit for the recommended time before scrubbing.
- Rinse the surface thoroughly to ensure no cleaning residue remains.
- Allow the floor to dry completely.
Acid Etching vs. Grinding
After cleaning, you have to choose between acid etching or grinding. Both methods help the paint stick better. But, they work differently based on your floor’s condition.
| Preparation Method | Process | Best For | Pros | Cons |
|---|---|---|---|---|
| Acid Etching | Apply a diluted acid solution to the surface; neutralize and rinse. | Lightly sealed or smooth surfaces | Cost-effective; easy to apply | Can be hazardous; requires safety measures |
| Grinding | Use a concrete grinder to mechanically remove the top layer of concrete. | Heavily stained or sealed floors | Creates a rough surface for excellent adhesion | More time-consuming; requires equipment |
Choosing the right method for garage floor preparation is crucial. Look at your floor’s condition and pick the best technique. This will help your painting project succeed.
Your Step-by-Step Guide on How to Apply Garage Floor Paint
To transform your garage floor, follow specific steps for the best results. Knowing how to apply garage floor paint leads to a beautiful, durable surface. Start by preparing your workspace. Make sure it’s well-ventilated and free from debris. Also, gather all necessary supplies before you begin.

- Clean the Surface: Begin with a thorough cleaning. Use soap, water, and a stiff brush to remove grease or grime. A pressure washer can help with tough stains.
- Mix the Paint: Follow the manufacturer’s instructions to mix your garage floor paint. Make sure it’s well-blended for even application.
- Apply a Primer (if necessary): For some surfaces, a primer is needed for better adhesion. Choose an epoxy or acrylic primer for the best results.
- Begin Painting: Use a quality roller or sprayer to apply the first coat of paint. Start in a corner and work your way out to avoid stepping on wet paint.
- Allow to Dry: Let the first coat dry as recommended on the paint can before applying a second coat.
- Add Texture or Flakes (Optional): If you want, sprinkle decorative flakes onto the wet paint for added texture and beauty.
- Apply a Topcoat: After the paint dries, consider applying a clear sealer. It protects the finish and makes it last longer.
By following these painting garage floor steps, you can ensure a successful DIY project. Always check the paint manufacturer’s instructions for any specific guidelines related to the product used.
| Step | Description |
|---|---|
| 1 | Clean the garage floor thoroughly. |
| 2 | Mix paint according to instructions. |
| 3 | Apply a primer if necessary. |
| 4 | Start painting with a quality roller or sprayer. |
| 5 | Allow adequate drying time. |
| 6 | Add decorative flakes for texture (optional). |
| 7 | Apply a topcoat for protection. |
With these clear steps on how to apply garage floor paint, you can achieve outstanding results and a refreshed look for your garage.
Best Do It Yourself Garage Floor Coating Techniques
Getting a great finish on your garage floor requires knowing the right techniques. By following these steps, you can get a durable and good-looking result. There are two main methods: applying a base coat and adding decorative touches. Each method has its own benefits that make your garage look and feel better.
Applying a Base Coat
Starting with a base coat is key for strong adhesion and bright colors. This layer is the base for all other coatings and makes the surface ready for decorations. Choosing a good primer that matches your top coat is important for a lasting finish. Proper preparation and application help avoid peeling or chipping.
Adding Decorative Flakes or Stains
To make your garage floor unique, you can add decorative flakes or stains. These can be bright colors or subtle tones, adding texture and style. This not only makes your garage look better but also makes it safer by improving slip resistance. You can choose from many colors and patterns to create a space that’s truly yours.
| Technique | Description | Benefits |
|---|---|---|
| Base Coat | First layer applied for adhesion and color vibrancy. | Enhances durability, prevents peeling. |
| Decorative Flakes | Color chips added for aesthetic enhancement. | Personalizes space, improves slip resistance. |
| Stains | Color applied to achieve a custom finish. | Wide variety of colors, enhances depth. |
Is Painting a Garage Floor a Good Idea?
Thinking about painting your garage floor? It’s important to look at both sides. Knowing the pros and cons helps decide if it’s right for you. Consider things like the floor’s current state, the weather, and how you use the garage.
Factors to Consider Before Starting
Before you start painting your garage floor, think about these things:
- Climate: Very hot or cold weather can mess with the paint’s drying and lasting power.
- Condition of the Floor: If the floor has cracks or is uneven, you might need to fix it first.
- Use of the Garage: If big vehicles often go in, make sure the paint can handle it.
Common Myths about Garage Floor Painting
There are a few wrong ideas out there. Let’s clear up some myths about garage floor paint:
- Myth 1: Painting is just for looks. But good paint also makes the floor last longer.
- Myth 2: Paint can’t stand up to lots of traffic. But there are paints made for heavy use.
- Myth 3: Painting is too hard. But with the right prep, you can do it yourself.

Maintaining and Caring for Your Painted Garage Floor
To keep your garage floor looking great, it’s important to maintain it well. Regular care can make your paint job last longer and look better. Here are some key garage floor paint maintenance tips to help you keep your floor in top shape.
Cleaning and Maintenance Tips
Cleaning your garage floor right is key. Start by sweeping or vacuuming to get rid of dirt and dust. For a deeper clean, follow these steps:
- Use a mop and mild detergent and water for regular cleaning.
- Scrub tough stains with a soft-bristled brush and the right cleaner.
- Rinse well after cleaning to avoid dulling the finish.
- Clean spills right away to prevent stains and damage.
By following these paint garage floor upkeep tips, you can keep your floor looking good and prevent damage.
When to Reapply Paint or Finish
Check your floor often to see if it needs a new coat of paint or finish. Look out for these signs:
- Peeling or flaking, which means the paint is coming off.
- Fading color, which shows the UV protection is wearing off.
- Stains that can’t be cleaned after trying several times.
Spotting these signs early helps you take care of your floor on time. By following these tips, keeping your garage floor paint in good condition is easy.
Conclusion
Painting your garage floor can change it in amazing ways. It makes your garage last longer and look better. With a little planning and work, you can make your garage better.
Getting your garage floor right is all about prep and how you paint. “House and Home” has great tips to help you. By following this guide, you’ll get a floor that looks great for a long time.
Starting this project is exciting. Remember, a painted garage is useful and looks good. So, get ready to make your garage a better part of your home. The effort will be worth it.


