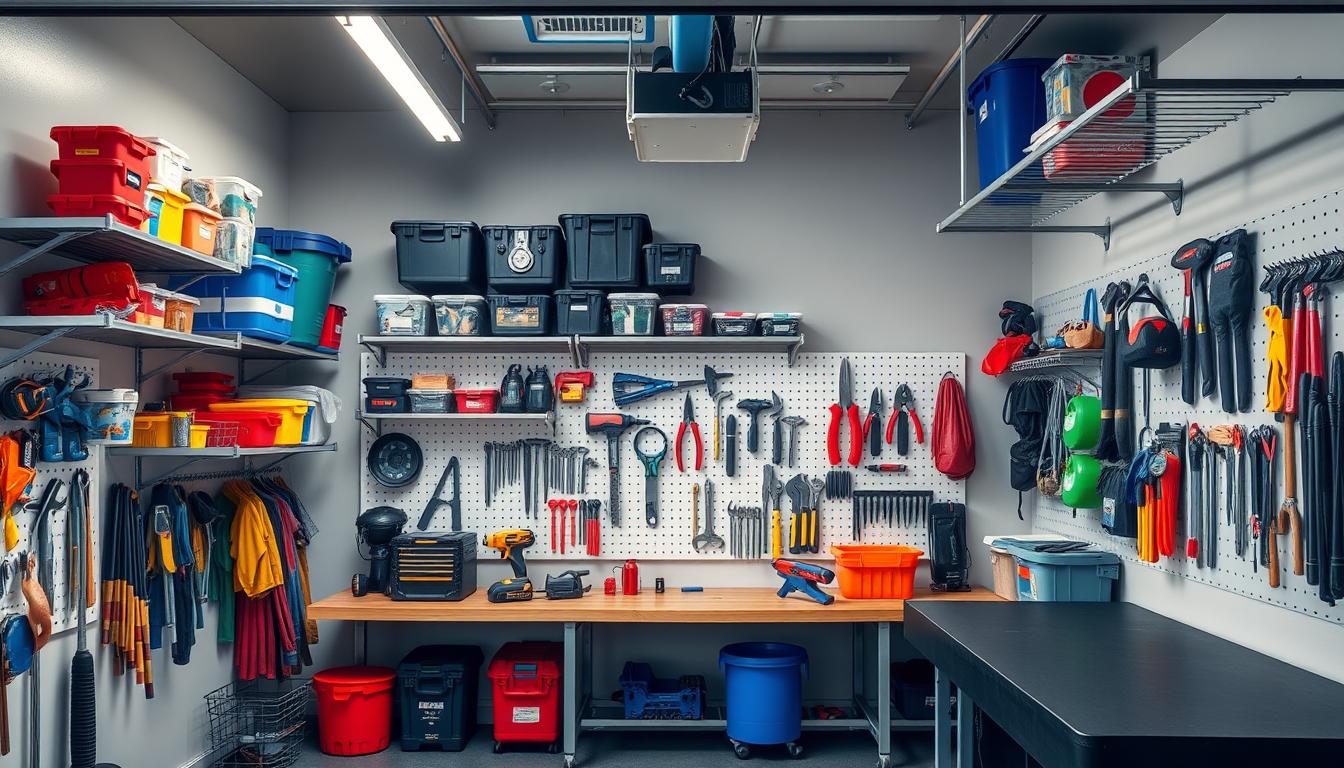
Are you tired of the clutter in your garage? Making your garage organized is easier than you think. This guide will show you how to declutter and use space wisely. You’ll learn to build custom shelving and find other creative storage ideas.
Whether you want a DIY pull-up bar, a paint booth, or a stylish clothing display, we’ve got you covered. This article will help you achieve your garage goals.
Key Takeaways
- Learn how to declutter and organize your garage for maximum efficiency
- Discover DIY storage solutions to maximize vertical space in your garage
- Get step-by-step instructions for building custom shelving units
- Explore creative garage storage ideas, from a DIY pull-up bar to a paint booth setup
- Learn how to create a stylish clothing display for a successful garage sale
Visualize Your Ideal Garage Space
Before starting your garage diy storage project, take time to imagine your dream garage. This step helps you figure out what storage you need and plan your space well.
Define Your Garage Storage Needs
First, list all the items you want to store in your garage. This includes tools, equipment, and other things you need to organize. Knowing what you have helps you choose the right storage solutions.
- Categorize your items (e.g., automotive, gardening, sports equipment)
- Estimate the space required for each category
- Identify any bulky or oddly-shaped items that may require specialized storage
Create a Layout Plan
Now, sketch out a plan for your garage layout. Think about where to put big items like your car, workbench, or shelves. This helps use the space better.
Look for garage diy shelving ideas to use vertical space well. This keeps things organized and easy to find. By planning your garage, you make sure your DIY work meets your needs.
“The key to an organized garage is to first define your needs and then develop a plan to address them effectively.”
A well-planned garage makes this space more useful and looks better in your home.
Purge and Declutter
The first step to an organized garage diy storage is to get rid of what you don’t need. Go through your stuff and decide what to keep, donate, or throw away. This clears space and makes it easier to find good storage solutions.
Begin by sorting your garage items into three groups:
- Keep: Things you use often or hold special meaning.
- Donate: Items that are still in good shape but you no longer need.
- Discard: Things that are broken, old, or no longer useful.
Be honest with yourself when deciding what to keep. If you haven’t used something in a year, you probably don’t need it. Get rid of items you don’t use and keep only what’s essential.
“The first step in crafting the life you want is to get rid of everything you don’t.” – Joshua Becker
After getting rid of unnecessary items, you’ll see how much space you have. Then, you can plan your garage diy storage solutions.
garage diy storage
Turning your garage into a tidy space is a big win. One smart move is to use the vertical space for storage. This area is often ignored but is perfect for storing things.
Maximize Vertical Space
Adding wall-mounted shelves, hooks, and racks changes how you store things. It keeps your garage floor clear and makes it look better. You can store tools and seasonal items neatly, making your garage more organized.
Build Shelving Units
Building your own shelving is a great way to customize your garage. You can make it fit your needs, from holding big items to organizing different things. With some DIY skills, you can make shelves that look good and work well.
“Maximizing vertical space is the key to transforming your garage into an organized, clutter-free oasis.”
Using these garage diy storage tips can make your garage work better for you. With some planning and effort, you’ll have a garage that’s both efficient and looks great.
Garage DIY Pull-Up Bar Installation
If you love working out and want to save space, a DIY pull-up bar is great. It turns your garage into a personal gym. This project is easy and fun.
First, measure your garage space and pick the best spot for the bar. Think about the ceiling height and any obstacles. This ensures your bar is safe and works well.
- Pick strong materials like steel or wood for your bar. It needs to handle your workout weight.
- Mark where to put the bar on the wall or ceiling. Make sure it’s anchored well.
- Assemble and mount the bar as the maker says. Always be careful.
- Check the bar’s strength and weight limit before using it.
With a garage diy pull up bar, your garage becomes a fitness spot. You can do upper-body exercises without losing floor space. With some planning and DIY skills, you’ll have a great workout area.
| Material | Average Cost | Difficulty Level |
|---|---|---|
| Steel Pull-Up Bar | $50 – $150 | Moderate |
| Wooden Pull-Up Bar | $30 – $100 | Easy |
“Turning your garage into a functional fitness space is a game-changer for your workout routine. A DIY pull-up bar is a simple yet effective addition that will keep you motivated and on track with your fitness goals.”
DIY Garage Paint Booth Setup
Setting up a diy paint booth in your garage can be a big help. This guide will show you how to make a safe and well-ventilated paint booth. This way, you can finish your projects efficiently and safely.
Ventilation and Safety Considerations
Good ventilation is key for a garage diy paint booth. It helps remove overspray, fumes, and harmful chemicals. This keeps you safe and lowers the chance of fire or breathing problems.
Make sure to wear the right gear, like a mask, goggles, and gloves. This protects you from harmful particles and chemicals. Also, place the booth in a bright area and have fire extinguishers ready for emergencies.
| Ventilation Considerations | Safety Precautions |
|---|---|
|
|
Focus on ventilation and safety to make a garage diy paint booth that’s safe and effective. This way, you can work on your painting projects with confidence and without worry.
Epoxy Garage Floor: A DIY Project
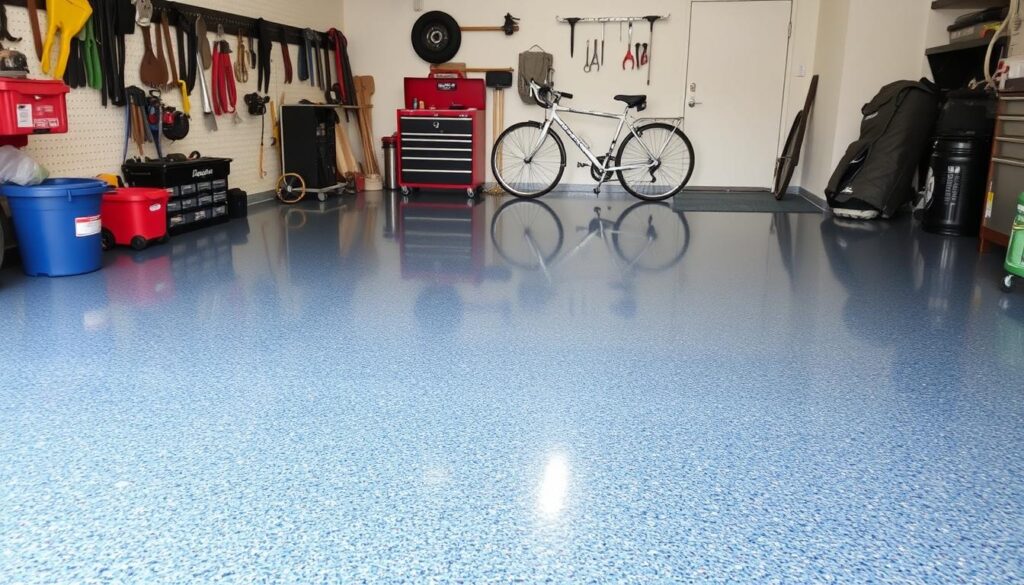
Turning your garage floor into a new space with epoxy is exciting. It makes the floor stronger, easier to clean, and looks great. This project needs careful prep and detail, but it’s worth it. Let’s go through the steps to get a beautiful epoxy garage floor.
Preparation and Application Tips
Before starting, make sure the floor is ready. Clean it well to remove dirt, oil, and other stuff. Etching the concrete helps the epoxy stick better. After cleaning and etching, mix and apply the epoxy.
- Mix the epoxy resin and hardener as the instructions say, making sure the ratio is right.
- Spread the epoxy on the floor, section by section, using a roller or squeegee.
- Let the epoxy dry for 24-48 hours before you can walk on it.
- Think about adding a non-slip additive or decorative flakes for extra style and grip.
By using these epoxy garage diy tips, you can make your garage floor modern, durable, and easy to keep up. It will improve your space’s look and function.
“Upgrading your garage floor with a DIY epoxy coating can be a game-changer. It’s a relatively simple project that can elevate the entire space and make it more functional for years to come.”
Garage DIY Shelving Ideas
Take your garage’s storage to the next level with more than just wall shelves. Discover a variety of garage diy shelving ideas to make the most of your space. These ideas range from modular systems to custom-built shelves, turning your garage into a tidy and efficient area.
Floating shelves are a smart choice – they’re sleek and fit well with your garage’s look. They offer lots of storage and a modern touch. For something more flexible, try modular shelving units. These can be adjusted to fit your needs perfectly.
For a bigger challenge, try making custom-built shelving. Building your own shelves can be a fun DIY project. You can design them to match your style, whether it’s modern or rustic.
- Floating Shelves: Sleek and space-saving storage solutions
- Modular Shelving Units: Customizable and adaptable designs
- Custom-Built Shelves: Unleash your creativity and design your own storage
Boost your garage’s organization with these garage diy shelving ideas. Turn your garage into a space that’s both functional and reflects your style.
Create a DIY Clothes Rack
Planning a garage sale? A DIY clothes rack is a great addition. It’s simple, stylish, and helps display items well, drawing in buyers.
Display Clothing Effectively for Garage Sales
To make a DIY clothes rack, you need basic materials and some effort. With a few steps, you can turn a pipe into a useful and attractive display.
- Gather your materials: PVC pipe, end caps, and flanges (or any other suitable materials you have on hand).
- Measure the desired height and width for your clothes rack based on the space you have available.
- Cut the PVC pipe to the appropriate lengths using a saw or pipe cutter.
- Assemble the frame by connecting the pipes with the end caps and flanges.
- Add any additional features, such as shelves or hooks, to maximize your display space.
- Finish by painting or decorating the rack to match your garage sale aesthetic.
By making a DIY clothes rack, you can organize and show off your diy clothes rack at your how to display clothing at a garage sale. This easy project can greatly improve your sale’s look, attracting more buyers.
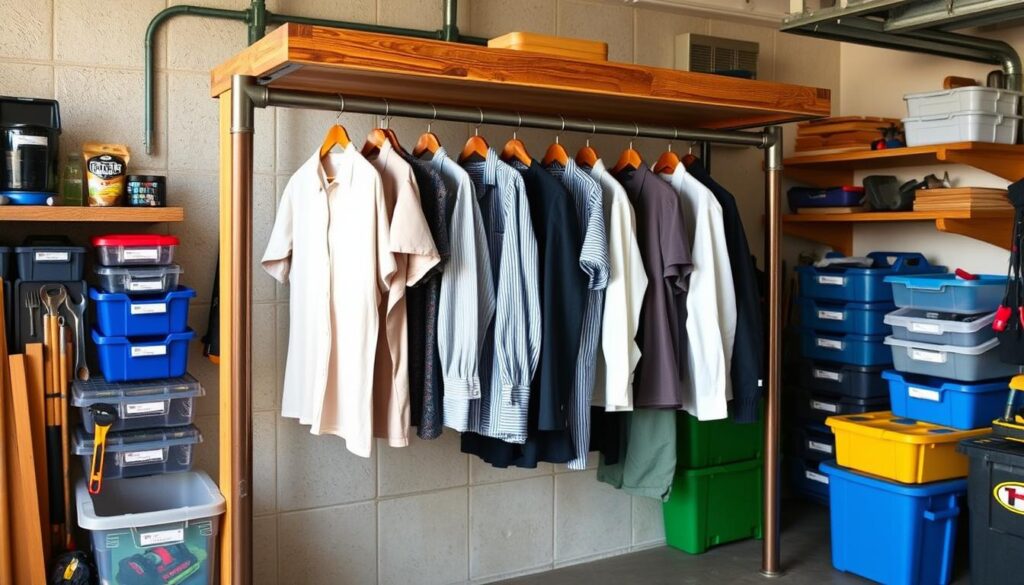
“A well-organized and visually appealing display can make all the difference at a garage sale. Your DIY clothes rack will help you showcase your items in the best possible light.”
Garage Organization Hacks
Getting your garage organized doesn’t need to cost a lot. You can use items you already have at home. This way, you can turn simple things into smart storage ideas. These ideas help you use your space better and keep your garage tidy.
Repurpose Household Items for Garage Storage
Start by using things you already have. Old paint cans are great for small tools. Empty milk crates can hold bigger items. Pegboards are perfect for hanging tools, and an old ladder can store garden or sports gear.
- Repurpose paint cans to store small hardware items
- Use empty milk crates to stack and store larger items
- Hang tools on a pegboard for easy access
- Convert an old ladder into a vertical storage rack
These diy storage hacks make your garage more organized and useful. You don’t have to spend a lot. With a bit of creativity, you can make your home items into useful storage.
| Household Item | Garage Storage Hack |
|---|---|
| Paint Cans | Store small hardware items |
| Milk Crates | Stack and store larger items |
| Pegboard | Hang tools for easy access |
| Old Ladder | Convert into a vertical storage rack |
“With a little creativity and resourcefulness, everyday household items can be transformed into practical storage solutions that maximize your available garage space.”
Maintain and Update Your Garage
Keeping your garage diy storage in top shape is key. Regular cleaning and updates help keep your garage organized and efficient. Make it a habit to declutter, clean, and adjust your storage often.
Set aside time each month or season to check your garage’s storage. Look closely at what you’ve stored and get rid of anything you don’t need. This keeps clutter at bay and saves you from a big mess later.
Cleaning and Maintenance
After decluttering, focus on cleaning and upkeep. Clean shelves, sweep the floor, and check for damage. This keeps your garage diy storage looking good and working well.
Adjusting and Updating
Your needs and storage needs will change over time. You might need more shelves or a new layout. Be open to trying new storage ideas to fit your garage perfectly.
“Maintaining your garage’s organization is an ongoing process, but the rewards of a well-organized, clutter-free space are well worth the effort.”
Regular upkeep makes your garage a joy to use. By following these tips, your garage will stay a valuable part of your home.
Conclusion
By using the DIY storage solutions and organization tips from this article, you can turn your garage into a useful and nice-looking space. Always check if your storage needs have changed and adjust your setup as needed. With some time, effort, and creativity, you can make your garage work better for you.
Having a well-organized garage can really help you stay productive and feel more at ease. Take on the challenge of making your garage a neat and organized place. The DIY ideas in this article will help you make your garage a special space that fits your life and hobbies.
As you start organizing your garage, be ready to change things up as your needs do. Your garage’s storage needs might change over time. By staying proactive in managing your garage, you can keep it organized and efficient, even as your needs change.
