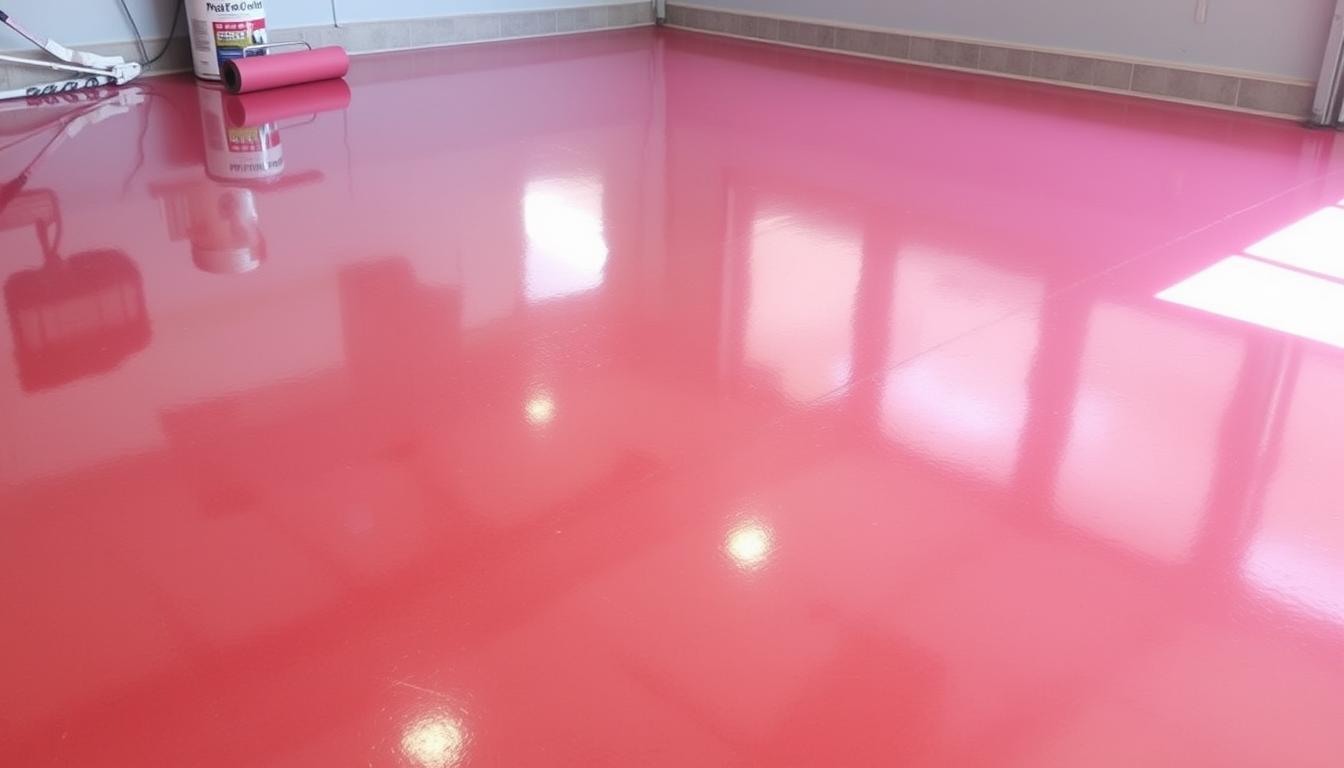
Turning your garage or basement into a beautiful space is exciting. Using epoxy concrete floor paint is a smart choice. It makes your area look great and is easy to keep clean. This guide will show you how to apply epoxy garage floor paint like a pro.
Key Takeaways
- Understand the different types of epoxy coatings and their benefits
- Properly prepare the concrete surface for optimal adhesion
- Learn the essential tools and materials needed for the project
- Explore techniques for mixing and applying the epoxy paint
- Discover common mistakes to avoid for a successful outcome
- Familiarize yourself with the curing process and maintenance tips
- Ensure your garage or basement floor looks stunning and lasts for years
Understanding Epoxy Garage Floor Paint
Epoxy garage floor paint is a durable and versatile flooring option. It has become very popular in recent years. This coating offers many benefits, making it a great choice for those looking to improve their garage.
Different Types of Epoxy Coatings
Epoxy garage floor paints come in different types. Each type has its own features to meet various needs. Here are a few common ones:
- Single-part epoxy: Easy to apply and perfect for DIY projects.
- Two-part epoxy: Offers superior strength and is often used in commercial settings.
- Epoxy garage floor paint Sherwin Williams: Known for its quality and durability, with many epoxy garage floor paint colors to choose from.
Benefits of Epoxy Floor Coating
Epoxy garage floor paint has many advantages. It’s a favorite among homeowners for several reasons:
- It’s very durable and resistant to wear, chemicals, and more.
- It has a slip-resistant surface for better safety.
- It’s easy to clean and maintain, with a smooth, glossy finish.
- You can choose from many colors to match your style.
- It protects your concrete floor from damage and weathering.
When to Choose Epoxy Over Other Flooring Options
Epoxy is best for areas with high traffic, heavy use, and harsh conditions. It’s perfect for garages, workshops, and industrial spaces. These areas need a flooring solution that lasts long and performs well.
Compared to other flooring options, epoxy stands out. It’s a smart choice for both homeowners and business owners.
Essential Tools and Materials Needed
To prepare your concrete floor for epoxy garage floor paint, you need the right tools and materials. Whether your garage is for one or two cars, having the right equipment ensures a smooth process. It also guarantees a professional finish.
Here’s a list of key items you’ll need to start:
- Epoxy garage floor paint (the amount needed depends on your garage’s size – usually 1-2 gallons per 500 square feet for a 2 car garage)
- Concrete floor cleaner and degreaser
- Concrete etching solution or mechanical grinder
- Roller frames and high-quality roller covers
- Paint trays and liners
- Paintbrushes for edging and corners
- Masking tape and drop cloths
- Orbital sander or floor buffer (optional)
- Squeegee or notched trowel (for spreading the epoxy)
- Protective gear: gloves, goggles, and respirator mask
You can find most of these items at Lowes or other home improvement stores. Make sure to measure your garage and calculate the epoxy needed. This ensures you have enough for full coverage. With the right tools and materials, you’re ready to transform your garage floor with a durable epoxy coating.
| Tool/Material | Purpose | Approximate Cost |
|---|---|---|
| Epoxy Garage Floor Paint | The main product for coating the concrete | $50-$100 per gallon |
| Concrete Cleaner and Degreaser | Prepares the surface for proper adhesion | $20-$40 per gallon |
| Etching Solution or Grinder | Creates a rough profile for the epoxy to bind to | $30-$80 for etching solution, $100-$300 for a grinder |
| Roller Frames and Covers | Allows for efficient application of the epoxy | $10-$30 per roller set |
| Paintbrushes and Trowel | Helps with edging, corners, and spreading the epoxy | $5-$20 per tool |
| Protective Gear | Ensures safety during the application process | $10-$50 for a full set |
The amount of epoxy you need depends on your garage’s size. For a 2 car garage, plan for 1-2 gallons per 500 square feet. With the right tools and materials, you’ll achieve a professional-looking, durable epoxy garage floor.
Preparing Your Concrete Surface
Getting your concrete surface ready is key for a great epoxy garage floor paint job in the UK. This step makes sure the epoxy sticks well, giving you a strong and nice-looking finish. Let’s look at the important steps to get your concrete ready.
Testing for Moisture Content
Before you start with the epoxy garage floor paint UK, check the concrete for moisture. Too much moisture can ruin how well the epoxy sticks and works. Use a moisture meter to see if the concrete is dry enough, usually 3% or less.
Cleaning and Degreasing Methods
Then, clean and degrease the concrete well. Get rid of any oil, grease, or dirt that could stop the epoxy from sticking. Good ways to clean include:
- Power washing with a degreasing solution
- Using a concrete scrubber or floor buffer with a degreasing agent
- Applying a chemical etching solution to remove stubborn stains and residue
Repairing Cracks and Damages
Look closely for any cracks, holes, or other damage on the concrete. These need fixing before you apply the epoxy garage floor paint UK. Use a top-notch concrete patch or filler to fix and smooth out the surface, making it ready for the epoxy.
By doing these steps, you’ll get your concrete ready for the epoxy garage floor paint UK. This will help you get the best results.
Weather and Temperature Considerations
When applying epoxy concrete floor paint, the weather and temperature are key. They help ensure a finish that lasts. The right conditions are vital for success and avoiding problems.
The ambient temperature is crucial. Epoxy coatings need a certain temperature range to work well. The best temperature for applying paint is between 50°F (10°C) and 90°F (32°C). If it’s too hot or too cold, you might face issues like poor curing or bubbles.
Humidity also matters a lot. The ideal humidity is between 30% and 80%. Too much moisture can ruin the paint’s curing and cause it to fail early.
- Aim for an ambient temperature between 50°F (10°C) and 90°F (32°C).
- Maintain relative humidity levels between 30% and 80%.
- Avoid applying epoxy in rainy, damp, or excessively humid conditions.
- Consider the weather forecast and plan your project accordingly.
By watching the weather and temperature, you can make your epoxy floor painting a success. This ensures a durable finish that boosts your space’s look and value. Remember, the right preparation and attention to the environment are essential for the best results when how to apply epoxy concrete floor paint.
Surface Etching and Profiling Techniques
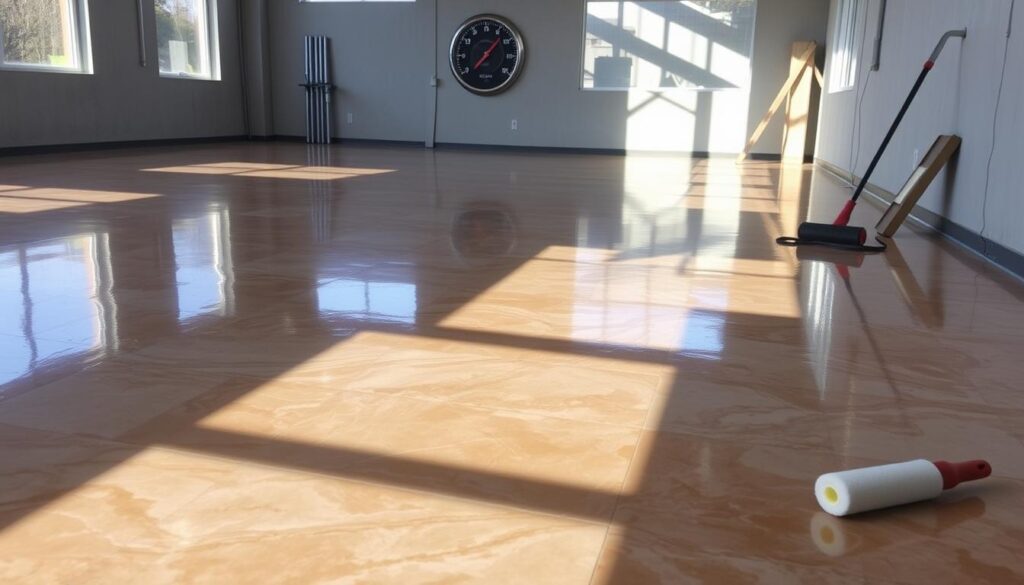
Applying epoxy garage floor paint with flakes needs a well-prepared surface. Chemical etching and mechanical grinding are key steps. They make sure the paint lasts long and looks great.
Chemical Etching Process
Chemical etching uses a muriatic acid solution to roughen the concrete. This makes the paint stick better. It’s great for older or smooth concrete.
The etching opens up the concrete’s pores. This lets the epoxy paint bond deeply. It makes the bond strong and lasting.
Mechanical Grinding Options
For a rougher surface, try mechanical grinding. Use a concrete grinder or floor sander. It removes the top layer, exposing a rougher surface.
Grinding is good for newer or stained concrete. It removes old coatings without harsh chemicals.
After etching or grinding, clean the surface well. Remove dust or debris before painting. This ensures a smooth, even coat and a beautiful finish.
“Proper surface preparation is the key to a successful epoxy garage floor installation. Take the time to etch or grind the concrete for optimal results.”
Mixing and Preparing Epoxy Paint
Applying epoxy garage floor paint is easy, but mixing and preparation are key for a perfect finish. Let’s explore how to make your epoxy garage floor paint colors look great.
First, gather everything you need: epoxy resin, hardener, and any color additives or flakes. Follow the instructions for mixing the resin and hardener. The right mix is vital for a strong, lasting finish.
- Pour the resin and hardener into a clean, sturdy mixing container.
- Use a low-speed drill with a mixing paddle attachment to thoroughly blend the two components for the recommended time, typically 2-3 minutes.
- If you’re adding color, now is the time to incorporate the paint or pigment. Mix until the color is evenly distributed throughout the epoxy mixture.
- Scrape the sides and bottom of the mixing container to ensure all the material is well-combined.
After mixing, work fast. The epoxy will thicken and become harder to apply. Pour it onto the concrete and spread it evenly with a roller or squeegee. Make sure to cover the right amount to avoid thin spots.
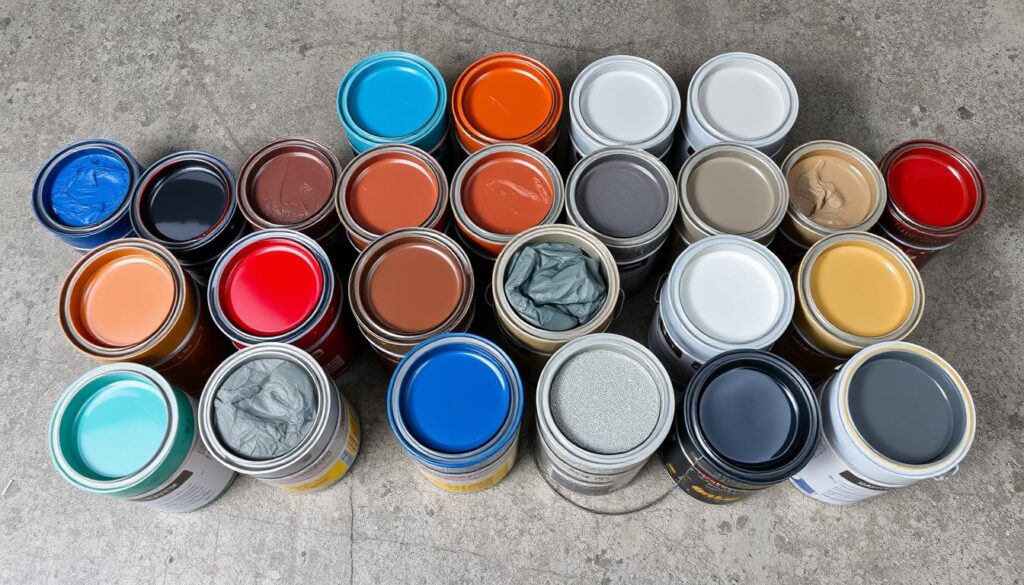
| Epoxy Garage Floor Paint Color Options | Pros | Cons |
|---|---|---|
| Solid Colors (e.g., gray, beige, white) | Timeless, classic look, easy to maintain | Limited design options |
| Metallic Epoxy | Stunning, high-end appearance, customizable | More expensive, requires specialized application |
| Epoxy with Decorative Flakes | Adds visual interest, hides imperfections | Requires additional steps, more labor-intensive |
The secret to a great epoxy garage floor paint job is in the prep and mix. Take your time and follow the instructions for a beautiful, lasting garage floor finish.
Application Techniques and Best Practices
Getting epoxy concrete floor paint right is crucial for a lasting, attractive finish. We’ll cover key methods like rolling, edge work, and adding decorative flakes. These steps will help you change your garage or workspace.
Rolling Techniques
Rolling is the base of a smooth epoxy floor. Start with a top-notch roller, 1/4 to 3/8 inches thick. This ensures even coverage. Roll out the paint on a spare area first, then apply it to the main floor.
Make sure to overlap each roll by 50%. This prevents any missed spots and ensures full coverage.
Edge Work and Corners
Edges and corners need special care for a pro finish. Use a quality brush for these tight spots. Paint in thin, even strokes, blending with the roller-applied areas.
Adding Decorative Flakes
Decorative flakes add a unique touch to your epoxy floor. Spread them over the first coat of paint right away. Press them gently into the wet paint for a strong bond.
After drying, apply a clear topcoat. This seals and protects the flakes, making your floor look even better.
Mastering these techniques will give you a beautiful, durable epoxy floor. It will impress everyone who sees it.
Common Mistakes to Avoid
To get a professional-looking epoxy floor coating, pay close attention to detail. Steer clear of these common errors to ensure a successful DIY project with epoxy garage floor paint from Lowes:
- Not properly preparing the surface: Skipping cleaning, etching, or fixing cracks can cause poor adhesion and quick wear.
- Mixing the epoxy wrong: Not mixing the resin and hardener correctly can prevent it from curing fully.
- Applying too much or too little paint: Uneven coverage can make the finish look bad.
- Working too fast: Rushing can lead to air bubbles, ridges, and other flaws.
- Ignoring edges and corners: Not treating these areas can ruin the look and durability of the epoxy garage floor paint from Lowes.
Avoiding these mistakes and following the best practices will help you transform your garage floor. You’ll get a professional-grade epoxy garage floor paint from Lowes that lasts a long time.
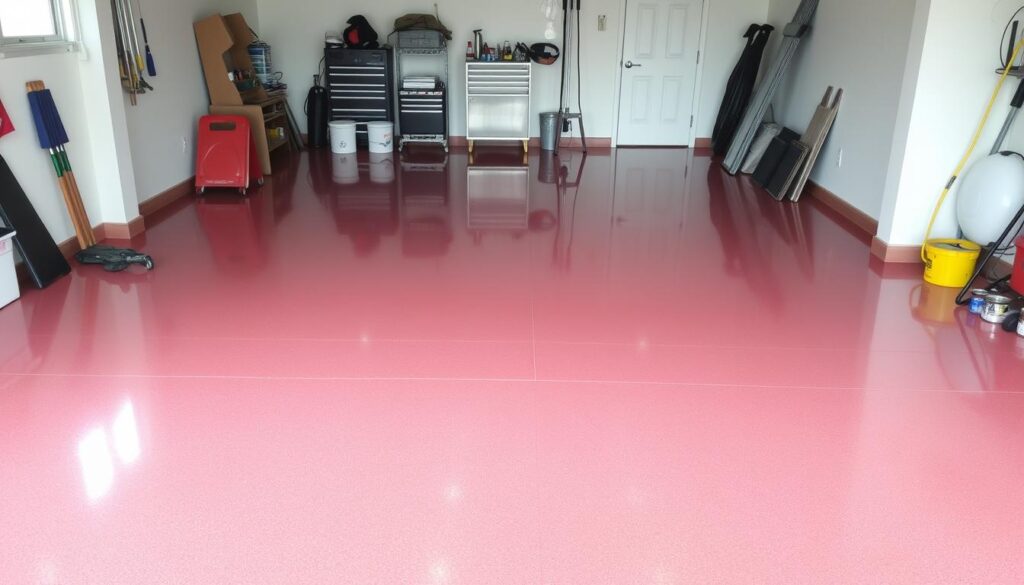
| Common Mistake | Consequence | Solution |
|---|---|---|
| Inadequate surface preparation | Poor adhesion and early wear | Thoroughly clean, etch, and repair the concrete before applying epoxy garage floor paint |
| Improper mixing of epoxy components | Incomplete cure | Carefully follow the manufacturer’s instructions for mixing the epoxy garage floor paint from Lowes |
| Applying the paint too thick or too thin | Uneven, unsightly finish | Apply the epoxy garage floor paint from Lowes at the recommended coverage rate |
| Rushing the application process | Air bubbles, ridges, and other imperfections | Take your time and follow the recommended application techniques for epoxy garage floor paint |
| Neglecting edge work and corners | Compromised look and durability | Carefully apply the epoxy garage floor paint from Lowes to edges and corners |
By avoiding these common mistakes and following the best practices for applying epoxy garage floor paint from Lowes, you can achieve a professional-quality finish. This will transform your garage and provide long-lasting protection.
Drying Time and Curing Process
Applying epoxy garage floor paint requires careful attention to drying time and curing. The time it takes for the epoxy to cure can change based on temperature and humidity.
Temperature Impact on Curing
The curing of epoxy floor coatings is greatly affected by temperature. Warmer temperatures speed up the curing, while cooler temperatures slow it down. In the UK, where the weather can change, temperature is key when using epoxy garage floor paint.
The best curing temperature is between 15°C and 25°C. If it’s colder, curing will take longer, and the finish might not be as good. If it’s too hot, the epoxy could cure too fast, causing problems like bubbles or unevenness.
When to Resume Floor Usage
The time to use the floor again after applying epoxy paint varies. Most epoxy coatings need 24-48 hours before you can walk on it.
But, the floor might not be fully ready for heavy use until 7-14 days after applying. During this time, avoid heavy objects and impacts. Always follow the manufacturer’s guidelines for best results.
Maintenance Tips for Epoxy Floors
Keeping your Sherwin Williams epoxy garage floor paint in top shape is key. Regular cleaning and care help your floor last longer. This keeps it looking good and working well.
Start by sweeping or vacuuming the floor often. This removes dirt and debris. For a deeper clean, use a pH-neutral cleaner from Sherwin Williams. Stay away from harsh chemicals and rough cleaners to avoid damage.
Use a microfiber mop to clean the floor. It’s gentle and effective. This helps prevent dirt buildup.
To shield your epoxy floor from damage, apply a protective topcoat or sealant every few years. Sherwin Williams has sealants made just for epoxy floors. Make sure to follow the instructions for the best results.
