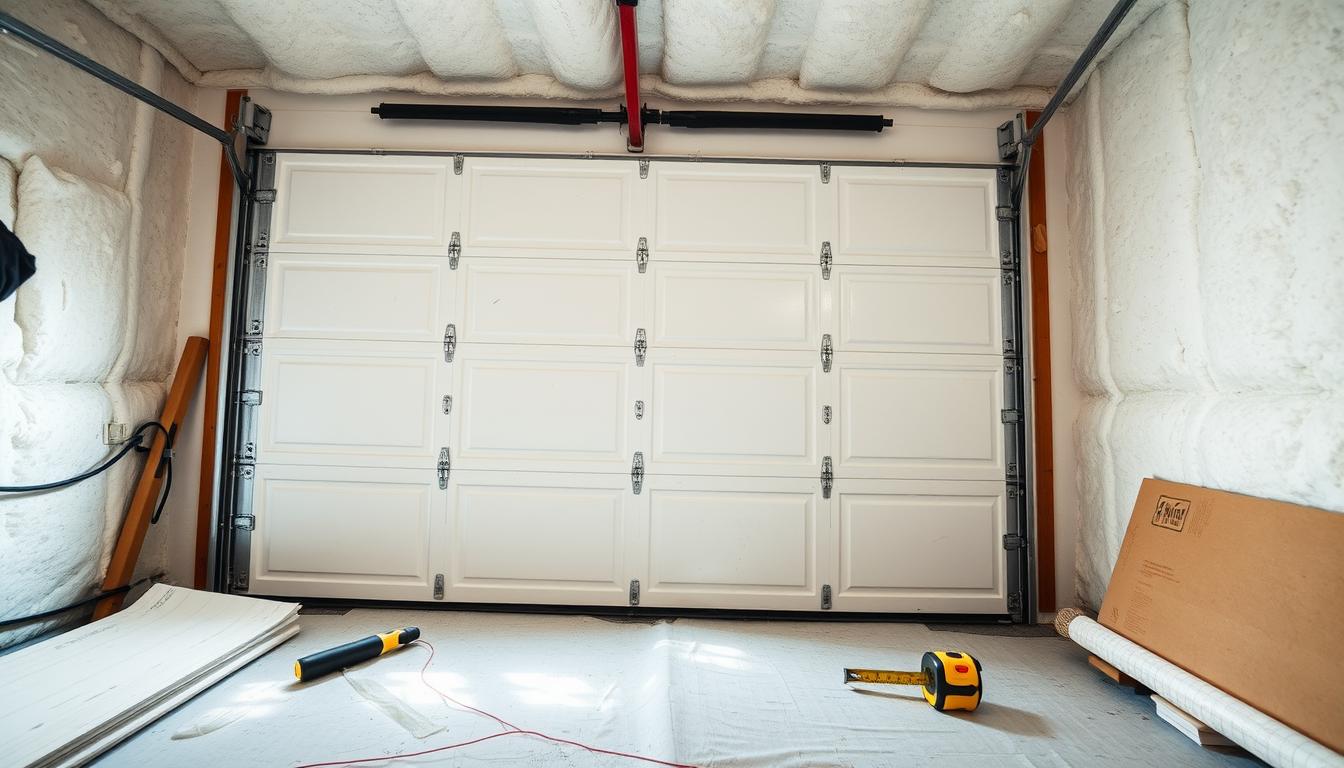
As a homeowner, making your garage more energy-efficient and comfortable can greatly improve your living space. One easy way to do this is by insulating your garage door. This DIY project is straightforward and can make a big difference. This guide will show you how to insulate your garage door, including the benefits, tools, materials, installation steps, and how to save money.
Key Takeaways
- Improve energy efficiency and temperature control in your garage
- Reduce noise levels for a quieter living environment
- Enhance the durability and lifespan of your garage door
- Utilize readily available insulation materials for a cost-effective project
- Follow step-by-step instructions for a successful DIY installation
Understanding the Benefits of Garage Door Insulation
Insulating your garage door offers many benefits. It improves energy efficiency and durability. By choosing the best insulation, you can save on utility bills and make your home more comfortable.
Energy Savings and Temperature Control
Insulated garage doors help control the garage’s temperature. They keep the air inside, reducing the need for your HVAC system. This saves energy and money on your bills. How much do insulated garage doors cost is a common question. But the long-term savings are worth it.
Noise Reduction Properties
Insulation also reduces noise. It makes the door quieter, creating a peaceful environment. This is great for those who use their garages for work or living spaces.
Enhanced Garage Door Durability
Insulated doors are also more durable. The insulation protects the door from daily wear and the elements. This can make your door last longer, saving you from costly repairs or replacements. What is the best insulation for garage doors depends on R-value, material, and installation.
“Investing in a well-insulated garage door is a smart decision that can pay dividends for years to come.”
Essential Tools and Materials for Your Insulation Project
Starting a DIY garage door insulation project needs the right tools and materials. Having the right items makes the installation smooth and successful. This guide will help you know what you need, whether it’s your first time or a refresh.
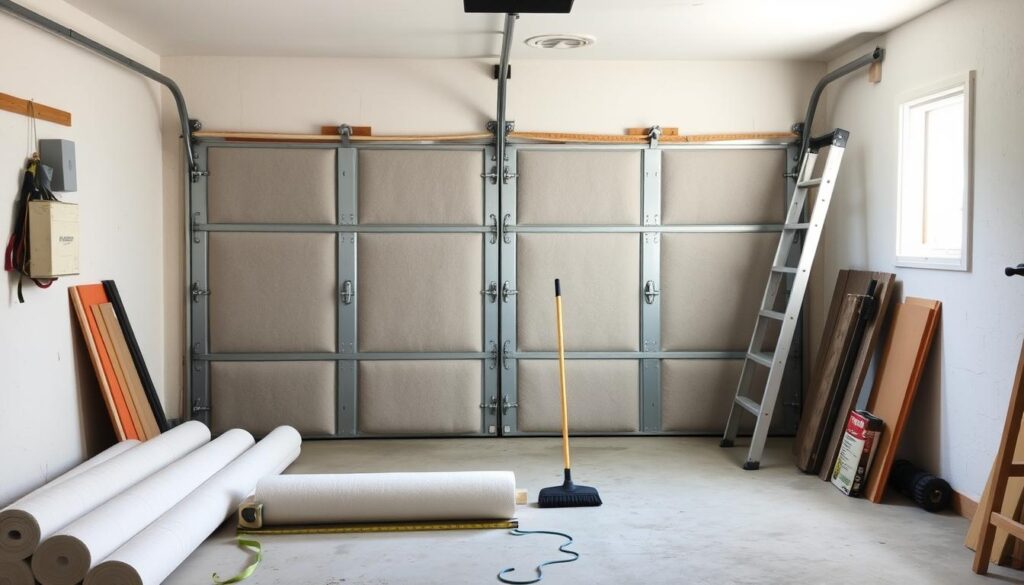
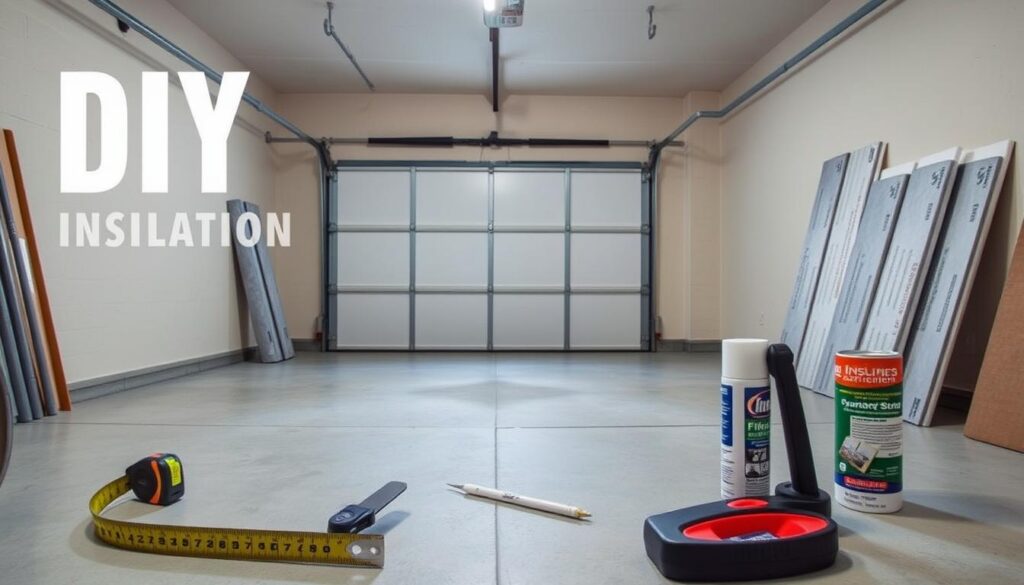
First, you’ll need a measuring tape to measure your garage door. A utility knife or scissors are key for cutting the insulation. You’ll also need adhesive or double-sided tape to stick the panels in place. Don’t forget safety gear like gloves and eye protection to keep you safe.
- Measuring tape
- Utility knife or scissors
- Adhesive or double-sided tape
- Safety gear (gloves, eye protection)
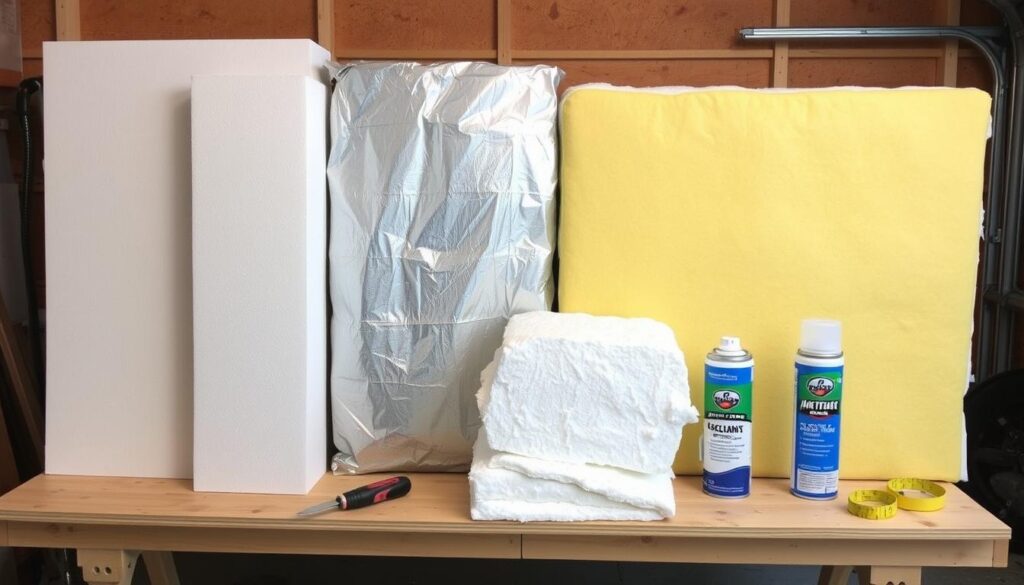
Choosing insulation materials is important. You can pick from reflective foil, foam board panels, or fiberglass batting. Make sure to pick the right kit for your garage door size and type for the best results.
| Insulation Material | Key Features |
|---|---|
| Reflective Foil Insulation | Reflects heat, reduces energy costs, and can be easily cut to size. |
| Foam Board Panels | Provide excellent thermal and sound insulation, available in various thicknesses. |
| Fiberglass Batting | Traps air to insulate against heat and noise, flexible for custom fit. |
With the right tools and materials, you’re ready to start your DIY garage door insulation project. Remember to measure, cut, and install carefully for the best results and energy savings.
Types of Garage Door Insulation Materials
Choosing the right insulation for your garage door is key. There are several materials to pick from, each with its own benefits and drawbacks. It’s important to think about what you need to find the best fit. Let’s look at three main types: reflective foil, foam board panels, and fiberglass batting.
Reflective Foil Insulation
Reflective foil insulation is a top pick for many. It uses a radiant barrier to keep heat out, saving energy and keeping your garage cool. It’s easy to install and can be trimmed to fit your garage door. But, it might not block heat as well as other materials.
Foam Board Panels
Foam board panels, like polystyrene or polyisocyanurate, are great insulators. They have high R-values and are easy to cut and install. These panels are tough and last a long time, making them a solid choice for insulation.
Fiberglass Batting Options
Fiberglass batting is a flexible and light option for insulation. It fits well in the door’s cavities and helps with both heat and sound. But, it might need more careful installation than other materials.
When picking insulation for your garage door, think about R-value, ease of installation, cost, and your garage’s needs. By considering these factors, you can choose the right insulation for your project.
Measuring Your Garage Door for Proper Insulation Fit
Getting the right measurements for your garage door is crucial for a good fit with do it yourself garage door insulation. This step is key to figuring out how much insulation you need. It also ensures your insulation is installed correctly and securely.
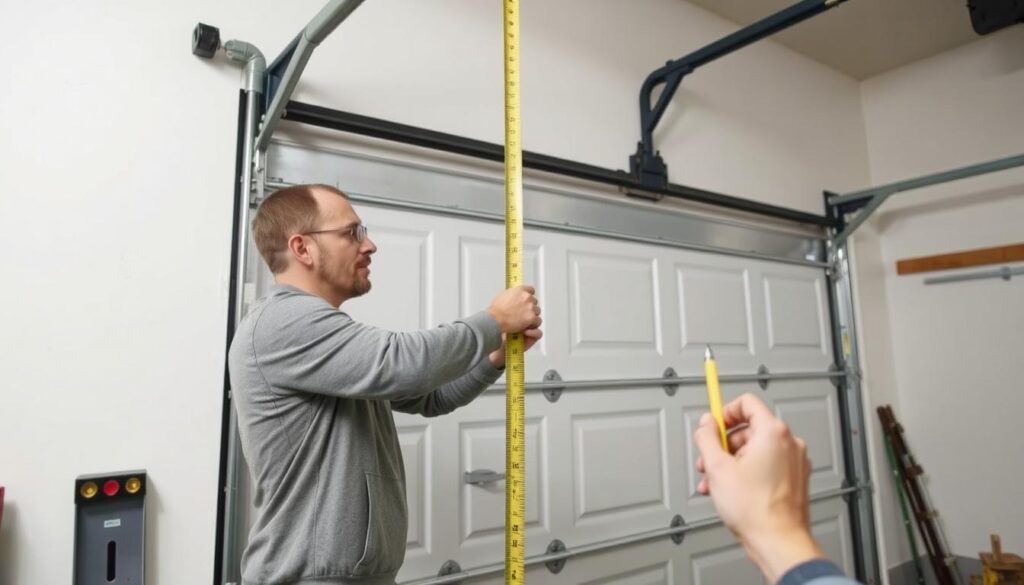
First, measure the width and height of your garage door. Use a tape measure for accurate readings. Take measurements at the top, middle, and bottom. This covers any size differences. If your door has multiple sections, measure each panel’s width and height.
- Measure the width of the door from the left edge to the right edge.
- Measure the height of the door from the top to the bottom.
- If your door has multiple panels, measure each panel’s width and height.
Then, think about your garage door’s thickness. This helps you pick the right insulation thickness for a tight fit. Measure the door’s frame depth, including any hardware or decorations.
With these measurements, you can figure out how much insulation you need. Multiply the width and height to find the total area. Remember to add extra inches for wrapping the insulation around the edges and overlapping panels.
“Precise measurements are the foundation for a successful do it yourself garage door insulation project. Take the time to get it right, and you’ll be well on your way to enjoying the benefits of a properly insulated garage.”
Do It Yourself Garage Door Insulation: Step-by-Step Process
Insulating your garage door is a simple project that boosts energy efficiency and temperature control. You can use reflective foil, foam board panels, or fiberglass batting. The steps to install are similar. Let’s explore how to install a garage door insulation kit and do it yourself garage insulation.
Surface Preparation Guidelines
First, clean your garage door’s surface. Remove dirt, grease, or grime with a damp cloth or mild detergent. This ensures the insulation sticks well. After cleaning, check for any cracks or uneven spots. Fix these before you start insulating.
Installation Techniques
- Measure your garage door’s dimensions to pick the right insulation size.
- Cut the insulation to fit each door section for a snug fit.
- Apply adhesive or sealant to the insulation’s back, as the maker suggests.
- Press the insulation into place, starting from the top. Make sure it’s secure and even.
Securing Insulation in Place
To keep the insulation in place, secure it well. Use screws, clips, or more adhesives, as needed. Follow the maker’s advice and focus on edges and corners for a lasting fix.
By following these steps, you can install garage door insulation yourself. Enjoy better energy efficiency, temperature control, and less noise in your garage.
Cost Analysis: Insulation Materials and Expected Savings
Insulating your garage door can be a big decision. The cost of materials is a key factor. But, think about the long-term savings too.
The cost of insulated garage doors varies by insulation type. Reflective foil is the cheapest, costing $0.50 to $1.50 per square foot. Foam board panels are pricier, at $1 to $3 per square foot. Fiberglass batting falls in the middle, costing $0.75 to $2 per square foot.
| Insulation Type | Cost per Sq. Ft. | R-Value | Estimated Energy Savings |
|---|---|---|---|
| Reflective Foil | $0.50 – $1.50 | 3 – 6 | 10-15% reduction in energy costs |
| Foam Board Panels | $1 – $3 | 5 – 12 | 15-25% reduction in energy costs |
| Fiberglass Batting | $0.75 – $2 | 8 – 15 | 20-30% reduction in energy costs |
Insulated garage doors cost more upfront. But, they can save you money in the long run. You might see a 10-30% drop in energy costs, depending on your climate and insulation choice.
Choosing the right insulation for your garage door depends on your budget and needs. Knowing the cost savings of each option helps you make a smart choice that fits your budget and goals.
Common Challenges and Troubleshooting Tips
Installing garage door insulation can be a rewarding DIY project. However, homeowners may face some common challenges. Knowing these issues and how to fix them can make the how to install garage door insulation panels process smoother.
Dealing with Different Door Types
Garage doors vary in style and material, each needing its own insulation. Sectional doors might need custom-cut panels, while roll-up doors might require flexible insulation. It’s important to measure and choose the right do it yourself garage door insulation for your door to ensure a good fit and performance.
Weather-Related Considerations
Weather can affect the installation and insulation’s long-term performance. Extreme temperatures may require special adhesives or fasteners. High humidity can lead to mold and mildew. Keeping an eye on the weather and taking precautions is key to a successful installation.
Maintenance Requirements
- Regular inspections to check for any gaps, tears, or compromised seals in the insulation
- Cleaning the insulation surface to remove dust, cobwebs, or debris that can affect its efficiency
- Addressing any issues promptly to maintain the insulation’s performance and prevent further damage
By tackling challenges early and being proactive, homeowners can enjoy their garage door insulation for many years.
Safety Considerations During Installation
When you’re insulating your garage door yourself, safety comes first. It’s important to handle tools and materials carefully. Wearing the right protective gear can also prevent accidents.
Make sure you have the right safety gear ready. This includes gloves, safety glasses, and a dust mask or respirator. These protect your eyes and lungs from dust. Also, wear sturdy, non-slip shoes to keep your feet stable while working.
- Always read and follow the instructions for your insulation materials. This helps you know how to handle and install them correctly.
- Be careful when cutting or trimming insulation to fit your garage door. Sharp tools can be dangerous if not used carefully.
- Don’t stand or lean on the garage door while it’s open. It could close suddenly and hurt you.
- If you’re using a ladder, make sure it’s stable and secure. Always keep three points of contact on the ladder for safety.
By focusing on safety and taking the right precautions, you can finish your garage door insulation project safely. Stay alert, work carefully, and enjoy a well-insulated garage.
| Safety Gear | Purpose |
|---|---|
| Gloves | Protect hands from sharp edges and insulation materials |
| Safety Glasses | Safeguard eyes from debris and dust |
| Dust Mask or Respirator | Filter out airborne particles and prevent respiratory issues |
| Non-Slip Shoes | Maintain stable footing and prevent falls |
“Safety should always be the top priority when tackling any home improvement project, especially one involving working with physical materials. Proper precautions can help ensure a successful and injury-free experience.”
Maximizing Insulation Effectiveness
To get the most out of your garage door insulation, focus on the details. Make sure to seal any gaps and edges around the door. This step is key to stopping air leaks and keeping the temperature just right.
Sealing Gaps and Edges
Check the edges of your garage door for any cracks or spaces. Use a flexible, weatherproof sealant to fill them in. This keeps the insulation working well and stops cold air from getting in.
Don’t overlook the area where the door meets the floor. It’s a common spot for air to sneak in.
Additional Weatherproofing Tips
There’s more you can do to improve your insulation. Add weather stripping along the door’s edges. Also, consider a door sweep to seal the base tightly. These easy steps can greatly improve your garage’s temperature and energy use.

