Keeping your home energy-efficient and well-insulated is key for many. Installing the right weather stripping on your garage door is a smart move. It seals gaps and cracks, stopping drafts and saving on heating and cooling costs. This guide will show you how to install weather stripping on your garage door, from picking the right materials to ensuring a good fit and lasting performance.
Key Takeaways
- Weather stripping is essential for improving the energy efficiency and insulation of your garage door.
- Properly installed weather stripping can help seal gaps and cracks, prevent drafts, and reduce heating and cooling costs.
- Different types of weather stripping, such as foam, vinyl, and rubber, are available to suit various garage door materials and needs.
- Preparing the surface, measuring accurately, and using the right tools and adhesives are crucial for a successful weather stripping installation.
- Regularly inspecting and replacing worn weather stripping can help maintain the effectiveness of your garage door’s insulation.
Introduction to Weather Stripping for Garage Doors
Weather stripping is key for sealing gaps and cracks around your garage door. It boosts insulation, cuts energy costs, and keeps drafts out. We’ll look at the benefits and types of weather stripping to help you pick the right one for your garage door.
Benefits of Installing Weather Stripping
Weather stripping on your garage door offers many advantages, including:
- Improved energy efficiency by sealing air leaks and reducing drafts
- Lower heating and cooling costs as your HVAC system won’t have to work as hard
- Enhanced home comfort by preventing outside air and moisture from entering your garage and home
- Reduced risk of pest infestations, as weather stripping can block access points for insects, rodents, and other unwanted critters
- Increased lifespan of your garage door by protecting it from the elements
Types of Garage Door Weather Stripping
There are several weather stripping options for your garage door, each with its own benefits:
- Foam Weather Stripping – Affordable and easy to install, foam stripping can effectively seal small gaps and cracks.
- Vinyl Weather Stripping – Durable and long-lasting, vinyl stripping provides a tight seal and is resistant to weathering.
- Rubber Weather Stripping – Flexible and adaptable, rubber stripping can conform to uneven surfaces and is highly effective at blocking drafts.
Choosing the right weather stripping for your garage door depends on several factors. These include the size and condition of your door, your preferences, and your budget. By understanding the benefits and options, you can make a smart choice to enhance your home’s energy efficiency and comfort.
Preparing for Installation
Before you start installing weather stripping on your garage door, prepare the surface well. This guide will help you install it smoothly. It ensures a tight seal, keeping your garage cozy and protected from the elements.
First, clean the garage door’s surface where you’ll apply the weather stripping. Remove dirt, debris, or old sealant. A clean surface is key for the new weather stripping to stick well. Use a mild soap and water or a degreaser to clean it thoroughly.
Then, check the door for damage or uneven areas. Fix any cracks, gaps, or uneven spots before installing the weather stripping. This step ensures the new stripping seals evenly.
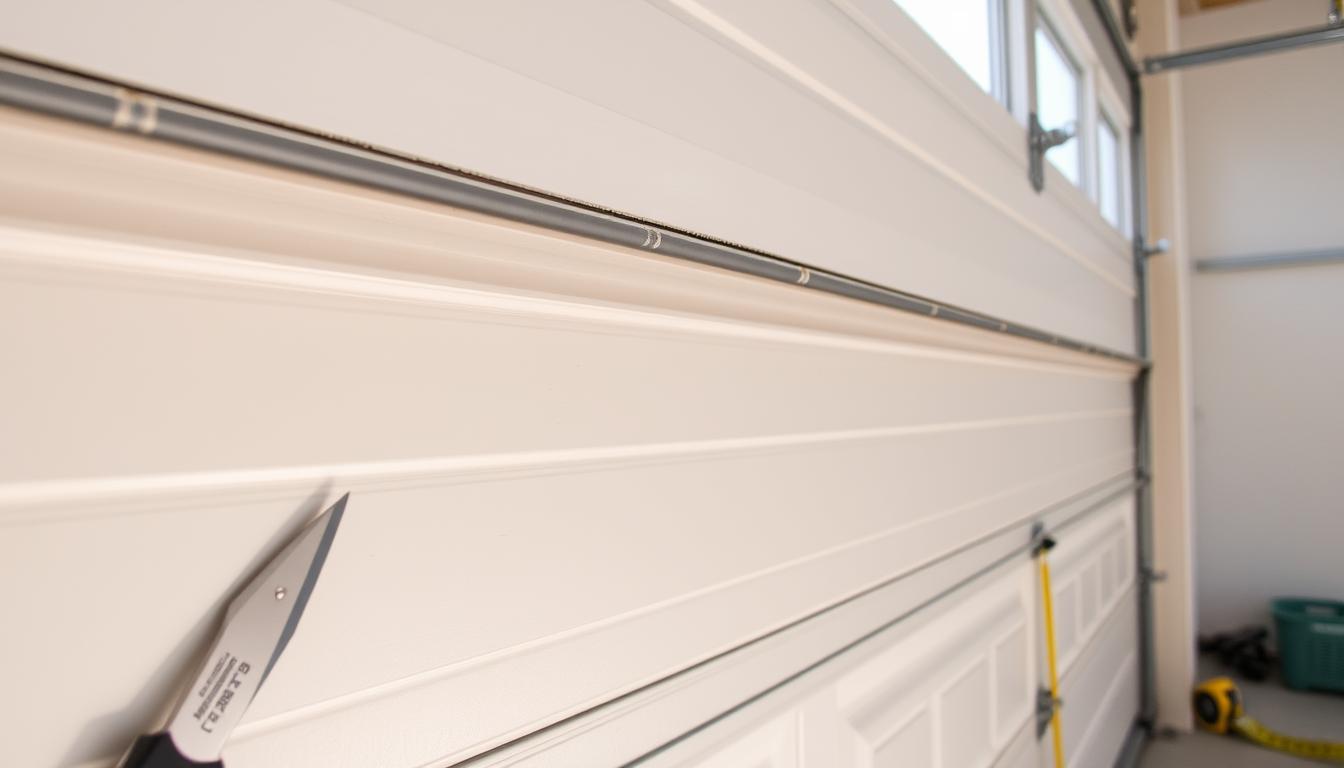
If there’s old weather stripping, remove it carefully. This lets you start with a clean slate for the new stripping. Use a putty knife to gently remove the old stripping without damaging the door.
By following these steps, you’re ready for a successful weather stripping installation. It will make your garage door more energy-efficient and keep it protected from the outside.
Tools and Materials Needed
Getting ready to install weather stripping on your garage door takes a few key tools and materials. You’ll need a reliable tape measure and a sturdy utility knife. These items help make the installation smooth and successful. Let’s look at the tools you’ll need and the different weather stripping options for your garage door.
Essential Tools for the Job
- Tape measure: Accurately measure your garage door’s dimensions to figure out how much weather stripping you need.
- Utility knife: Cut the weather stripping to fit your door’s frame and seal any gaps.
- Adhesive or sealant: Keep the weather stripping in place with a tight seal against the elements.
- Hammer or mallet: Gently tap the weather stripping into place for a snug fit.
- Rag or cloth: Clean the door’s surface before applying the weather stripping.
Weather Stripping Options and Considerations
There are many weather stripping options for your garage door, each with its own benefits. Think about the material, flexibility, and durability to pick the best one for you.
| Weather Stripping Option | Material | Flexibility | Durability |
|---|---|---|---|
| Vinyl Seal | Vinyl | Moderate | High |
| Foam Seal | Foam | High | Moderate |
| Rubber Seal | Rubber | High | High |
| Brush Seal | Synthetic Bristles | Moderate | High |
Choosing the right tools and weather stripping for your garage door is key. It helps create a strong barrier against the elements.
Step-by-Step Guide to Installing Weather Stripping
Installing weather stripping on your garage door is easy and makes a big difference. It helps save energy and keeps drafts out. Let’s go through the steps for a successful installation.
Measuring and Cutting the Weather Stripping
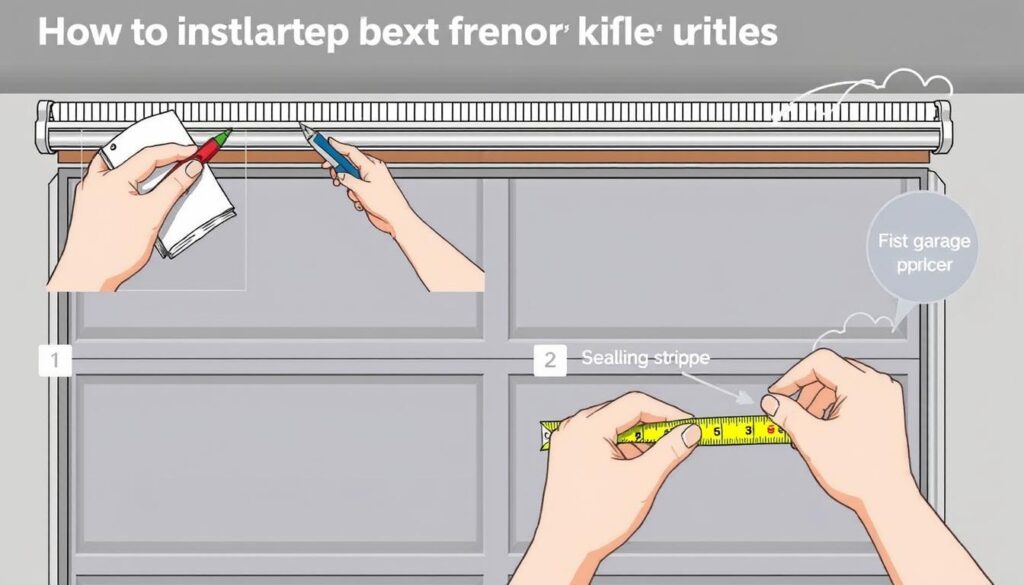
Start by measuring your garage door accurately. Use a tape measure to find the door frame’s width, height, and the bottom seal’s length. This helps you pick the right weather stripping size and amount. Then, cut the weather stripping with a sharp knife or scissors to the right lengths.
Applying Adhesive or Fasteners
Now, it’s time to attach the weather stripping. Depending on the type, you might use adhesive or fasteners like nails or screws. Always follow the manufacturer’s instructions for a strong seal. If using adhesive, make sure the door frame is clean before applying.
Take your time and focus on the details during installation. By following these steps, you’ll have an energy-saving and draft-free garage door.
How to Install Weather Stripping on Garage Door
Installing weather stripping on your garage door is key for sealing drafts and boosting energy efficiency. It also makes your home more comfortable. By following these easy steps, you can seal your garage door well and enjoy its benefits.
Prepare the Garage Door Surface
Start by cleaning the garage door’s surface where you’ll put the weather stripping. Use a degreaser or mild soap and water to remove dirt and old sealant. This makes the weather stripping stick better to the door.
Measure and Cut the Weather Stripping
- Measure the length of the top, sides, and bottom of your garage door. Remember to include any curves or angles.
- Cut the weather stripping to size, leaving a bit extra at the corners for a tight seal.
Apply the Weather Stripping
- Top and Sides: Start at the top and work down, pressing the weather stripping firmly into place.
- Bottom: Put the weather stripping on the bottom, making sure it seals well at the threshold.
Use the right adhesive or fasteners as suggested by the weather stripping maker for a strong and lasting fix.
By following these steps, you can install weather stripping on your garage door. This makes your home sealed and energy-efficient. For more on keeping and fixing your garage door weather stripping, see the next parts of this guide.
Installing Top and Side Weather Stripping
Installing weather stripping on your garage door’s top and sides is key. It helps keep your garage door tight and prevents air leaks. This guide will help you do it right, making your garage door energy-efficient and draft-free.
Measuring and Cutting the Weather Stripping
Start by measuring your garage door’s top and sides. Note the width and height to figure out how much weather stripping you need. Remember to cut a bit extra at the corners for a smooth fit.
Applying the Weather Stripping
Clean the spots where you’ll put the weather stripping. This ensures it sticks well. Use adhesive or fasteners like nails or screws to hold it in place. Press it firmly onto the door, making sure it sticks evenly.
Ensuring a Tight Seal
Check the weather stripping to make sure it’s sealed well. Pull on it gently to see if it’s stuck right. If you find any gaps, fix them right away to keep your weather stripping working well.

By following these steps, you can install weather stripping on the top and sides of your garage door. This will block drafts and boost your home’s energy efficiency.
Installing Bottom Seal or Threshold
Keeping the bottom of your garage door sealed is key to stopping air leaks and saving energy. Installing the bottom seal or threshold is easy but needs careful attention. Here’s how to install and adjust the seal for your garage door.
Adjusting and Securing the Bottom Seal
To get the bottom seal or threshold right, follow these steps:
- Measure your garage door’s width and cut the seal or threshold to fit, leaving a bit extra at the ends.
- Put a lot of weather-resistant adhesive or sealant on the door frame’s bottom, where the seal will go.
- Place the seal or threshold carefully and press it down hard to seal the whole length.
- If your door has a channel for the seal, use the fasteners or clips to hold it in place.
- After installing, adjust the seal by lowering the door until it fits snugly. This seals the door well and stops air leaks.
By doing these steps, you can how to install weather stripping on bottom of garage door and how to adjust and secure bottom garage door seal for better performance and energy savings.
“Proper installation and adjustment of the bottom seal or threshold can make a significant difference in the energy efficiency and overall performance of your garage door.”
Remember, taking your time to measure, cut, and secure the bottom seal or threshold is important. It ensures a tight, lasting seal that keeps your home safe from the weather and saves on energy bills.
Tips for Smooth Operation and Long-Lasting Results
Keeping your weather stripping in good shape is key for a smooth garage door operation. It also helps the weather protection last longer. Here are some tips to keep your garage door in great condition:
- Check the weather stripping often for wear or damage like cracks or splits.
- Use a mild soap and water to clean the weather stripping. This removes dirt and keeps the seal tight.
- Adjust the door’s tension and alignment as needed to ensure a tight, even seal along the edges and bottom of the door.
- Don’t let harsh chemicals, oils, or solvents touch the weather stripping. They can make it age faster.
- Replace any worn or damaged weather stripping right away. This keeps your insulation and protection strong.
By following these easy tips for tips for smooth garage door operation with weather stripping, your long-lasting weather stripping will keep working well for many years.
| Maintenance Task | Frequency |
|---|---|
| Inspect weather stripping | Monthly |
| Clean weather stripping | Every 6 months |
| Adjust door tension and alignment | As needed |
| Replace worn weather stripping | As needed |
“Properly maintaining your garage door’s weather stripping is the key to ensuring long-lasting performance and a tight seal against the elements.”
By sticking to these tips, you can keep your garage door running smoothly. Your weather stripping will stay in great shape, offering reliable protection for years.

Troubleshooting Common Issues
Even the best plans for garage door weather stripping can hit a snag. But, we’re here to help! We’ll tackle common problems and offer solutions to keep your garage door tight and secure.
Dealing with Gaps or Uneven Surfaces
Homeowners often face gaps or uneven surfaces on their garage door frames. These can let drafts, pests, and water in, making your weather stripping less effective. Don’t worry, we have some fixes for these issues.
Start by checking the frame for the biggest gaps. Use flexible weather stripping like vinyl or silicone to fill them. You can also apply caulk to seal any small gaps left. For bigger gaps or uneven areas, try a foam backer rod to smooth out the surface before adding the weather stripping.


