Garage door insulation panels help keep your home warm and quiet. They might need to be taken out for repairs, updates, or maintenance. This guide will show you how to safely and effectively remove them.
Key Takeaways
- Understand the different types of garage door insulation materials and their installation methods.
- Learn the benefits of proper insulation panel removal for your garage door.
- Gather the necessary tools and materials to ensure a safe and efficient removal process.
- Assess your garage door insulation panels before starting the removal process.
- Follow the step-by-step instructions to remove the panels without damaging the door.
Understanding Garage Door Insulation Panels
Garage door insulation panels are key to keeping your home’s temperature stable and energy use low. They come in different materials, each with its own benefits and installation ways. Knowing about these can help you choose the right insulation for your garage door.
Types of Insulation Materials
There are three main types of insulation: foam boards, reflective barriers, and fiberglass batts. Foam boards, like the Insulfoam garage door insulation kit, are great at keeping the temperature steady. Reflective barriers bounce heat away, helping to keep your garage cool. Fiberglass batts are a classic choice, offering good insulation against both heat and sound.
Common Installation Methods
Insulation panels are usually stuck on with adhesives or held in place with fasteners. Adhesive-backed panels are simple to put up. But, panels that need fasteners are more complicated to install. The method used can affect how easy it is to remove the insulation and if it damages your garage door.
Benefits of Proper Removal
Removing old insulation correctly is important for your garage door’s health and for new insulation to work well. Doing it right avoids damage to your door and makes sure the new insulation sticks well. It also stops any leftover glue from causing problems.
Understanding the different insulation materials and how to install them is crucial for a good garage door upgrade. Whether you pick an Insulfoam garage door insulation kit or something else, knowing the options and how to remove old insulation properly is key. It ensures your garage door gets the best insulation for your home.
Safety Precautions Before Starting the Removal Process
Removing garage door insulation kit owens corning requires safety first. Handling insulation wrong can harm your health. So, it’s key to be careful before starting.
First, make sure the area is well-ventilated. Fiberglass and other insulation can release harmful particles. Open the garage doors and use a HEPA air purifier to clean the air.
Wearing protective gear is also vital. Use a respirator or N95 mask to avoid breathing in particles. Gloves, long sleeves, and eye protection help protect your skin and eyes.
- Wear a properly fitted respirator or N95 mask
- Use gloves, long sleeves, and eye protection
- Ensure the work area is well-ventilated
- Consider using a HEPA air purifier
If your garage door insulation kit owens corning has asbestos, get a pro to remove it. Asbestos is dangerous and can cause serious health issues if not handled right.
“Proper safety measures are essential when removing garage door insulation to protect your health and well-being.”
By taking these safety steps, you can safely remove your garage door insulation kit owens corning. Prioritizing safety means avoiding health risks and making the process easier and more efficient.
Essential Tools and Materials Needed
Before starting to remove your garage door insulation panels, gather the right tools and materials. This makes the process smoother and more efficient. It also helps avoid any problems that might come up. Let’s look at what you’ll need for the job.
Required Tools List
- Utility knife or box cutter
- Putty knife or scraper
- Plastic paint scraper
- Adhesive remover solution
- Broom or vacuum cleaner
- Protective gloves
Optional Equipment
- Cordless drill with screwdriver bits
- Oscillating multi-tool
- Sponge or cleaning rags
- Degreaser or solvent
Protective Gear
Keeping yourself safe is key when removing insulation. Make sure you have the following protective gear:
- Safety goggles
- Dust mask or respirator
- Work gloves
- Long-sleeved shirt and pants
Remember, garage door insulation nearby stores and home improvement centers have all you need. With the right tools and materials, you’ll remove your garage door insulation panels successfully.
Assessing Your Garage Door Insulation Panels
Before deciding if insulating your garage door is worth it, start by checking your current insulation. This step will tell you if you need to replace or upgrade the insulation.
First, find out what kind of insulation your garage door has. You might have fiberglass, polystyrene, or polyurethane. Each type works differently and affects your decision.
Then, look at the insulation panels closely. Check for any damage like cracks or gaps. If the insulation is damaged, it might not work well, making a replacement a good idea.
- Check the R-value of your insulation, which shows how well it keeps heat out. Higher R-values mean better insulation.
- See if your garage stays at a good temperature, especially when it’s very hot or cold outside.
- Think about how well the insulation blocks outside noise. If it doesn’t, you might want to change it.
By carefully checking your garage door insulation, you can decide if you need to replace it. This will help you save energy, keep your garage at a good temperature, and block outside noise. So, is insulating your garage door worth it? It depends on your specific situation.
| Insulation Type | R-Value Range | Typical Thickness | Advantages | Disadvantages |
|---|---|---|---|---|
| Fiberglass | R-8 to R-16 | 1/2 inch to 2 inches | Affordable, good thermal performance | Can be less effective in humid environments |
| Polystyrene | R-5 to R-10 | 1/2 inch to 1 inch | Lightweight, moisture-resistant | Lower insulating value compared to other options |
| Polyurethane | R-12 to R-20 | 1/2 inch to 1 inch | High insulating value, durable | More expensive than other options |
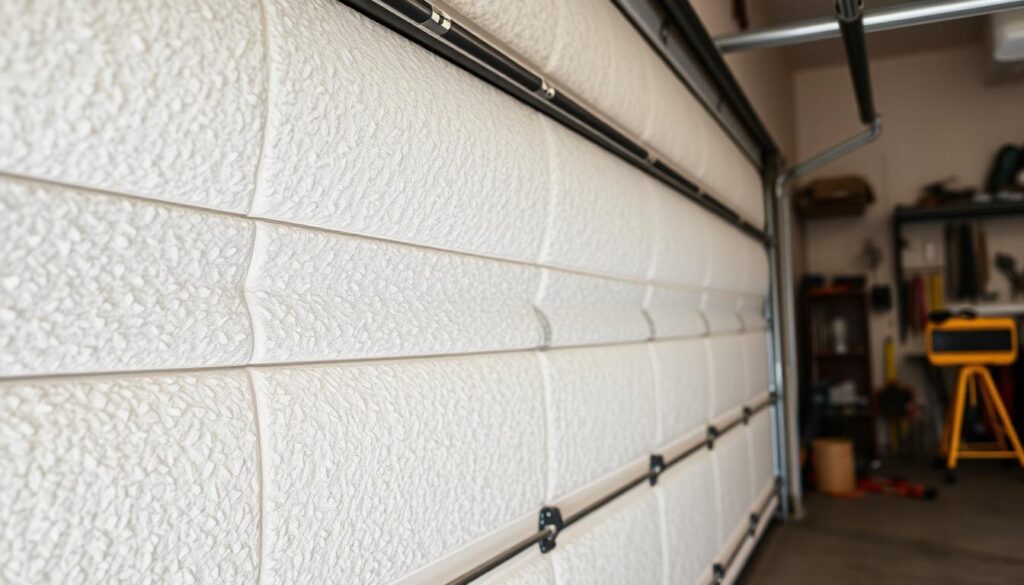
Step-by-Step Removal Process
Removing old garage door insulation panels is easy if you do it right. It’s important to be careful and pay attention to details. Let’s go through the steps to remove your garage door insulation panels successfully.
Preparing the Work Area
First, clear the area around your garage door. Move any tools, equipment, or objects out of the way. This ensures you have a clear space to work. Cover the floor with a tarp or protective cover to catch any debris or adhesive.
Removing Adhesive Backing
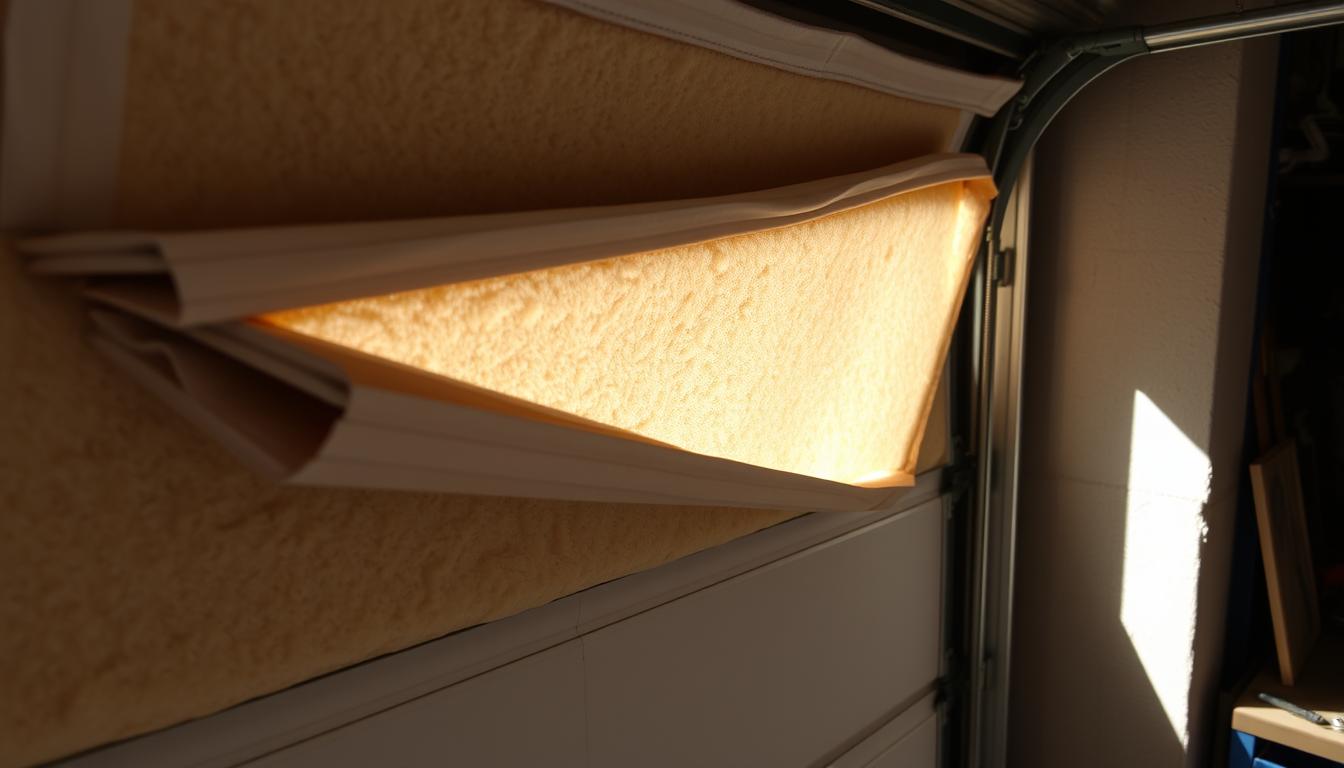
Look at the garage door insulation panels and find the adhesive backing. Gently peel or scrape it off, being careful not to harm the door. You might need a putty knife or plastic scraper for this.
Panel Separation Techniques
After removing the adhesive, start to separate the panels from the door. Lift the panels from the edges and move inward. If they’re hard to remove, use a pry bar or utility knife to help.
Dispose of the old garage door insulation panels correctly, following local environmental rules. For more on disposal, see the “Proper Disposal of Old Garage Door Insulation Panels” section.
By following these steps, you can remove your old garage door insulation panels efficiently. This makes your garage door ready for a new garage door insulation kit owens corning installation.
Dealing with Stubborn Adhesive Residue
Removing old garage door insulation panels can be tough, especially with stubborn adhesive residue. But, there are good ways and products to help. They make it easier to get your garage door ready for new insulation.
Identifying the Adhesive Type
The first step is to figure out what kind of adhesive is on your garage door insulation panels. You might find:
- Caulk-based adhesives
- Foam-based adhesives
- Solvent-based adhesives
Knowing the type helps you choose the right way to remove it.
Mechanical Removal Techniques
For tough adhesive, using tools can work well. You might try:
- Scraping off the residue with a plastic scraper or putty knife
- Using a degreaser or solvent-based cleaner and then scraping
- Softening the adhesive with a heat gun or hair dryer before scraping
Chemical-Based Solutions
Sometimes, you need chemicals to break down the adhesive. Garage door insulation panels lowe’s has many options, like:
- Citrus-based degreasers
- Solvent-based adhesive removers
- Enzyme-based cleaners
Always read the instructions and test on a small area first. This ensures it won’t damage your garage door.
Patience and Persistence
Getting rid of stubborn adhesive takes time and effort. Use the right methods, take breaks, and don’t rush. This way, you’ll remove it all effectively.
By tackling the adhesive residue carefully, you’ll get your garage door ready for new garage door insulation panels.
Proper Disposal of Old Garage Door Insulation Panels
When it’s time to replace your garage door insulation panels, proper disposal is key. This helps protect the environment. Garage door insulation panels have materials that need special care, so finding the right way to dispose of them is important.
Recycling Options
Many places have recycling programs for insulation materials. Check with your local waste management to see if they accept garage door insulation panels. Some recyclers even offer pickup services, making it easier for you.
- Contact your local recycling center to inquire about their specific guidelines and requirements for garage door insulation panel recycling.
- Look for recyclers that specialize in construction and demolition waste, as they may be better equipped to handle the unique challenges of insulation materials.
- Consider donating your old panels to organizations that repurpose or upcycle insulation for community projects or charitable causes.
Environmental Considerations
The type of garage door insulation value material in your panels matters for disposal. Some materials, like fiberglass or rigid foam, need special care to avoid harm. Talk to your local waste management or a professional disposal service to make sure you follow all rules and best practices.
“Proper disposal of old garage door insulation panels is not only environmentally responsible but can also help protect the health and safety of your community.”
By doing your research and choosing the right disposal method, you can help the environment. This small action can make a big difference for your community and the planet.
Common Challenges and Solutions
Removing old insulfoam garage door insulation kit panels can be tricky. But, with the right steps, you can overcome these challenges. Let’s look at the most common problems and how to solve them for a smooth removal.
Damaged Panels
Severely damaged or crumbling insulation panels make removal harder. It’s important to be gentle to avoid more damage. Use a putty knife or plastic scraper to carefully remove the panels, making sure not to scratch the door.
Stubborn Adhesive Residue
Removing adhesive residue left after panel removal is a common problem. Try citrus-based solvents or specialized removers to tackle this. A stiff-bristled brush can also help remove the glue.
Underlying Door Damage
Removing old insulation might show damage to the garage door. This could be dents, scratches, or structural issues. If you find damage, fix it before adding new insulation. A professional garage door technician may be needed to ensure the door is fixed and ready for new insulation.
Being ready for these challenges and knowing how to solve them makes removing the insulfoam garage door insulation kit easier. This ensures a successful and stress-free process.
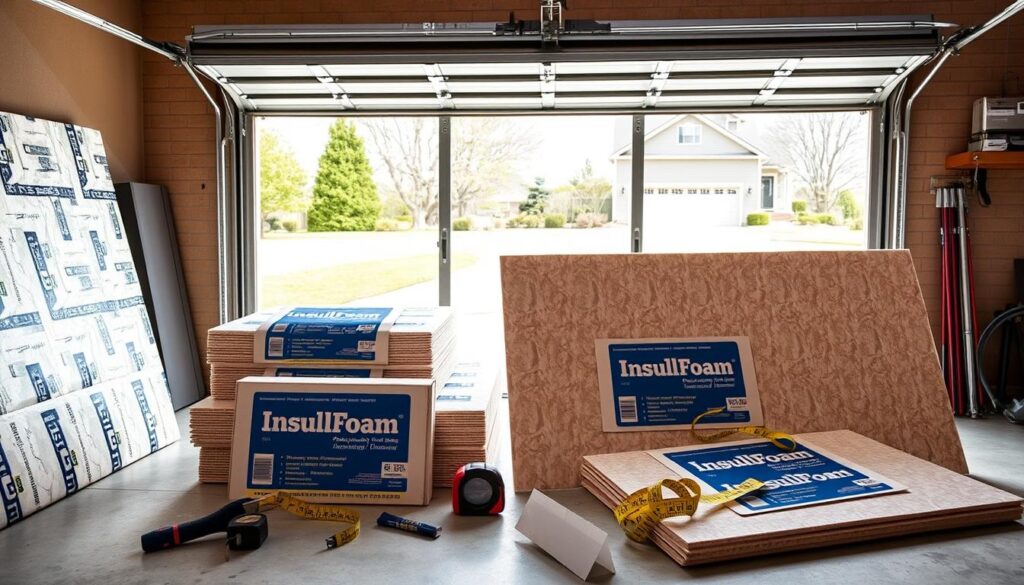
“With the right tools and techniques, even the most stubborn insulation panels can be removed with ease.”
Preparing the Door for New Installation
Before adding new garage door insulation, it’s key to clean the door surface well. This makes sure the insulation sticks right and works well. We’ll look at how to clean the surface and check for damage to get your garage door ready.
Surface Cleaning Methods
Start by wiping the door with a clean, dry cloth to get rid of dirt or dust. For tough dirt, mix a mild detergent with water and use a soft-bristle brush. Rinse well and let it dry before you do anything else.
If there’s old adhesive from the old insulation, use a special remover or warm water and vinegar. Don’t use strong chemicals or rough scrubbers, as they can harm the door’s finish.
Damage Assessment
After cleaning, check the garage door for any damage from removing the old insulation. Look for dents, scratches, or wear that could affect the new insulation. If you find big damage, fix it before you install the new insulation.
Some common problems include:
- Dents or dings in the door panels
- Cracked or peeling paint or coating
- Weatherstripping damage or deterioration
- Warping or misalignment of the door
If you find any of these issues, talk to a garage door repair expert. They can help fix the problems before you install the new insulation. This ensures a smooth and successful installation.
By cleaning and inspecting the garage door surface well, you’re preparing for a great insulation installation. This effort will improve energy efficiency, temperature control, and door performance.
When to Seek Professional Help
Removing garage door insulation panels is easy for many homeowners. But, there are times when you should get help from a pro. Knowing when to ask for help can save you time, money, and avoid dangers.
Extensive Damage or Complexity
If your garage door insulation panels are badly damaged, get a pro’s help. They can tell you if you need to fix or replace the panels. Also, if the removal is tricky, like with stubborn adhesive, a pro can do it safely and right.
Hazardous Materials
Old insulation might have harmful stuff like asbestos. Always have a pro check and remove it. Trying to do it yourself can be very dangerous for you and your family.
Finding Reputable Professionals
When you need help with removing insulation, find a good contractor. Look for someone who knows about garage doors. Make sure they are licensed, have good reviews, and know what they’re doing.
Knowing when to get help can save you a lot. It’s about safety, saving money, and getting the job done right. Whether you do it yourself or get a pro, make sure it’s done well.
| Scenario | Recommended Action |
|---|---|
| Extensive damage or complex removal process | Consult a professional garage door specialist |
| Presence of hazardous materials (e.g., asbestos) | Hire a licensed and certified professional for safe removal |
| Unsure about the removal process or safety concerns | Seek guidance from a reputable garage door company |
“Proper disposal of old garage door insulation panels is crucial to ensure the safety of your home and the environment.”
Conclusion
In this guide, we’ve covered how to remove garage door insulation panels. You now know about the different insulation materials and how to remove them step by step. This knowledge will help you with your home maintenance tasks.
It’s important to remove and dispose of old insulation panels correctly. This keeps your garage door system working well for a long time. By following safety tips, using the right tools, and dealing with sticky residue, you can remove panels easily.
Investing time and effort in removing insulation panels is worth it. A well-kept garage door looks better and saves energy and money. With the tips from this article, you can do this job well. Your garage door will be more efficient and look great for years.

