Learning to program your garage door opener is more than just a convenience. It’s a sense of accomplishment in home improvement. Many homeowners choose to do it themselves to save money and add a personal touch. This guide will show you how easy it is to set up your garage opener, making it a part of your home improvement journey.
You don’t need to be an expert to do this. Just a few simple steps can give you remote access. This change can make a big difference in how you use your garage door. So, if you’ve got a new opener or want to change your old one, let’s start this DIY adventure together.
Key Takeaways
- Understanding the simplicity of DIY garage door programming for homeowners.
- Insight into the tools and steps required for a successful garage opener setup.
- How mastering this task contributes to overall home improvement efficiency.
- Guidance through the programming process that aligns with most major brand instructions.
- Enhancement of daily life through the added convenience of remote garage door access.
Understanding Your Garage Door Opener
To program your garage door opener well, knowing its parts is key. This part covers the basics of how it works, why knowing the brand matters, and what tools you’ll need.
The Basics of Garage Door Opener Mechanics
The garage door opener has a motor that moves a trolley along a track. This trolley is started by a switch or remote control. Knowing how it works helps with fixing and setting it up.
Identifying Your Opener’s Brand and Model
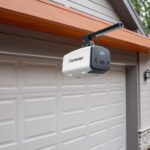
Finding out your opener’s brand and model is crucial for programming. Look for the brand logo and model number on the motor unit or in the manual. It’s usually on the ceiling of your garage.
Tools and Materials Needed for Programming
Before you start, make sure you have all the right tools and materials. This will make the process easier:
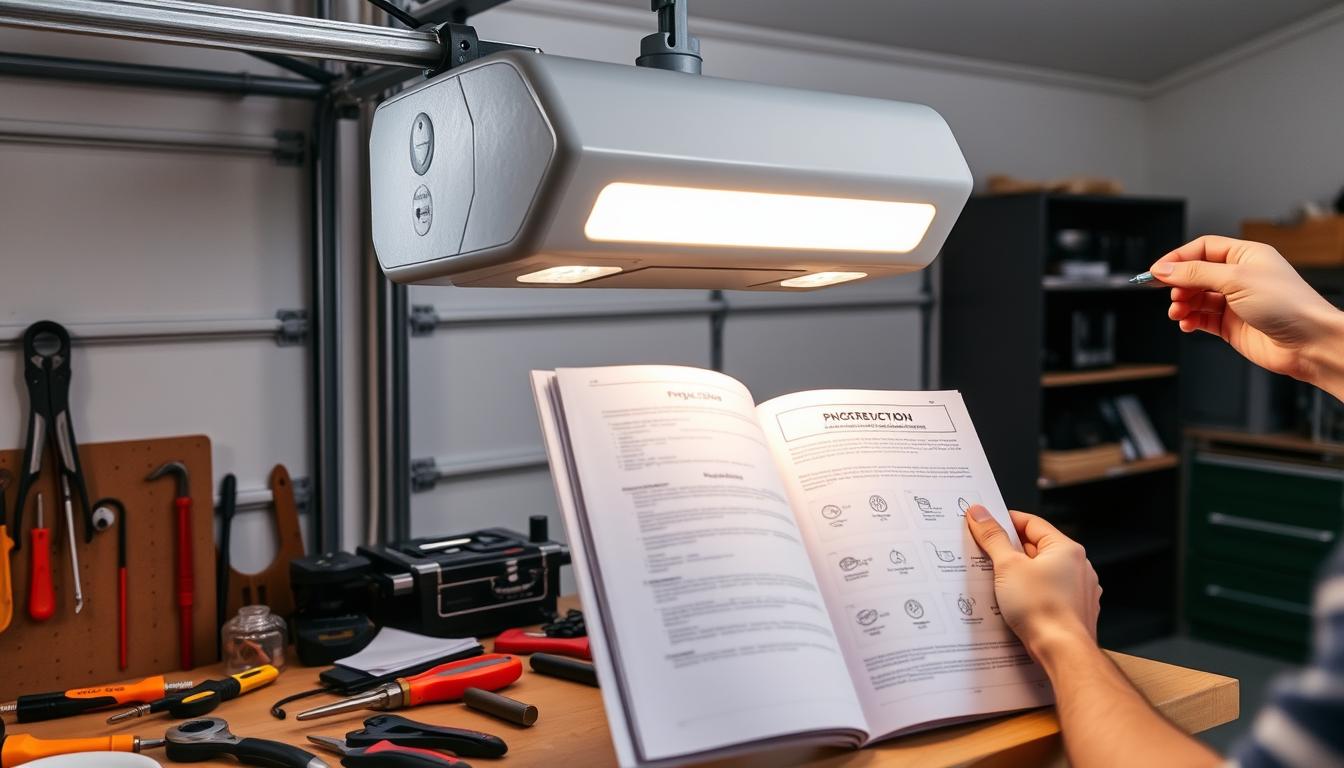
- Owner’s manual – Contains specific programming directions
- Screwdriver – For opening any enclosures or adjusting components
- Ladder – To easily reach the motor unit
- Remote control – Essential for programming wireless functionalities
Here is a table overview of the common tools and their purposes:
| Tool | Purpose |
|---|---|
| Owner’s manual | Provides specific programming instructions |
| Screwdriver | Used to open enclosures or adjust components |
| Ladder | Facilitates access to the motor unit |
| Remote control | Necessary for wireless programming |
Pre-Programming Checklist
Before you start programming your garage door opener, do a thorough check. This ensures your garage door is safe and works well. It helps you get ready for the technical part safely.
Ensuring Safety Before Starting
First, make sure everything is safe. Start by turning off the power to the garage door opener. This stops it from moving by accident while you work.
This step is very important. It keeps you and your garage door safe from unexpected movements.
Clearing Obstructions and Testing Door Functionality
Next, clear the area of tools, cars, or anything else. This makes it safer to test the door. Then, move the door by hand to check for any problems.
If you find any issues, fix them before you start programming. This makes sure the door moves smoothly.
| Checklist Item | Description | Status |
|---|---|---|
| Disconnect Power | Ensure the power source is disconnected to avoid unintended garage door movements. | Complete |
| Clear Area | Remove any objects that could pose a hazard during the door testing or programming phase. | Complete |
| Manual Door Test | Physically move the garage door to detect any obstructions or irregularities on the track. | Complete |
Passing the pre-programming check means your garage and door are ready for safe programming. These steps are key to avoiding injuries and keeping your property safe. They make sure the garage door works right before and after you program it.
How to Program a Garage Door Opener
Setting up a garage opener might seem hard at first. But, with this step-by-step guide, it’s easy and quick. Here are universal steps that work for most garage door openers.
- Locate the ‘Learn’ Button:
The ‘Learn’ button is on the back of the opener unit. Press and release it. A small LED light will turn on, showing it’s ready to learn a new code.
- Enter Programming Mode:
Press the ‘Learn’ button and enter a new code on the keypad within 30 seconds. The exact steps might differ by brand, so check your manual.
- Sync the Remote:
Press the remote button while the opener’s light is on. If it works, the light will blink or turn off. You might need to try it a few times.
- Confirm Operation:
Test the opener by pressing the remote button. Make sure the door opens and closes smoothly and quickly.
Note: These steps are general and might change with different models and brands. Always check your manual for specific instructions.
| Step | Action | Visual Indicator |
|---|---|---|
| 1 | Press ‘Learn’ Button | LED lights up |
| 2 | Enter Code on Keypad | None |
| 3 | Press Remote Button | Light blinks or goes out |
| 4 | Test Remote Operation | Garage door moves smoothly |
Troubleshooting Common Programming Issues
When you program your garage door opener, you might run into some common problems. These can usually be fixed with a few simple steps. Knowing how to tackle these issues can save you time and keep your garage system working well.
Dealing with Signal Interference
Resolving signal issues often means finding and removing interference near your opener. Things like LED lights, wireless routers, and other devices can cause problems. Try moving these away from your opener or swapping them for something that doesn’t interfere.
Opener Not Responding to Remote Control
If your opener won’t work with the remote, try resetting the remote’s programming. First, check and replace the batteries. If it still doesn’t work, reprogram the remote to match the opener’s frequency. This is key in troubleshooting garage openers.
Resetting the Opener’s Memory
If nothing else works, you might need to do a full garage opener reset. This clears all settings, letting you start over. To reset, press the reset button on the opener’s console for a few seconds. Then, follow the manufacturer’s instructions to reprogram the opener.
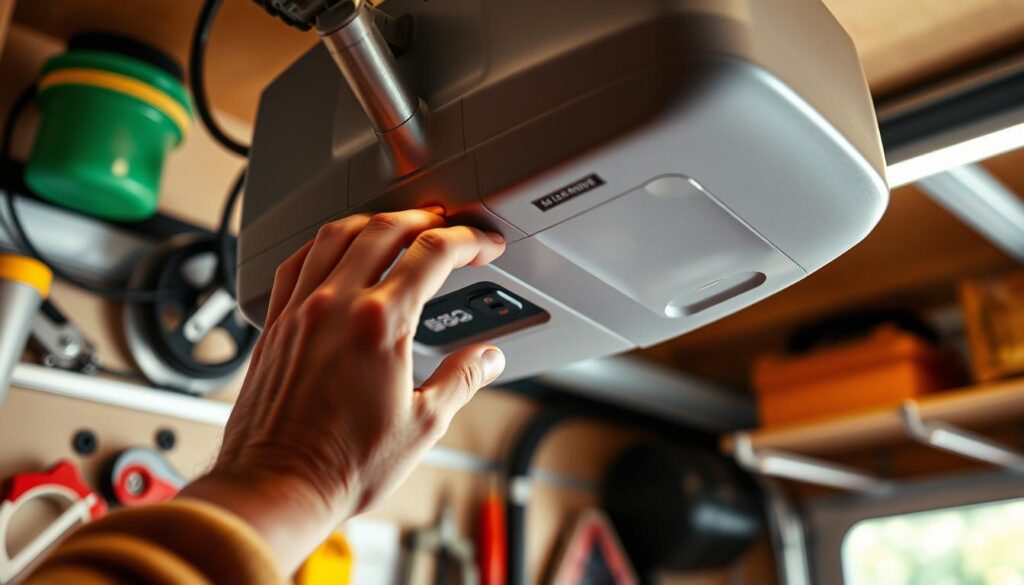
Regular upkeep and knowing how to quickly fix these problems can make your garage door opener last longer and work better. Troubleshooting not only fixes issues but also keeps your home safe and secure.
Syncing Multiple Remotes
More people need easy access to their garages. Learning how to program multiple remote programming is key for homes and businesses. This guide will show you how to link additional garage remotes to your opener. This way, everyone can get in without trouble.
Adding a new remote to your garage system is simple but needs care. Here’s a step-by-step guide to help you do it right.
- Find the ‘Learn’ button on your garage door opener. It’s usually at the back, colored red or yellow.
- Press and release the ‘Learn’ button. This puts the opener in programming mode, ready for remotes.
- Within 30 seconds, pick a remote and press its button. The opener’s lights will flash or you’ll hear a click, showing it’s connected.
- Do the same for each extra remote you want to add.
- Check each remote to make sure it works. This means the programming was a success.
By following these steps, you can program multiple remotes easily. This makes your garage door work smoothly.
| Step | Action | Expected Result |
|---|---|---|
| 1 | Press ‘Learn’ button on opener | Opener enters programming mode |
| 2 | Press button on remote | Lights flash or clicking sound occurs |
| 3 | Test the remote | Garage door operates smoothly |
It’s important to be able to sync garage door openers with all remotes for ease and safety. If problems arise, check the manual or get help from a pro.
Enhancing Security Features
Home security is always changing. Making your garage door more secure is key to protecting your car and home. Using rolling code technology and setting a secure garage PIN are smart moves for every homeowner.
Setting Up Rolling Codes for Added Protection
Rolling code tech boosts your garage door’s security. It changes the code every time you use the remote. This makes it hard for thieves to get in. Here’s how to set it up:
- Find the ‘Learn’ button on your opener.
- Press and hold it until the light starts blinking.
- Press your remote’s button within 30 seconds.
- Wait for the light to stop; it means the code is set.
Creating a Secure Personal Identification Number (PIN)
A secure PIN for your garage keypad adds extra security. It requires a code to open the door from outside. Here’s how to set or change your PIN:
- Enter your current PIN on the keypad.
- Press the * or # key, depending on your model.
- Enter your new PIN.
- Press the * or # key again to confirm.
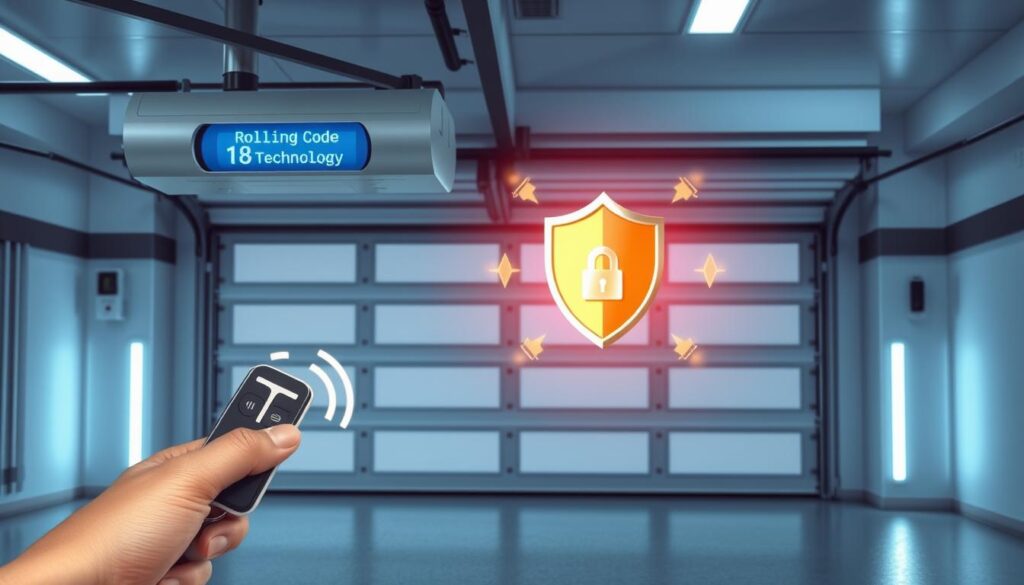
Let’s look at how rolling code tech has improved garage door security. Here’s a comparison between old fixed codes and the new rolling code system:
| Feature | Fixed Code System | Rolling Code System |
|---|---|---|
| Code Type | Static – Same code every use | Dynamic – Changes with each use |
| Security Level | Low – Vulnerable to code-grabbing devices | High – Nearly impossible to replicate |
| Recommended Use | Older, less frequented installations | Modern homes and high-traffic environments |
Using rolling code tech and secure PINs is key to modern garage door security. It gives homeowners peace of mind.
Advanced Programming Options
Exploring advanced programming features can make your garage more functional and secure. Today’s tech lets you use advanced opener programming to meet your home or business needs.
Programming Opener for Custom Operation Cycles
Customizing your garage door opener with custom garage door cycles means setting up specific schedules. This can help keep your garage secure or work better during busy times. It’s perfect for homes and businesses.
Connecting Your Opener to Smart Home Systems
Smart home garage integration connects your garage door opener with other smart devices. This makes it easy to control your garage from anywhere. You can even use voice commands with Amazon Alexa or Google Home.
The table below outlines the benefits of incorporating advanced programming options:
| Feature | Description | Benefits |
|---|---|---|
| Custom Garage Door Cycles | Allows setting unique open/close schedules tailored to personal or business needs. | Enhances security and energy efficiency |
| Smart Home Integration | Connects the garage door opener to other smart devices for centralized control. | Improves convenience, monitoring, and control from any location |
Maintenance Tips for Long-Term Reliability
Regular garage door maintenance is key to ensuring opener longevity and keeping your garage system reliable. Here are some tips to help you keep your garage door running smoothly. These include routine checks and the right way to lubricate.
- Monthly visual inspection of springs, cables, rollers, and other hardware for signs of wear and tear.
- Bi-annual lubrication of moving parts with a garage door-specific lubricant to ensure smooth operation.
- Quarterly testing of the garage door opener’s balance and reversing mechanism to prevent accidents.
- Replacement of batteries in remote controls and backup power units annually or as needed.
Following these easy steps can greatly lower the chance of sudden breakdowns and expensive fixes. This helps make your garage system more reliable.
| Maintenance Task | Frequency | Benefits |
|---|---|---|
| Visual Inspections | Monthly | Early detection of potential issues |
| Lubrication | Every 6 Months | Reduced friction and wear |
| Balance Testing | Quarterly | Ensures safe, efficient operation |
| Battery Replacement | Annually | Uninterrupted functionality |
By sticking to these guidelines, you improve the life of your garage door parts. This also helps ensure opener longevity. Regular care, like the garage door maintenance tasks mentioned, keeps your garage system strong. It protects your investment and keeps your home safe.
Professional vs. DIY Programming
Deciding between DIY and professional programming for garage door openers depends on several factors. These include complexity, time, and skill level. DIY projects can be tempting, but some tasks require professional help and tools.
When to Call a Professional for Help
Some situations need professional help for garage door openers. This includes complex electronic systems or safety concerns. For example, if your garage door has advanced security or is part of a smart home system, professional installation is safer and more reliable.
The Benefits of Professional Installation
Choosing professional installation for your garage door opener has many benefits:
- Accuracy: Professionals ensure the installation meets all specifications for optimal performance.
- Warranty: Services often come with a warranty, offering peace of mind and protection against potential defects.
- Safety: Expert handling minimizes the risks associated with the mechanical and electrical components of garage door systems.
When comparing DIY and professional programming, professional help offers long-term benefits and security. Here’s a table comparing DIY and professional garage door programming:
| Aspect | DIY Programming | Professional Programming |
|---|---|---|
| Cost | Lower upfront, potential for future expenses | Higher upfront, includes warranty and follow-up support |
| Time Commitment | Varies, dependent on personal skill level | Quick and efficient, scheduled at convenience |
| Safety | Potential risks without proper expertise | Handled by certified professionals |
| Long-term Reliability | Dependent on self-installation accuracy | Ensured through professional calibration and setup |
Conclusion
Learning to program your garage door is more than a handy skill. It’s a key part of being confident in DIY home projects. We’ve covered the basics of garage door openers, made a checklist, and given clear steps for setting up your opener. This knowledge makes your home work better and shows you’re good with tech.
Maybe you faced issues like signal problems or needed to link many remotes. Or maybe you wanted to add extra security features. This guide helped you understand how to handle these problems. Learning to program your garage door opener also means safer and more efficient living.
Putting in the effort to learn about your garage door opener really pays off. It makes you better at maintenance and gives you peace of mind. By using these tips, you make your home work better. Remember, being thorough and patient is key to mastering DIY skills and keeping your home tech running smoothly.


Hi there! Great content!