The garage door is key to your home’s security, convenience, and look. The garage door spring makes opening and closing the door easy. This guide will show you how to replace your garage door spring safely and right.
Key Takeaways
- Understand the different types of garage door springs and their importance
- Identify the signs that indicate it’s time to replace your garage door spring
- Learn the necessary safety precautions and tools required for the replacement process
- Follow a step-by-step guide to properly remove the old spring and install the new one
- Explore troubleshooting tips and maintenance strategies to prolong the life of your garage door springs
Introduction to Garage Door Springs
Garage door springs are the unsung heroes of your home’s entry point. They play a vital role in the smooth and safe operation of your garage door. Knowing about the types of garage door springs and their importance is key to a well-functioning garage door system.
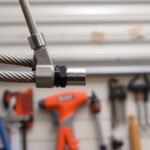
Types of Garage Door Springs
The two main types of garage door springs are torsion springs and extension springs. Torsion springs are mounted above the garage door and provide the necessary tension. Extension springs are on either side of the door and help counterbalance the door’s weight.
| Torsion Springs | Extension Springs |
|---|---|
| Mounted above the door | Located on either side of the door |
| Provide lifting tension | Help counterbalance the door’s weight |
| More durable and longer-lasting | Require more maintenance |
Importance of Properly Functioning Springs
Properly functioning garage door springs are essential for safe and efficient garage door operation. When they work well, they make lifting and lowering the door easy. This reduces strain on the motor and other parts.
If the springs are worn, damaged, or not balanced right, problems arise. This can cause the door to wear out faster, fall unexpectedly, and even risk injury.
“Maintaining the proper tension and balance of your garage door springs is crucial for ensuring the safety and longevity of your garage door system.”
Signs You Need to Replace Your Garage Door Spring
Knowing when to replace your garage door spring is key for your door’s smooth operation and safety. Here are some common signs that it’s time for a new spring:
- Difficulty Opening or Closing the Door – If your garage door is hard to open or close, it might mean the spring is losing tension. It’s time for a replacement.
- Uneven Movement – If your garage door doesn’t move smoothly or evenly, the spring could be worn out. It needs to be replaced.
- Visible Damage or Rust – Check the spring for damage like cracks, breaks, or rust. These signs mean it’s time for a new spring.
Regular checks on your garage door springs can spot problems early. Fixing these issues quickly keeps your garage door safe and working well.
“Ignoring the signs of a failing garage door spring can lead to dangerous situations and costly repairs down the line. It’s best to address any issues promptly for your family’s safety.”
Safety Precautions for Spring Replacement
Replacing a garage door spring is a delicate task that requires utmost caution. To ensure your safety and the successful completion of the project, it’s crucial to follow the proper safety precautions. Let’s explore the essential tools, equipment, and personal protective gear you’ll need to have on hand.
Tools and Equipment Needed
Replacing a garage door spring involves the use of specialized tools and equipment. Make sure you have the following items ready before starting the process:
- Winding bars or spring-winding tools
- Vise grips or locking pliers
- Adjustable wrench or socket set
- Ladder or step stool
- Gloves to protect your hands
- Safety goggles to shield your eyes
Personal Protective Gear
Garage door spring replacement can be hazardous, so it’s crucial to wear the appropriate personal protective equipment (PPE) to minimize the risk of injury. Consider the following safety gear:
- Gloves: Protect your hands from sharp edges and potential pinch points.
- Safety Glasses: Shield your eyes from flying debris or the sudden release of the spring’s tension.
- Sturdy Footwear: Wear closed-toe shoes with non-slip soles to prevent slips and falls.
- Long Sleeves and Pants: Cover your skin to avoid scratches and cuts.
By taking the necessary safety precautions and using the right tools and equipment, you can significantly reduce the risks associated with garage door spring replacement. Remember, prioritizing your safety is key to a successful and stress-free project.
“Safety should always come first when working on your garage door. Take the time to prepare properly and protect yourself from potential hazards.”
Step-by-Step Guide to replace garage door spring
Replacing a garage door spring might seem hard, but it’s doable with the right steps. We’ll guide you through getting ready and safely taking out the old spring.
Preparing for the Replacement Process
First, gather your tools and equipment. You’ll need gloves, safety glasses, and a winding bar for garage door springs. Also, a socket wrench set and a step ladder are necessary.
After getting your tools, check the garage door and find out what spring you need. Make sure to measure the old spring’s length and diameter for a perfect match.
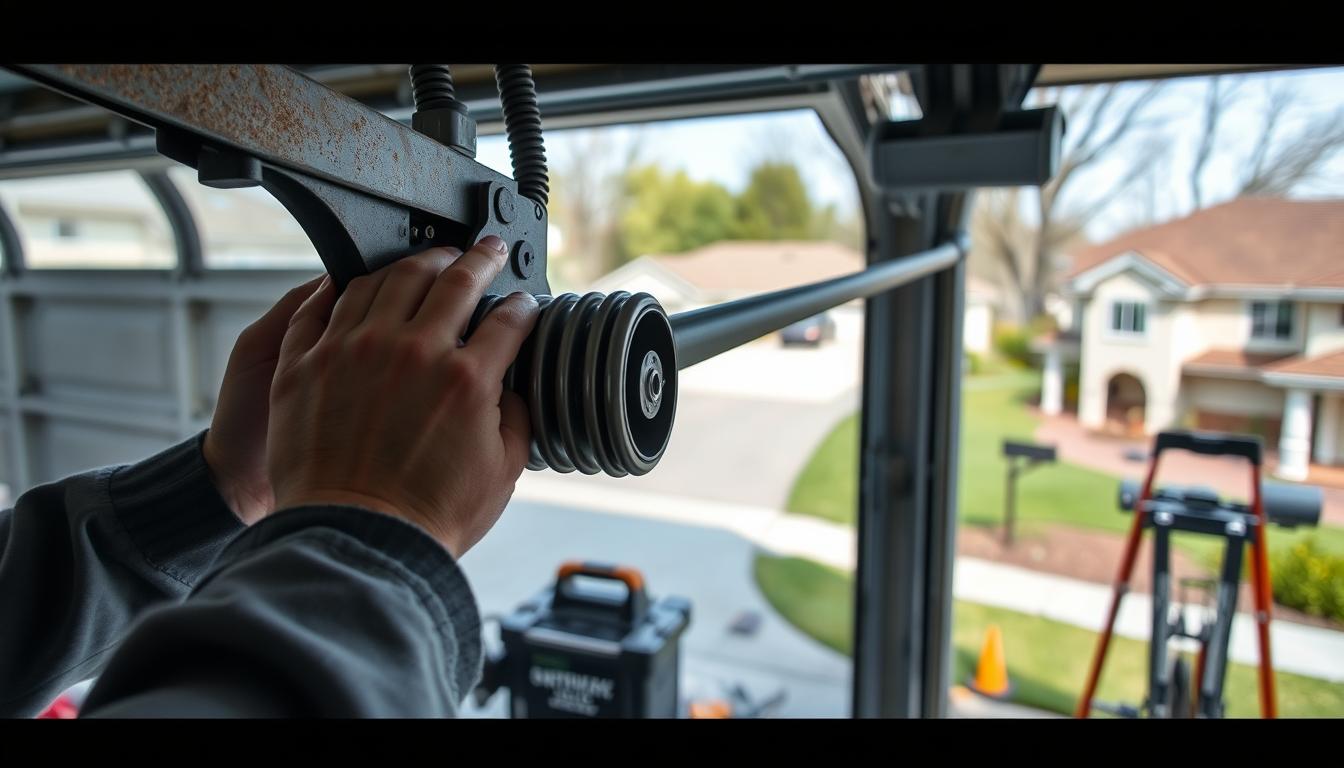
Removing the Old Spring
Now, let’s start the spring replacement. First, disconnect the garage door from the opener or manual cord. This makes it safe to work on the spring.
- Use the winding bar to slowly release the spring’s tension.
- After the tension is gone, remove the spring from the assembly. Note its position and orientation.
- Dispose of the old spring correctly, following local waste rules.
With the old spring out, you’re ready for the new one. Keep reading for the next part of the step-by-step guide to replace garage door spring.

Installing the New Garage Door Spring
After removing the old, worn-out garage door spring, it’s time to put in the new one. This step needs careful attention to ensure the spring is correctly placed and tensioned. Let’s go through the steps to get your garage door working well again.
Adjusting the Tension
Getting the tension right on your new garage door spring is key for smooth operation. Here’s how to adjust it correctly:
- Find the winding cone or set screws on the new spring.
- Use the right winding bars to add or remove turns of the spring. Follow the manufacturer’s tension level.
- Test the door by opening and closing it manually. Adjust the tension until it moves easily.
- When the tension is right, secure the winding cone or set screws to keep the spring in place.
Adjusting the tension wrong can be risky. So, take your time and check your work twice. If you’re not sure or feel uneasy, it’s safer to call a professional garage door technician.
By following these steps, you’ll have your new garage door spring installed and tensioned correctly. This will make your garage door reliable and easy to use for many years. A little care and attention can keep your garage door running smoothly and prevent unexpected problems.
Troubleshooting Common Issues
Even the most skilled DIYers might face some common problems when replacing a garage door spring. But, we’ve got you covered. Here, we’ll share some troubleshooting tips to help you solve any issues that come up during the process.
Uneven Spring Tension
If the springs aren’t evenly tensioned after installation, don’t worry. This is a common issue. To fix it, just adjust the tension on each spring until they’re balanced. Check the manufacturer’s instructions or ask a professional for help on how to adjust the tension correctly.
Binding or Sticking Rollers
If your garage door seems to be binding or sticking, the rollers might be the problem. Look for any debris or obstructions that could be causing the rollers to bind. Clean the rollers and tracks well, and use a silicone-based lubricant to ensure smooth operation.
Difficulty Winding the Spring
Winding the garage door spring can be challenging, even for experienced DIYers. If you’re having trouble winding the spring, take a step back and review your process. Make sure you’re using the right tools and following the manufacturer’s instructions carefully. If you’re still having trouble, it’s best to ask a professional for help.
| Common Issue | Possible Cause | Solution |
|---|---|---|
| Door doesn’t open or close smoothly | Misaligned or worn rollers | Clean and lubricate the rollers and tracks |
| Garage door makes unusual noises | Worn or damaged springs | Replace the springs immediately |
| Door doesn’t stay open or close completely | Improper spring tension | Adjust the spring tension as needed |
If you’re unsure about how to fix any issues, it’s safer to seek help from a professional garage door technician. They have the knowledge and tools to fix your garage door safely and correctly.

Tips for Maintaining Your Garage Door Springs
Keeping your garage door springs in good shape is crucial. Regularly lubricating and inspecting them can make them last longer. Here are some key tips for maintaining your garage door springs.
Lubrication and Inspection
Keeping your garage door springs lubricated is a must. Use a garage door-specific lubricant every 6-12 months. This reduces friction and prevents wear.
It’s also important to check your garage door springs often. Look for cracks, rust, or uneven wear. If you find any damage, fix it quickly to avoid safety risks or needing a new spring.
- Lubricate the springs every 6-12 months using a garage door-specific lubricant
- Inspect the springs for cracks, rust, or uneven wear
- Address any issues with the springs as soon as they are discovered
By following these easy maintenance tips, you can keep your garage door springs working well for years.
“Proper maintenance is the key to a long-lasting and reliable garage door system.”
When to Call a Professional
While many homeowners can replace garage door springs themselves, there are times when a pro is needed. Knowing when to call a garage door repair expert can save you time and money. It also ensures the job is done right and safely.
Here are some situations where it’s wise to call a professional for garage door spring replacement:
- If the garage door is heavy or oversized, needing special tools and equipment.
- When dealing with torsion springs, which are under high tension and can be dangerous if not handled properly.
- If you’re unsure about the replacement process or lack the necessary skills and experience.
- If the garage door is not working right, and you think the problem is more than just a spring issue.
- When the garage door is part of an automated system, needing professional expertise for integration and programming.
Trying to replace garage door springs without the right knowledge and tools can be risky. It can lead to injuries or damage to the door system. Calling a professional for garage door spring replacement ensures the job is done safely and correctly. This protects you and your property.
| DIY Garage Door Spring Replacement | Professional Garage Door Spring Replacement |
|---|---|
| Suitable for standard-sized, lightweight garage doors | Recommended for heavy, oversized, or automated garage doors |
| Requires basic tools and some mechanical knowledge | Utilizes specialized equipment and extensive expertise |
| Potential risk of injury and further damage | Ensures safe and proper installation |
| May save on labor costs | Provides warranty and ongoing maintenance support |
Understanding the limits of DIY garage door spring replacement and knowing when to call a professional is key. This ensures your garage door stays in top shape and your family’s safety is a priority.
“Proper garage door spring replacement is not a task to be taken lightly. Seeking the help of a qualified professional can make all the difference in ensuring a safe and successful outcome.”
Cost Considerations for Spring Replacement
Replacing your garage door spring can cost differently, depending on if you do it yourself or get a pro. Knowing the DIY vs. professional garage door spring replacement costs helps you choose wisely. It’s about finding a balance between your budget and your skills.
DIY Garage Door Spring Replacement
Doing it yourself can save money if you’re handy and have the right tools. Springs cost between $20 to $100, based on your garage door’s size and type. You might also need to buy winding bars, which cost $10 to $20 more.
But, DIY comes with risks like injury if you mess up. If you run into problems, you might need a pro, adding more costs.
Professional Garage Door Spring Replacement
Getting a pro to do it offers safety, expertise, and a work warranty. Costs range from $150 to $350, based on location, spring type, and installation complexity.
Though it costs more, it saves time and stress. Pros know how to check your door and install springs right, avoiding future problems.
Choosing between DIY vs. professional garage door spring replacement depends on your budget, skills, and comfort with the task. Think about the cost considerations and the pros and cons to decide what’s best for you.
Conclusion
Replacing a garage door spring is easier than you think. This article has given you the tools to do it yourself. You’ll save time and money by following our expert tips and guide.
Understanding the role of springs and knowing how to replace them safely is key. This guide has covered everything you need to know. Always put safety first, use the right tools, and ask for help if needed.
Keeping your garage door springs in top shape is important. Regular maintenance and timely replacements ensure your door works well for years. Now, you’re ready to handle garage door spring replacements with confidence.