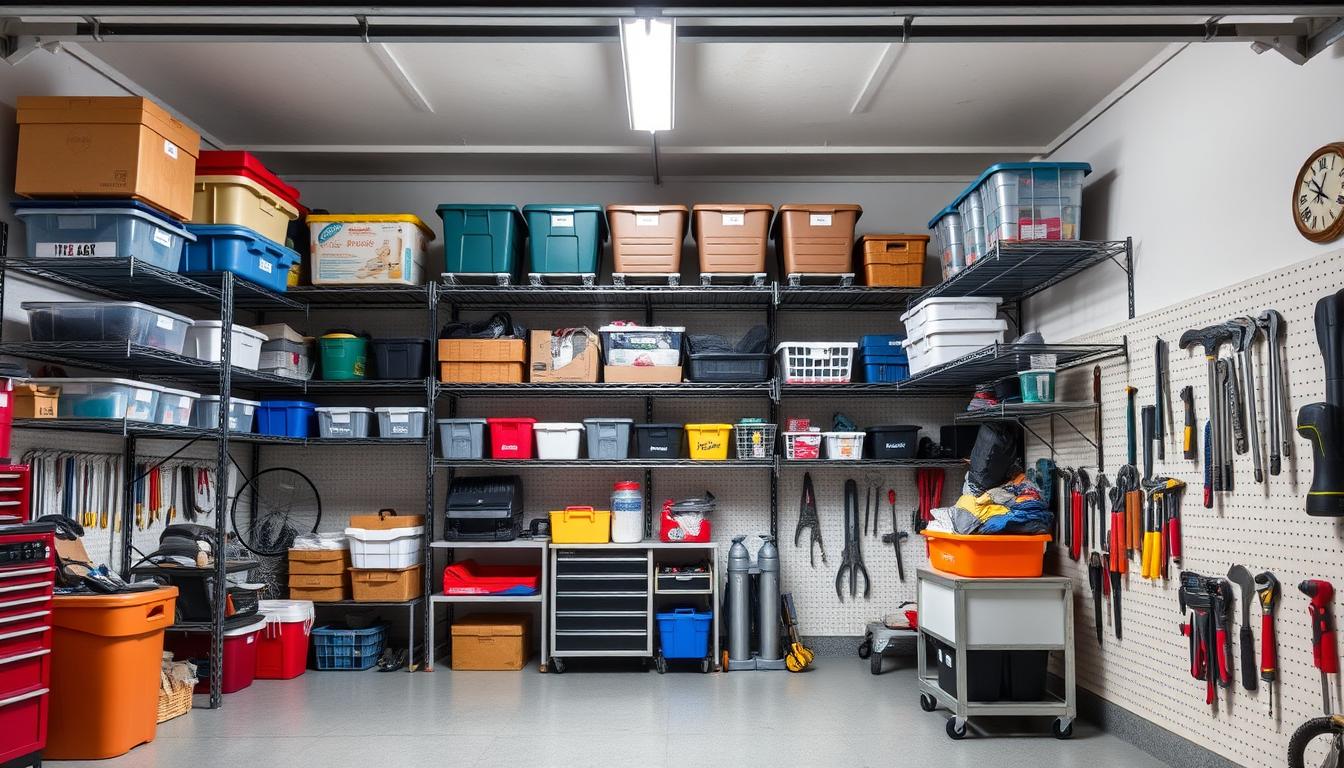
Organizing your garage can change everything. It turns a messy space into a tidy, efficient area. Installing reliable garage storage racks is a great way to do this. They help you use vertical space, clear floors, and organize better.
This guide will show you how to install different garage storage racks. It covers everything from choosing the right storage to keeping it safe. Say hello to a tidy garage that meets your needs.
Key Takeaways
- Explore various types of garage storage racks, including ceiling-mounted, wall-mounted, and freestanding options.
- Gather the necessary tools and materials for a smooth installation process.
- Prioritize safety by assessing weight capacity and structural requirements.
- Measure and plan your storage space to optimize the placement of your new garage racks.
- Learn proper installation techniques for wall-mounted and ceiling-mounted storage systems.
Understanding Different Types of Garage Storage Racks
Choosing the right storage rack for your garage is crucial. There are many styles to pick from, each with its own benefits. Let’s look at ceiling-mounted, wall-mounted, and free-standing racks.
Ceiling-Mounted Storage Solutions
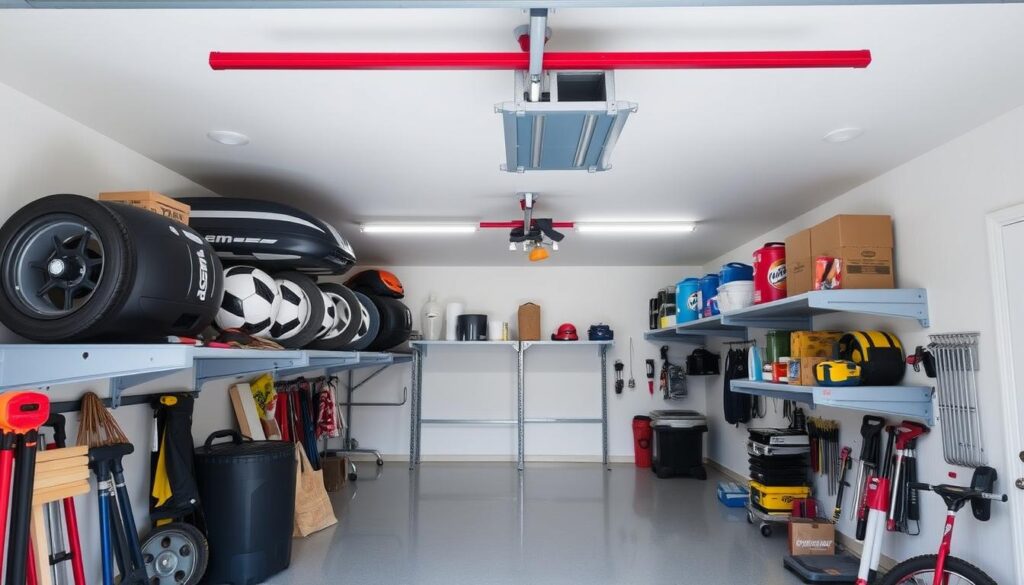
Ceiling-mounted racks are great for using vertical space. They let you store items like holiday decorations or sports equipment up high. This frees up floor space for more important things.
Wall-Mounted Organization Systems
Wall-mounted racks are versatile and save space. You can customize them with adjustable shelves and hooks. They’re perfect for tools, gardening supplies, or other items you use often.
Free-Standing Storage Units
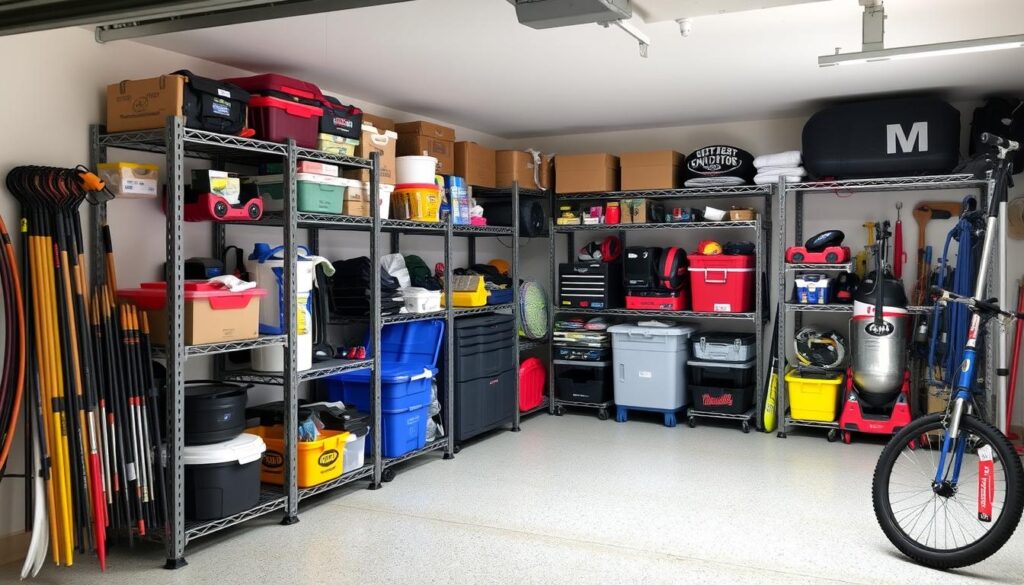
Free-standing racks are good for those with little wall or ceiling space. They’re easy to move around, offering flexible storage. They’re great for big items like bins or power tools.
Choosing the right rack depends on your storage needs and garage layout. By understanding your options, you can create a system that keeps your garage tidy and organized.
Essential Tools and Materials Needed for Installation
Getting the right tools and materials is crucial for a successful garage storage rack installation. Whether you’re installing a ceiling, wall, or free-standing system, having the right equipment makes the job easier. Let’s look at the essential items you’ll need for your garage storage rack installation.
First, you’ll need a power drill and various drill bits to make holes for the mounting hardware. A stud finder is also key to find the strong wooden beams in your garage walls. This ensures your storage rack is securely and stably installed.
- Power drill with drill bits
- Stud finder
- Level
- Measuring tape
- Screwdrivers (flathead and Phillips head)
- Hammer
- Wrench or socket set
- Ladder or step stool
You’ll also need the right fasteners like screws, anchors, and bolts to attach the racks. The size and type of fasteners depend on your storage system and garage construction.
| Item | Purpose |
|---|---|
| Wood screws | Attaching the storage racks to wall studs |
| Drywall anchors | Securing the racks in drywall areas without studs |
| Lag bolts | Mounting the racks to ceiling joists or support beams |
With the right tools and materials, you’re ready for a smooth garage storage rack installation. Always follow the manufacturer’s instructions and keep safety in mind.
Safety Considerations Before Starting Your Project
It’s very important to make sure your garage storage rack is safe before you start. Before you begin, check the weight it can hold, if it fits your garage’s structure, and what safety gear you need. This will help you create a safe and reliable place to store things.
Weight Capacity Assessment
Find out how much weight your garage storage rack can handle. Knowing this is key to avoid accidents and make sure your investment lasts. Look at the manufacturer’s guidelines or get help from a pro to figure out the weight limit. This depends on the garage storage rack‘s materials and design.
Structural Requirements
Check if the wall or ceiling can support the best storage rack for garage. Make sure the spots where you’ll attach it can hold the rack’s weight without making your garage unstable. If needed, add extra support to the mounting areas.
Personal Safety Equipment
- Wear a safety harness when working at heights to prevent falls.
- Use protective eyewear to shield your eyes from debris and flying particles.
- Wear gloves to protect your hands from sharp edges and potential cuts.
- Wear sturdy, slip-resistant shoes to maintain a secure footing during the installation process.
By following these safety steps, you can install your garage storage rack safely. This protects you and your belongings.
Choosing the Perfect Location for Your Garage Storage Rack
When it comes to garage rack storage ideas, picking the right spot is key. The best location boosts efficiency, makes things easier to get to, and makes your garage work better. Let’s look at what to think about when picking the perfect spot for your garage storage racks.
Accessibility and Convenience
First off, think about how easy it is to get to your garage rack storage ideas. You want them close so you can grab what you need fast. Choose spots near where you come in or where you use things a lot.
Available Space and Layout
Next, check how much room you have in your garage and how it fits with your storage racks. Look for spots with enough room up high and not too many things in the way. This helps your racks fit without blocking your garage.
Proximity to Frequently Used Items
Put your garage rack storage ideas near things you use a lot. This makes it simpler to get to and put back, making your day easier. Think about the different areas in your garage for different things and place your racks there.
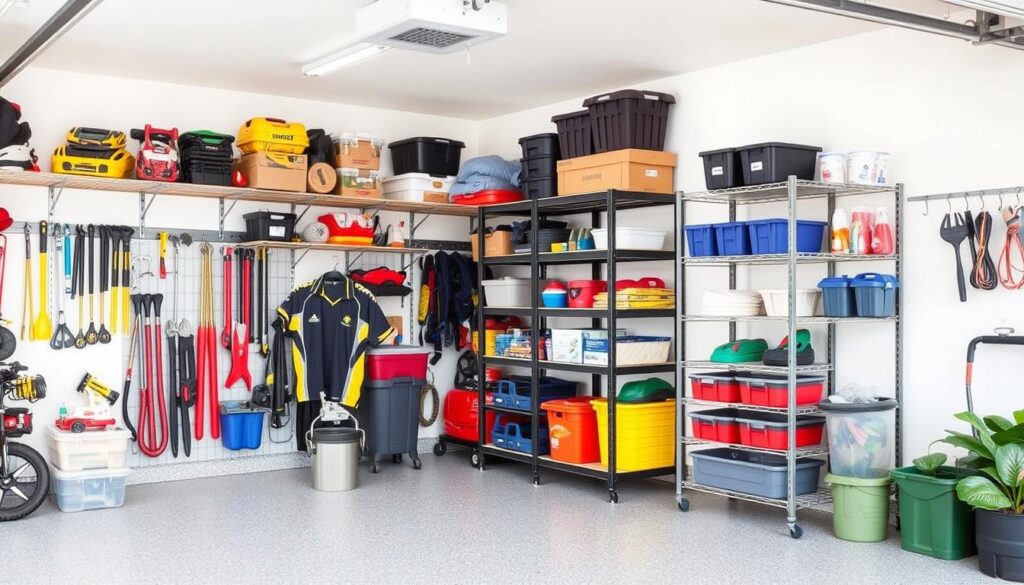
By thinking about these things, you can make a garage rack storage ideas plan that makes your garage better. With the right spot, your storage racks will help keep your garage tidy and efficient.
Measuring and Planning Your Storage Space
Proper planning is key when it comes to installing how to install garage storage racks. By accurately measuring your garage’s dimensions, you can ensure the perfect fit. This way, you’ll make the most of your new storage solution. Let’s explore the essential considerations to keep in mind.
Height Considerations
Start by measuring the ceiling height in your garage. This will tell you the maximum clearance for your storage racks. Note any obstacles, like light fixtures or overhead doors, that may affect the installation height. Aim for a height that’s easy to reach, usually between 6 to 8 feet from the floor.
Depth Requirements
Next, measure the depth of the available wall space. This will show you the maximum depth of your how to install garage storage racks. Think about the items you’ll store and make sure there’s enough space for easy access.
Width Calculations
Finally, measure the width of the storage area. This will help you choose the right size and number of how to install garage storage racks. Plan for a layout that looks balanced and fits well with your garage’s design.
| Measurement | Recommended Range |
|---|---|
| Ceiling Height | 6 to 8 feet from the floor |
| Depth | Sufficient for easy access and maneuverability |
| Width | Balanced and symmetrical layout |
By carefully measuring your garage and planning, you’ll be ready for a successful how to install garage storage racks installation. This will meet your storage needs and improve your garage’s organization.
Wall Preparation and Stud Location
Getting your garage walls ready for a garage storage rack is key. It makes sure your setup is strong and safe. Before drilling and mounting, find and mark the wall studs for a solid base.
Start by using a stud finder to find the wooden studs behind your garage walls. These studs are usually 16 or 24 inches apart. They are where you’ll attach your garage storage rack. After finding the studs, mark them with a pencil or chalk line for a clear guide.
- Check the wall for any obstacles that could get in the way of the rack.
- Make sure the wall is clean, removing dust, debris, or old hardware for a smooth mount.
- Think about the rack’s weight and if the studs can handle it.
With the wall ready and studs marked, you can start installing your garage storage rack. A good wall prep is essential for a strong storage system. It helps your storage meet your needs safely and effectively.
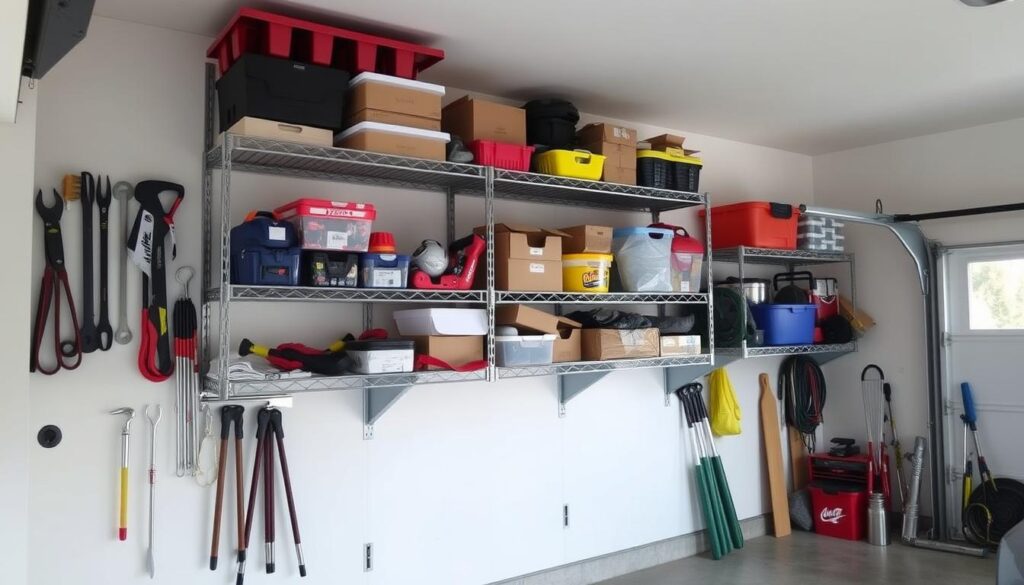
“Proper wall preparation is the key to a successful garage storage rack installation.”
Installing Wall-Mounted Storage Systems
Wall-mounted storage systems are great for making the most of your garage space. They use vertical space well and keep important items close. Here’s how to set up these handy storage racks.
Bracket Installation
First, find the wall studs with a stud finder. These are key for a strong best storage rack for garage. Mark where to put the brackets, making sure they’re level and even. Use strong screws or bolts to fix the brackets to the wall.
Shelf Mounting
Now, put the shelves on the brackets. Make sure they fit well and are level. Some systems have special clips or locks for extra security. Double-check each shelf is secure to avoid any issues.
Security Checks
Do a final check before adding items to your best storage rack for garage. Pull on the shelves to see if they’re tight. Check the whole system’s stability and adjust if needed. This ensures your storage is safe and reliable.
By following these steps, you can turn your garage into a neat and efficient space. Always focus on safety and make sure your storage racks are securely attached.
Ceiling Rack Installation Process
Maximizing your garage storage is easier with ceiling-mounted racks. These racks use the vertical space, freeing up floor area. Installing a ceiling rack might seem hard, but with the right help, you can turn your garage into an organized space.
Locating the Ceiling Joists
Finding the ceiling joists is the first step. These beams are key for mounting your storage system. Use a stud finder or knock on the ceiling to find them. Mark these spots to align your brackets correctly.
Securing the Mounting Brackets
After finding the joists, secure the mounting brackets. These brackets hold your rack in place. Place them carefully and use strong lag bolts or screws to attach them to the joists. Make sure they fit tightly to hold your items.
Attaching the Rack System
Now, attach the rack system to the brackets. Lift the rack and align it with the brackets. Use the provided hardware to secure it. This will give you a strong overhead storage solution.
By following these steps, you can install a ceiling rack in your garage. Always be safe, use the right tools, and check your work for a lasting storage system.
| Ceiling Rack Installation Checklist |
|---|
|
Tips for Installing Heavy-Duty Garage Storage Rack
Installing heavy-duty garage storage racks needs careful planning. You must focus on weight distribution and support beam needs. These steps ensure your rack stays stable and safe for a long time. Let’s look at some expert tips for a successful installation.
Weight Distribution Guidelines
Evenly spreading the weight is key when setting up a heavy-duty garage storage rack. This keeps the rack strong and prevents it from falling or becoming unstable. Here are some essential tips:
- First, figure out the rack’s total weight capacity and distribute the load evenly.
- Put heavier items on lower shelves and lighter ones on upper levels.
- Don’t overload one section or shelf. Spread the weight over several areas.
- Remember to include the rack’s own weight when calculating the total load.
Support Beam Requirements
Heavy-duty garage storage racks also need support beams for stability and safety. These beams help spread the weight, reducing stress on parts. When installing your rack, make sure to:
- Find the right spots for support beams based on the rack’s design and weight.
- Securely attach the support beams to walls or ceilings with strong hardware and fasteners.
- Align the support beams with the rack’s uprights or shelves for better stability.
- Choose support beams that can handle the weight they’ll bear.
By following these guidelines for weight distribution and support beams, you can confidently install a heavy-duty garage storage rack. It will provide reliable storage for many years. Remember, paying attention to details and proper installation are crucial for a successful and safe project.
Common Installation Mistakes to Avoid
Setting up your garage storage rack needs careful attention. Avoid these common mistakes to make sure your storage is safe, strong, and fits your needs well.
Improper Anchoring
One big mistake is not anchoring the rack right. If it’s not anchored well, it can fall and hurt you or damage things. Make sure to find the wall studs and use the right hardware to hold the rack in place.
Overloading the Rack
Another mistake is putting too much weight on the rack. Too much weight can make it bend or break, which can damage your property or hurt you. Always check the weight limit the maker says and watch how much you put on it.
Neglecting Weight Distribution
It’s important to spread the weight right on your garage storage rack. Put heavy things on the bottom shelves and spread the weight out. If you don’t, it can make some parts of the rack too stressed and break.
Insufficient Bracing and Support
Not adding enough support can make the rack sag or fall. Make sure it’s well attached to the wall or ceiling. You might also need extra beams or cross-members for more stability.
By avoiding these mistakes, you can have a reliable and lasting garage storage solution. It will help you stay organized and use your space better.
Maximizing Your Storage Space Efficiency
Turning your garage into a tidy, efficient space is crucial. By using smart garage rack storage ideas, you can make the most of your storage racks. This way, you can use every inch of space available.
Organizational Strategies
Keeping your garage organized is the first step to a clutter-free space. Begin by sorting similar items into groups. This helps create zones for tools, seasonal items, and sports gear. Use shelves and overhead racks to save floor space.
Labeling containers and bins makes it easy to find what you need. This simple step can save a lot of time.
- Categorize and group similar items
- Utilize vertical space with shelves and overhead racks
- Label containers and bins for easy identification
Space-Saving Techniques
To make the most of your space, use clever storage tricks. Adjustable or sliding shelves can be tailored to fit your needs. Wall-mounted storage keeps things off the floor, saving space.
Don’t forget the space under your workbench or along walls. It’s perfect for extra storage.
| Space-Saving Technique | Benefit |
|---|---|
| Adjustable or sliding shelves | Customizable storage solution |
| Wall-mounted storage systems | Frees up floor space |
| Underutilized wall and workbench space | Additional storage capacity |
By using these garage rack storage ideas, you can turn your garage into a neat, efficient space. It will meet all your storage needs.
“The key to a clutter-free garage is finding the right balance between storage capacity and organization.”
Maintenance and Safety Checks After Installation
Getting the best storage rack for garage is just the start. To keep your garage organized and efficient, regular upkeep is key. Here’s what you need to do:
Periodic Inspections
Check your garage storage racks every few months. Look for loose or damaged parts like bolts or brackets. Tighten loose parts and replace any broken ones right away.
Weight Capacity Monitoring
Make sure you’re not overloading your garage storage racks. Check the weight limits often. This prevents damage and keeps you safe.
Cleaning and Dust Removal
- Use a damp cloth to clean the shelves and supports.
- Vacuum or sweep around the garage storage racks to keep it tidy.
Adjustments and Leveling
Your garage storage racks might shift or become uneven over time. Adjust them to keep everything straight and level. This makes your storage more efficient.
| Maintenance Task | Recommended Frequency |
|---|---|
| Inspect for loose or damaged components | Every 3-6 months |
| Check weight capacity | Annually |
| Clean and dust removal | Every 2-3 months |
| Adjustments and leveling | As needed |
By sticking to these maintenance and safety tips, your garage storage racks will stay in top shape. This means you’ll have a safe and efficient storage solution for many years.
Customizing Your Storage Solution
Customizing your garage storage racks is key to maximizing efficiency and functionality. By adding various accessories and features, you can make your storage system fit your needs perfectly. Let’s look at some options to help you create a garage organization solution that’s just right for you.
Accessory Options
Enhance your garage storage with practical accessories. Hooks are great for hanging tools, sports equipment, or gardening supplies. Bin and basket systems keep smaller items organized. Specialized racks can hold sports gear or automotive parts.
These accessories not only look good but also make it easier to find what you need. They add to the overall appeal of your garage.
Additional Features
Explore features that boost your garage’s functionality and convenience. Adjustable shelves and sliding drawers let you change the layout as needed. Integrated lighting makes it easier to see what you have.
Locking mechanisms or security accessories can protect your valuable items. By adding these features, you can make your garage storage racks truly personalized and efficient.
| Accessory | Benefits |
|---|---|
| Hooks | Hang tools, sports equipment, and gardening supplies |
| Bins and Baskets | Organized storage for smaller items |
| Specialized Racks | Accommodate specific items like sports gear or automotive parts |
| Adjustable Shelves | Customizable layout to suit changing needs |
| Sliding Drawers | Improved accessibility and organization |
| Integrated Lighting | Illuminate storage areas for better visibility |
| Locking Mechanisms | Enhance security and protect valuable belongings |
Organizing Items on Your New Storage Racks
Getting the most out of your garage storage racks is crucial for a tidy space. By using smart organization methods, you can make the most of your storage. This ensures you can easily find what you need.
Start by sorting similar items together. Organize your stuff into categories like tools, car parts, or sports gear. This makes it easier to find things and keeps your space organized.
- Use clear bins or labeled containers for small items. This keeps them organized and easy to see.
- Put heavy items on lower shelves. Save upper shelves for lighter or less used items.
- Think about adding hooks or dividers. They help use space better and keep things in place.
Labeling your storage is also key. Clear labels help you quickly find what you need. You can use simple adhesive tags or make custom signs.
“Proper organization on your garage storage racks can transform your space from cluttered to well-curated, making it a true haven for your belongings.”
Also, check and change what you store regularly. As your needs change, so should your storage. This keeps your garage clutter-free and useful.
By using these tips, you can maximize your garage storage racks. This leads to a well-organized, efficient, and easy-to-access space. A bit of effort in organizing can greatly improve your garage’s functionality.
Troubleshooting Common Installation Issues
Setting up your new garage storage racks can sometimes present unexpected challenges. However, with a little troubleshooting and a few adjustments, you can overcome these common installation obstacles and ensure your storage system functions perfectly.
One frequent issue is dealing with uneven surfaces in your garage. If the walls or ceiling are not perfectly level, it may require extra time to properly align the brackets and ensure your racks are securely mounted. By using a level and making necessary adjustments, you can compensate for any irregularities and achieve a stable, level installation.
Another common problem is misaligned brackets. If the wall studs are not properly located or spaced, it can make it difficult to evenly position the mounting brackets. In such cases, carefully measuring and marking the stud locations before drilling will help you avoid any crooked or uneven installations. Additionally, using heavy-duty anchors can provide extra support when the studs are not ideally positioned.

